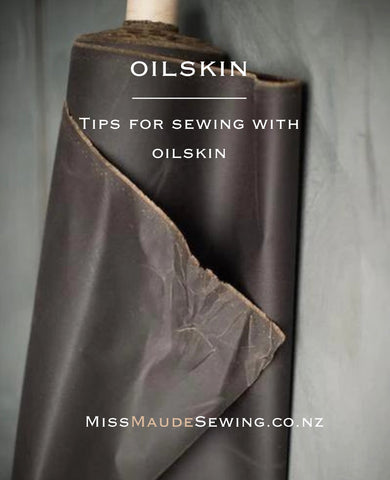
Oilskin might seem a little intimidating to begin with, but it's a really easy fabric to sew. It's a wonderfully stable fabric, making it a good project for advancing beginners wanting to develop their sewing skills.
Oh, and don’t be concerned if you make a mistake, oilskin is more forgiving than you might think and can be ‘healed’ to reduce most marks that the fabric may gain by having to unpick a seam.
Most oilskins are mid-heavy weight, so there are a few little tricks we’ve listed below to make your sewing project run smoothly.  Using the Right Needle
Like all fabrics, it's important to use the right needle, we would recommend a 90/14 denim needle for your projects.
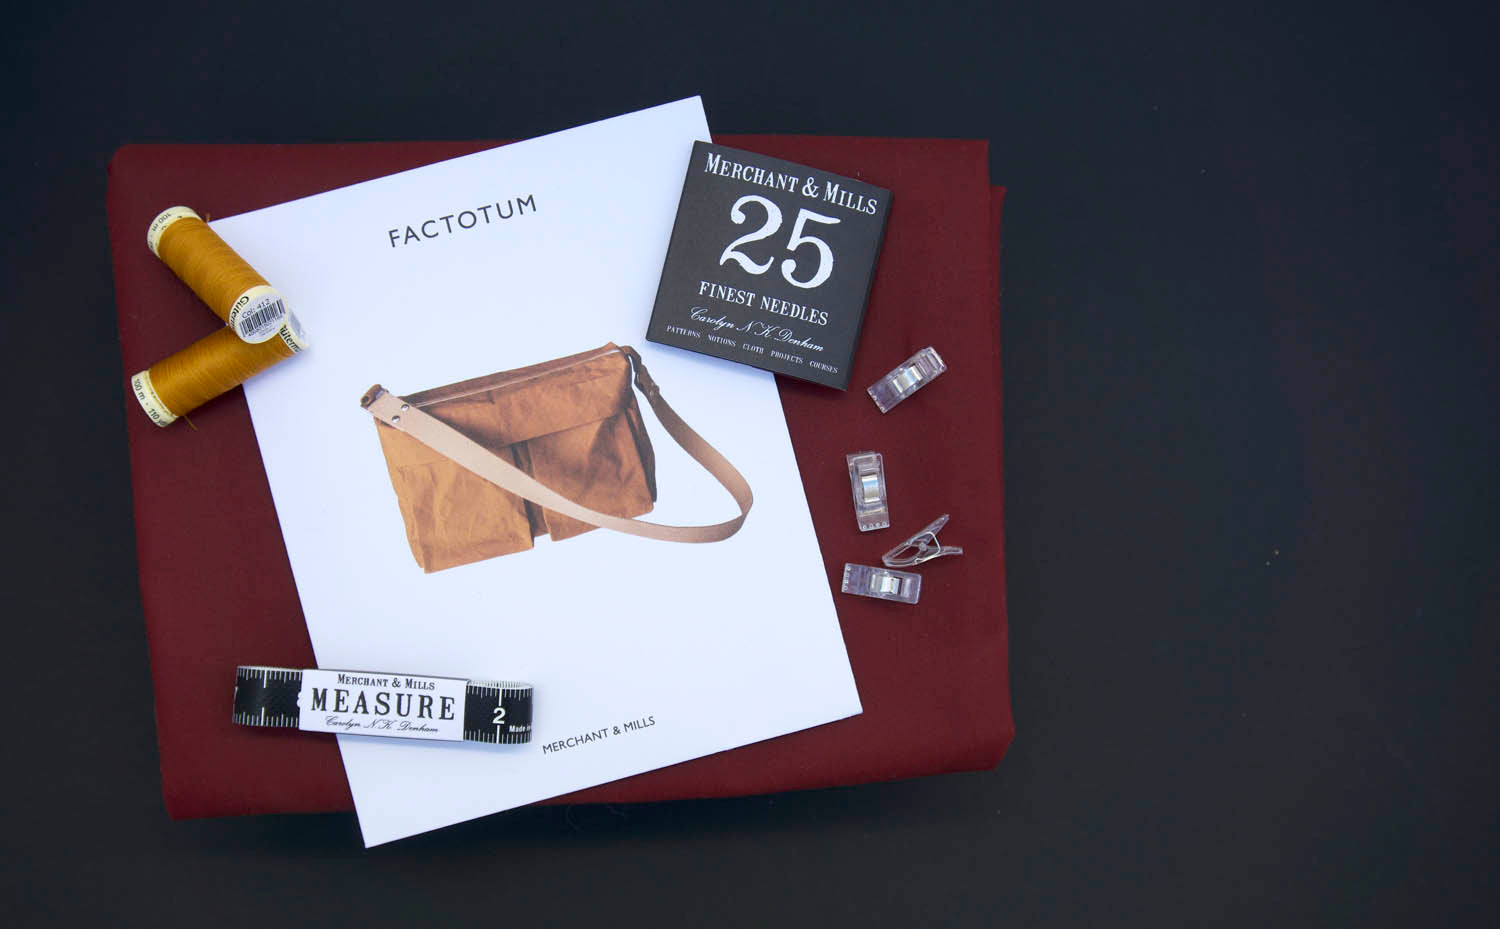
Because of the nature of the fabric it will leave pin marks when you use pins to secure the fabric before sewing, but Fabric Clips are an ideal alternative as they won’t leave marks, just clip them on and you are away!
You do not need a specialised foot for oilskin, the standard one on your machine will be great, if you have a walking foot it may help you get more even stitches depending on your machine. To check I did a sewing test using both types of foot and you can see the results on our Oilskin FAQ page. Using the Right Thread
We have found that working with a regular thread works really well with this fabric, but depending on the project (for example a bag or our DIY tablet cover) you may want to use a thicker thread to give a more defined stitch, but it is an aesthetic choice and down to your personal preference.
If you are topstitching a project, try a longer stitch - for example, instead of a 2.5 stitch length, move to a 3 stitch length to give a more professional look. Have an experiment on some scrap fabric and see which you prefer.
Combating Thicker Seams
Sometimes your sewing machine may not cope so well with thicker seams and result in uneven stitches.
A hump jumper or a wedge of paper will help your machine cope with some of the thicker seams that you might get when sewing with oilskin or other thicker fabrics like denim.  We have a handy free sewing tutorial which shows you had to use this handy tool.
Using Heat on Oilskin to Press Seams
The BIGGEST difference between oilskin and a regular cotton fabric is that you can’t wash it or use a hot iron on it.
We go into a lot more depth on our Oilskin FAQ page. If you would like to find out more, we explore what happens when you do some of these things to oilskin. Our experience is that finger pressing works really well on oilskin to press open the fabric and provides a lovely crisp finish.
 Removing Marks from Oilskin
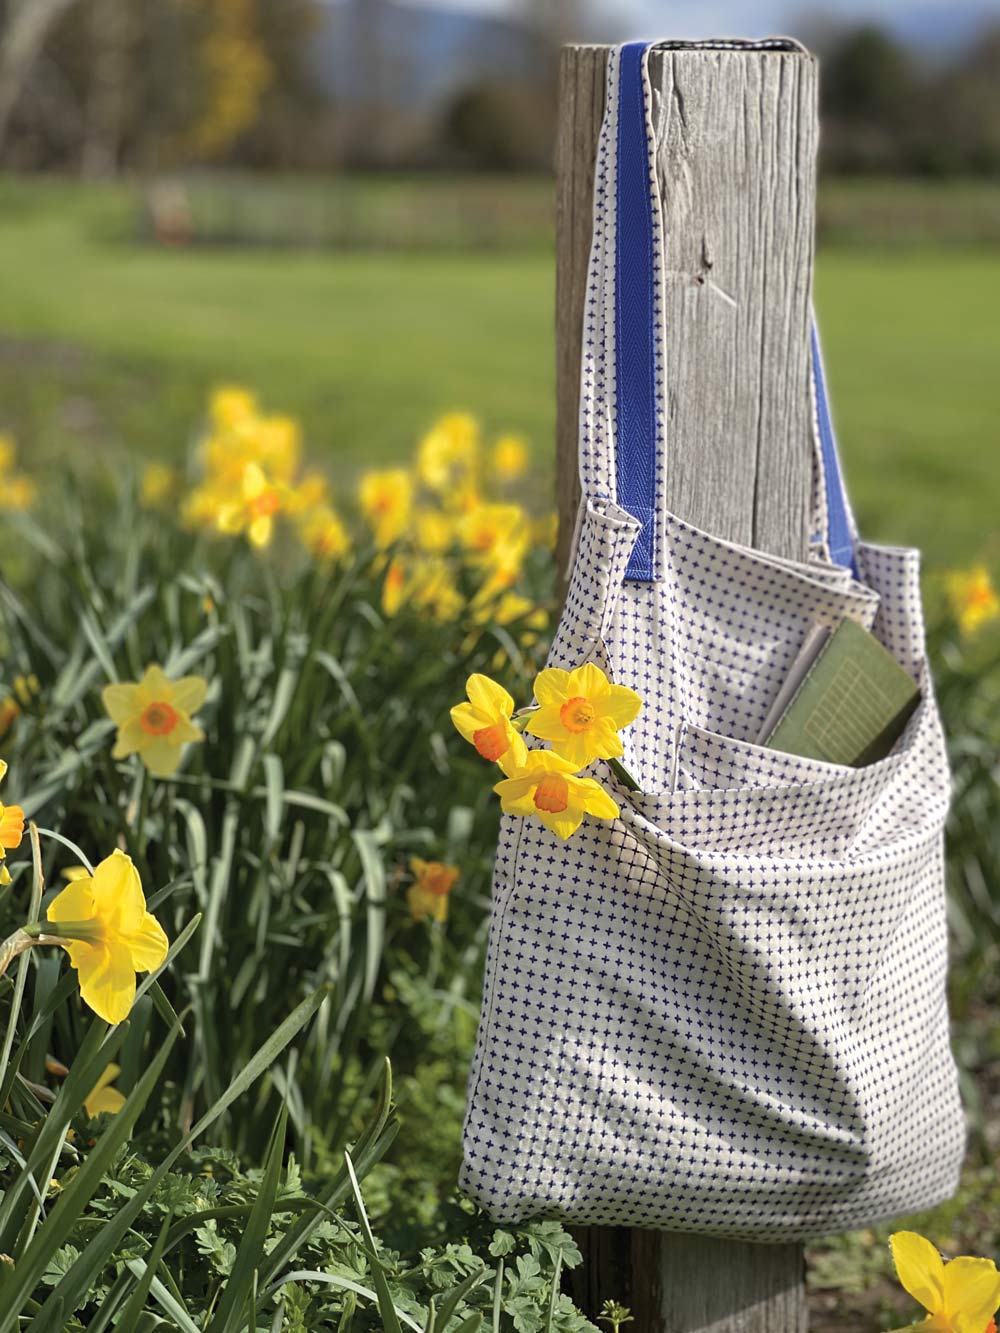
The beauty of oilskin is the beautiful patina that it gets with wear. This is something that should be embraced. Oilskin bag showing the patina
If you do have creases that you don’t like, a hairdryer can reduce them but it is hard to completely remove them. To find out more I tried various different methods on our Oilskin FAQ page.
We always recommend that you please test on some scraps of fabric and see which one works best for you.
Interfacing
You cannot use iron-on interfacing on oilskin, the oil in the fabric means that the interfacing will not stick. However that doesn’t mean it can’t be used if required - you could consider using sew in interfacing; or perhaps interfacing the lining of your project if you are making a bag and using a fabric that is suitable for interfacing.
Looking After your Sewing Machine
In our experience of sewing with oilskin we have never had any problem with it transferring to the machine. However it is always worth cleaning your machine after sewing with oilskin. It is also good sewing practice to change the needle before the next project to ensure any build up of wax doesn't transfer to a different fabric (especially if your next fabric is a delicate one.)
Marking a Pattern on the Fabric.
Marks on traditional oilskin can be used to your advantage. Use pattern weights to stop the pattern piece from moving and then use a blunt tip, like a knitting needle or the back of your scissors to trace on to the fabric. It will leave a mark and then you can use this to cut around. We don’t recommend using tailor’s tacks, as this adds additional holes where you might not want them.  Oilskin Transferring to other Fabrics and Hands
After a day spent cutting, sewing and handling oilskin I did find that my hands had residue on them and needed to be washed regularly. It's worth remembering that most of the surface oil will come off during your initial handling of the fabric.
We recommend that oilskin be used for casual bags or garments - to use/wear during times when you are not likely to be wearing delicate or precious fabrics. There is a chance that some of the oil may transfer to delicate and precious fabrics. It took a great deal of rubbing for me to transfer some oil to some scrap muslin so we believe it is a very minor risk. Storing Oilskin
We recommend that you store oilskin separately from the rest of your precious fabric stash. If it is sitting for some time with the weight of other fabrics and/or high temperatures, there is a risk that the oil may transfer to other fabric. Place it in a brown paper bag or separately from the rest of your stash.
When you buy oilskin from us with other fabric at the same time, we package the oilskin separately to avoid any risk of transfer.

Please remember that any methods we share are what we use, we always recommend that you try any of these methods first on a scrap piece of fabric to ensure it is right for you.
SAVE IT FOR LATER....
