Written by Emma, featured in Wairarapa Lifestyle Magazine, Spring 2024
It is a time for strolling into the Village, making grocery trips by foot and simply slowing down to take in the sights, smells and sounds of life emerging from winter. The local events calendar is busy with garden tours, bookshop hops, daffodil festivals and more, so it is with this in mind that we’ve designed the Spring Tote to be the perfect bag for spring adventures.
Elevated beyond a simple shopper with its ample size, rounded corners and straps that pop means that you’ll look fab strolling country lanes as well as having plenty of room for shopping and all your spring essentials. There is a large main compartment, a slightly smaller outer pocket plus a handy patch pocket for keys and a wallet.

The tote can be sewn in a mid-weight cotton for a lighter weight version that you can fold up as a handy just-in-case bag, or use a sturdy canvas for a hard working tote! The straps are reinforced with webbing and are just the right length for easy access when slung on one shoulder or for wearing across your body to keep it neatly out of the way while walking or biking.

Finished Measurements: 42cm wide, 47cm deep
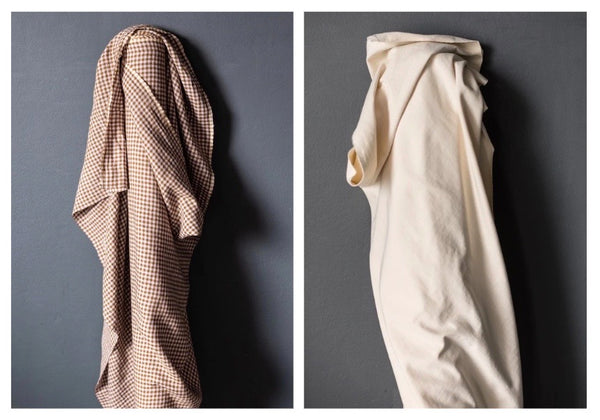
Fabric: 1m of mid to heavy weight cotton, at least 110cm wide.
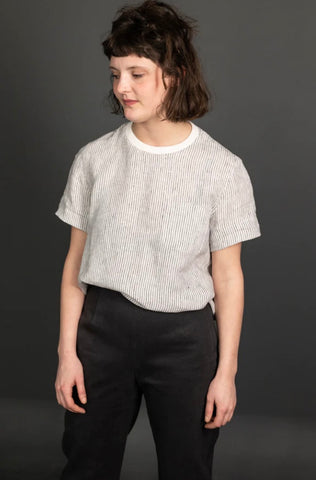
Note - Since photographing the blue and white bag, we have found that the textured nature of this fabric catches on items in the bag, so would be ideal lined with a cotton poplin or lawn.
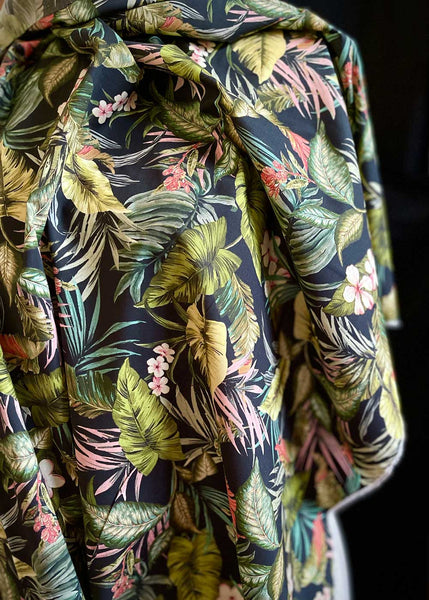
The floral bag is a cotton/linen canvas and a great weight (210gsm) for a tote bag.
You will also need: matching thread, 2m of flexible webbing - we recommend either our Heavy Cotton Tape or Light Nylon Webbing
Or grab a sewing kit with everything you need.

INSTRUCTIONS:
Cut fabric pieces as follows:
Front and Back - two pieces each 47cm wide x 50cm high
Outer Pocket - 47cm wide x 46cm high
Facing - two pieces each 47cm wide x 12.5cm high
Patch Pocket - 23cm x 23cm
Straps - two pieces 8cm wide x 95cm long  On Front, Back and Outer Pocket round bottom corners by measuring 5cm from corner along bottom and up side of fabric. Use a plate or similar to join these marks to create a rounded corner. Trim along curve just created.


Patch Pocket:
At top of pocket press 1cm towards wrong side of fabric. Then, with right sides together, fold back an additional 2cm. Stitch fold down at sides of pocket with 1.5cm seam allowance, trim corners. Finish sides and bottom of pocket with overlock or zigzag.

Turn folded top edge to wrong side, press - also turning in sides and bottom of pocket edges to wrong side by 1.5cm. Edgestitch top folded edge.


Place Patch Pocket on right side of Front - 14cm from top edge, centred between sides. Edgestitch Patch Pocket on sides and bottom of Pocket, reinforcing top corners.


Outer Pocket & Main Bag:
At top of Outer Pocket press 1cm then an additional 3cm towards wrong side of fabric. Edgestitch folded edge.
Baste wrong side of Outer Pocket to right side of Front.

With right sides together and 1.5cm seam allowance, sew together Front (including Outer Pocket) and Back along sides and bottom edge. Finish seams with overlock or zigzag.

Turn to right side, press. 
Facing:
With right sides together, sew Facing pieces together along short edges with 1.5cm seam allowance. Press seams open. You now have a large loop.

On one edge of Facing, press 1cm towards wrong side of fabric. With right sides together, stitch opposite Facing edge to top edge of bag. Sew with 1cm seam allowance, make sure to match side seams.

Turn Facing to inside of bag, press. Topstitch around top edge of bag.
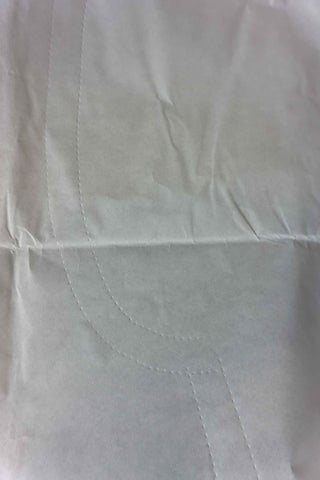
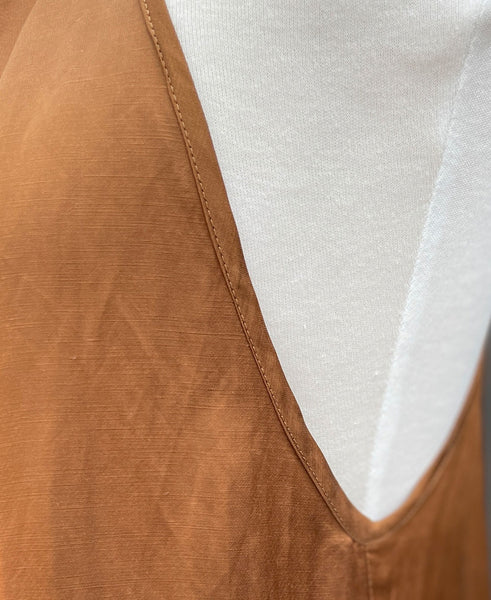
 The next step will need to be done in two stages - first the back then front, ensuring to move the Outer Pocket out of the way between each stage. Topstitch around bottom edge of Facing to secure to bag (10cm from top edge of bag). The photo below shows topstitching the facing on the front side of the bag. The outer pocket is being held out of the way to the left.
  Straps:
Fold in half lengthwise to mark middle of each strap. Open. With wrong sides facing, fold each long edge into middle of Strap. Do not overlap edges.  Cut webbing to 95cm. Lay webbing along centre of Strap to cover raw edges. Topstitch webbing to Strap along long edges. This is now the right side of Strap. Repeat for other Strap.
  Fold under 5cm on short edge of Strap to wrong side. Place Strap at top of bag - 6cm from side seam, 5.5cm from top of bag. Sew onto bag (including Facing) with a rectangle and cross pattern for reinforcement.
 Repeat for other end of Strap, then for other Strap. Ensure you don’t twist Straps.
  Load your new bag with your spring essentials and time to head out to absorb a little of new season life.


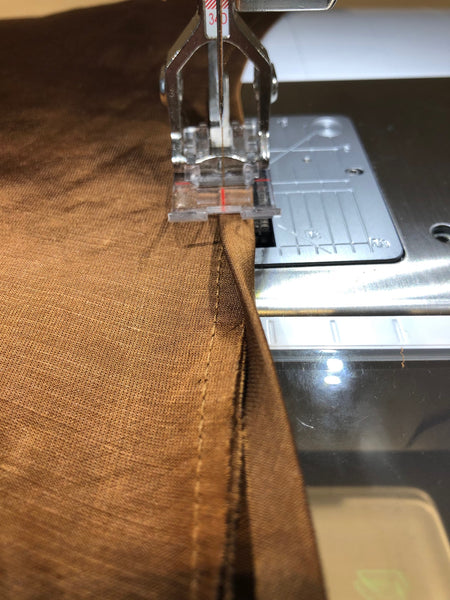
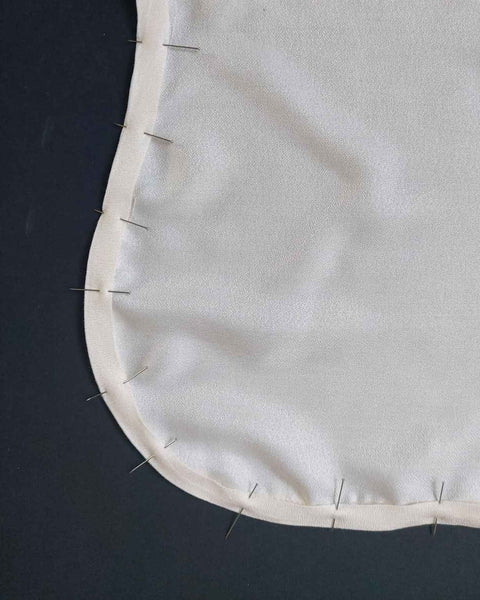
 It can sometimes be hard to see if you have all the bulky layers lined up evenly, so I tend to use more pins than I normally would.
  Hold Fabric Taut. If your fabric is on the bulky side it can be hard to see if you have layers lined up correctly and/or hard to sew an accurate seam allowance (Pic A). To help with this, hold the fabric taut as it feeds through (Pic B)- without restricting the sewing rate. I hold all layers together then bend them up at right angle to the machine surface (Pic C) - this keeps things taut and more likely to feed through evenly.


 You could also bind seams if you were sewing a coat or cardi where you'd see the seam.
  Holding all layers of fabric together as I sew/overlock:
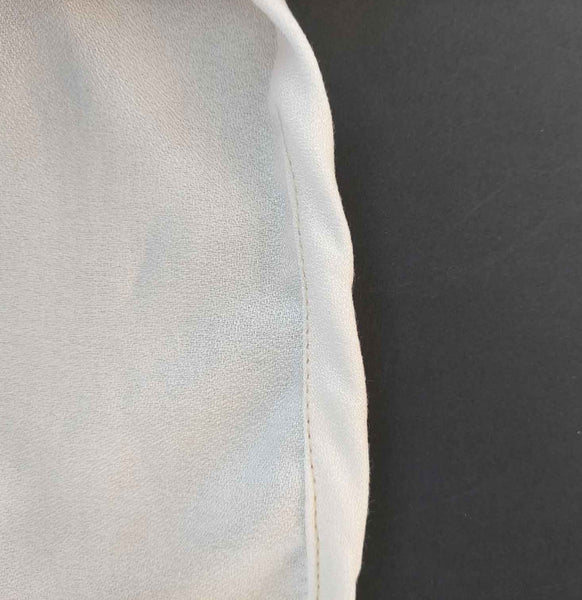
  I'd recommend that you check each seam from the right side of the project to ensure you have all the layers sewn together. Do this before you move onto finishing the edges.
 This is also the process I'd recommend for sewing set in sleeves.


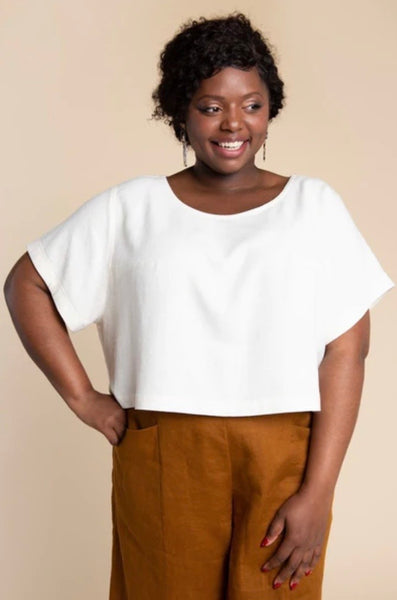
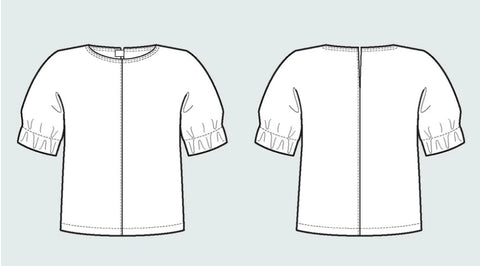
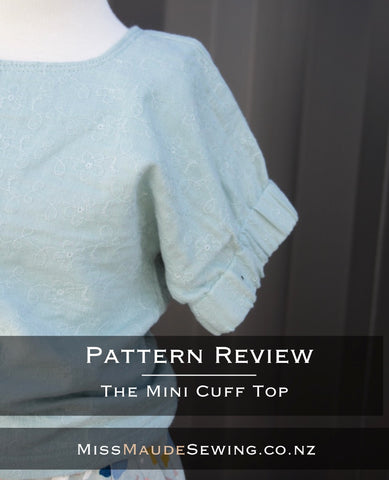
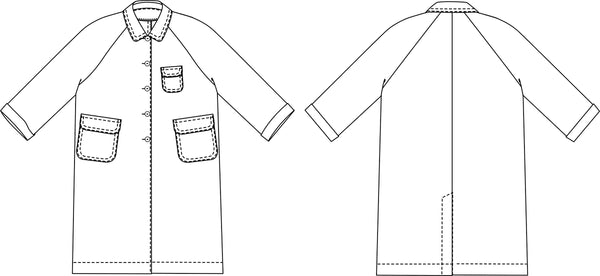
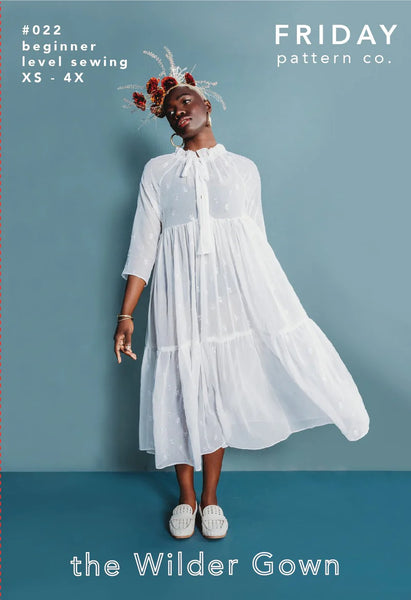
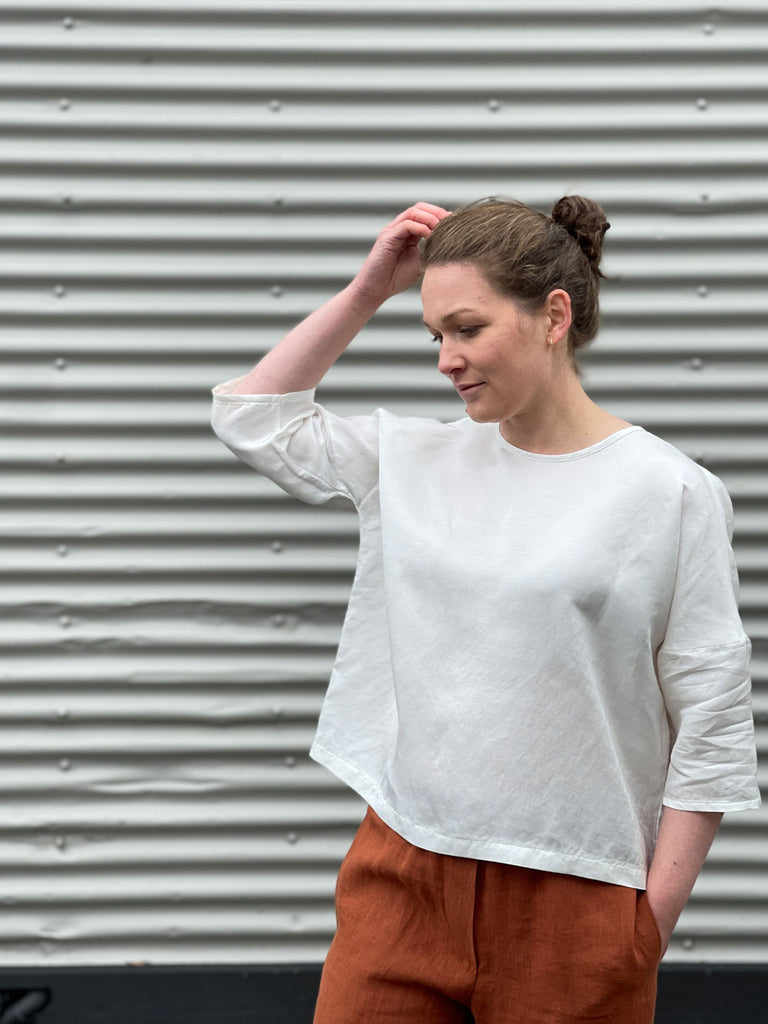
 We've sewn the popular


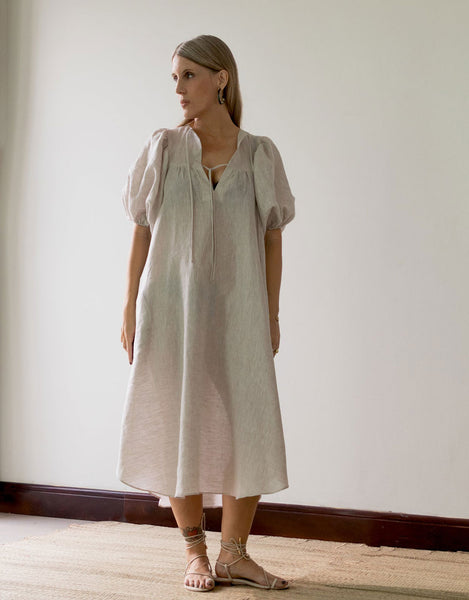


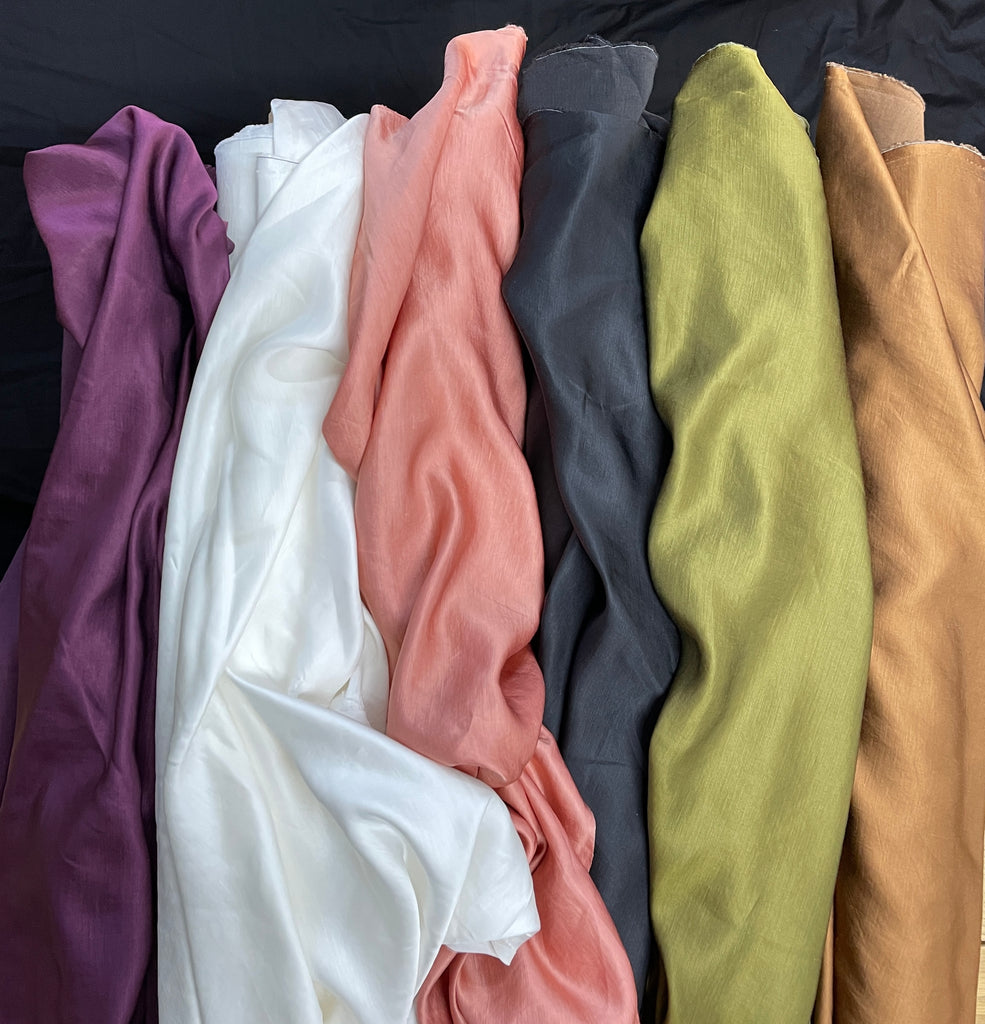
 If I make this again (which I probably will in linen for summer), I will add a little more ease to the sleeves.

 I wouldn't be without my
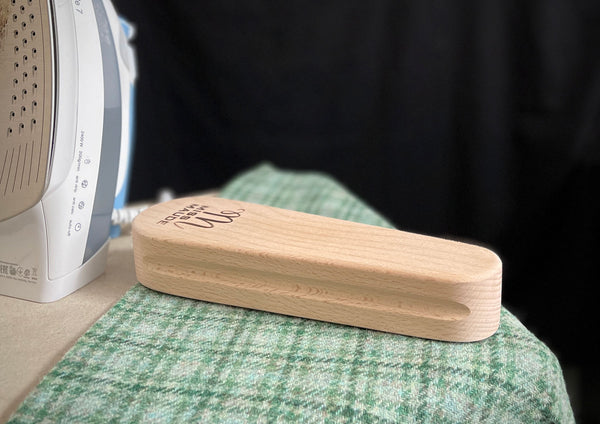


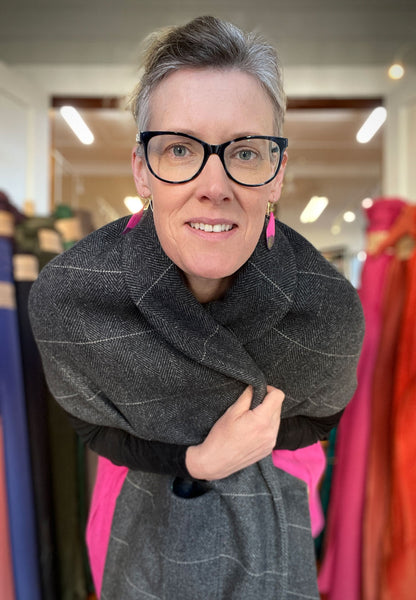


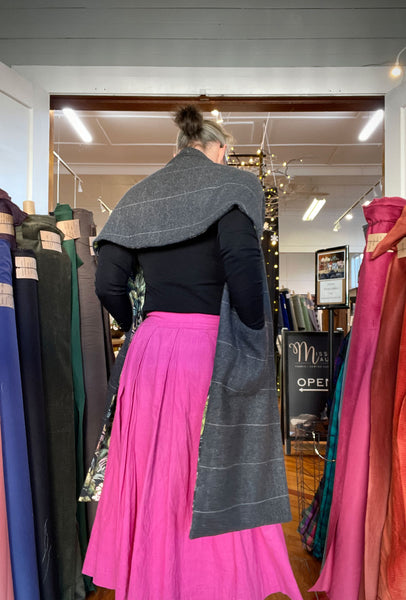
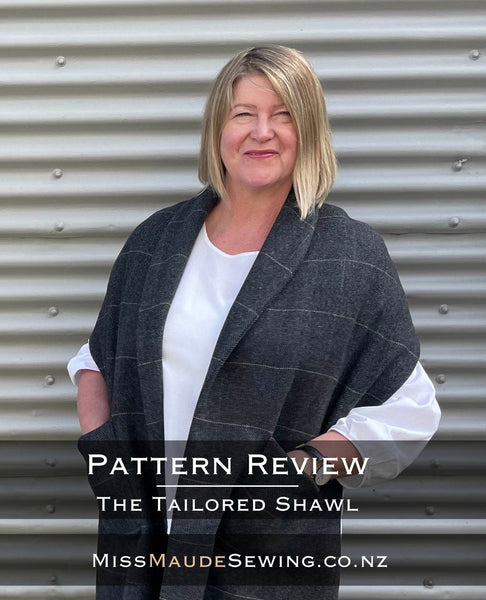

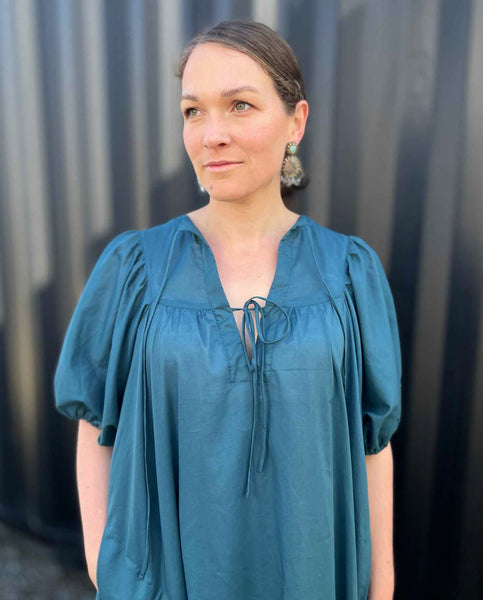
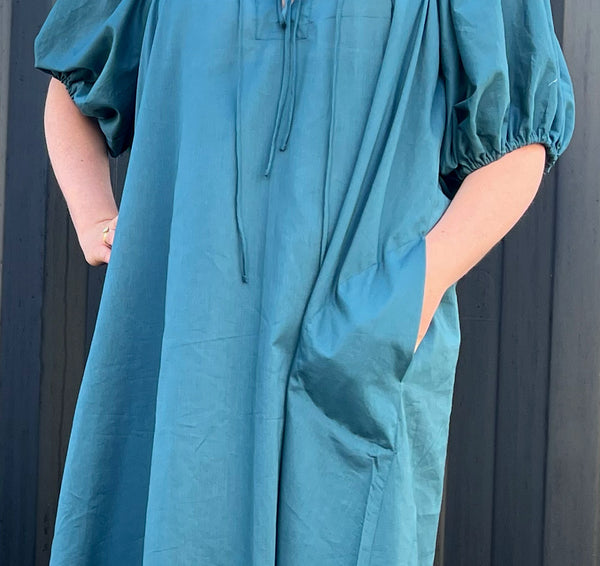
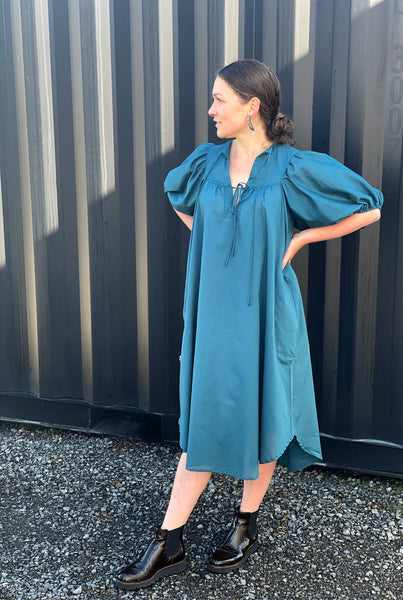
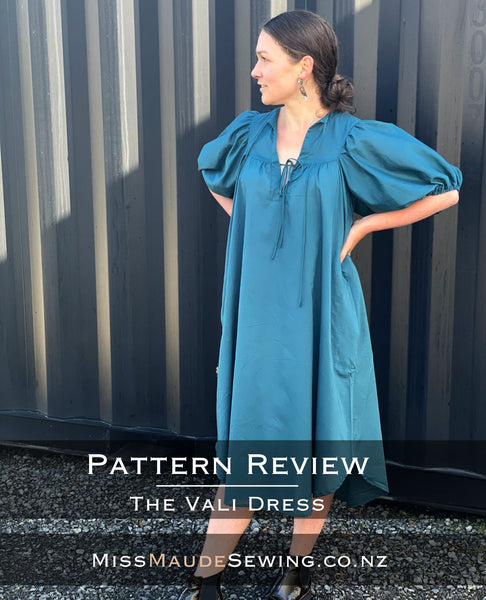
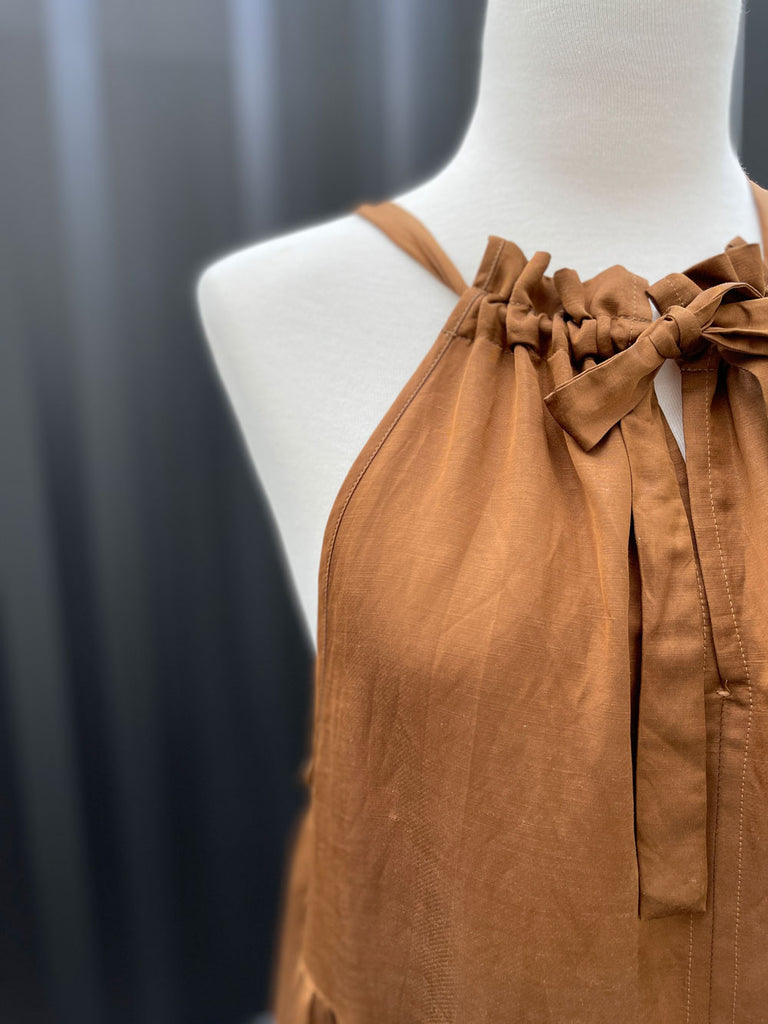
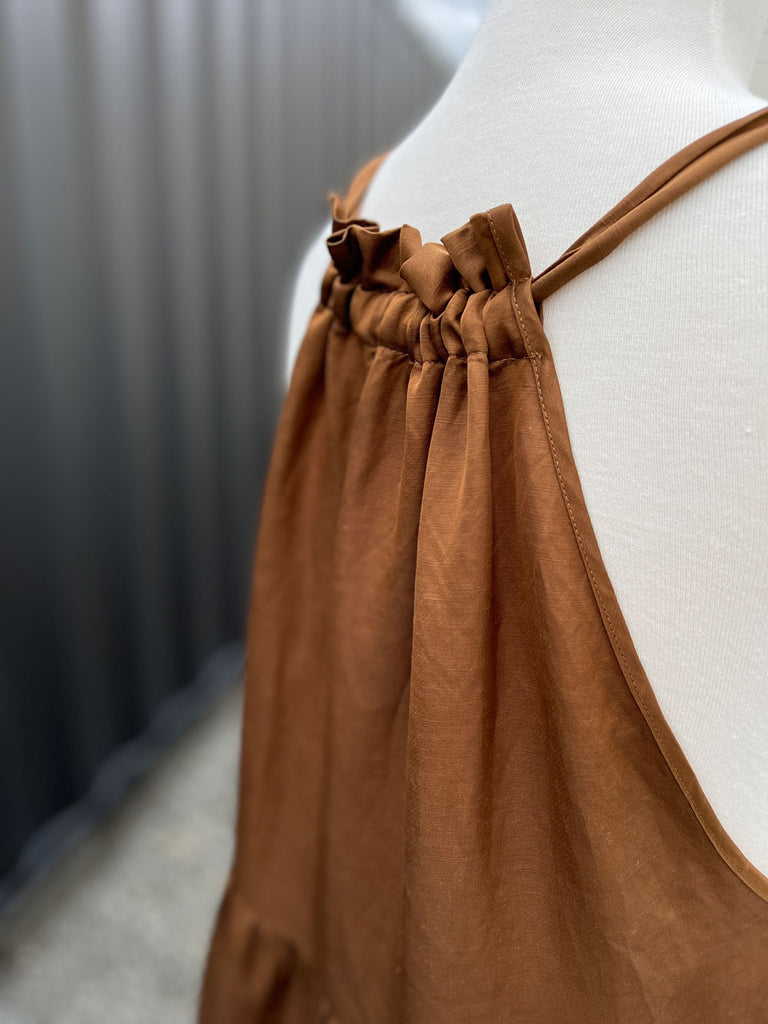
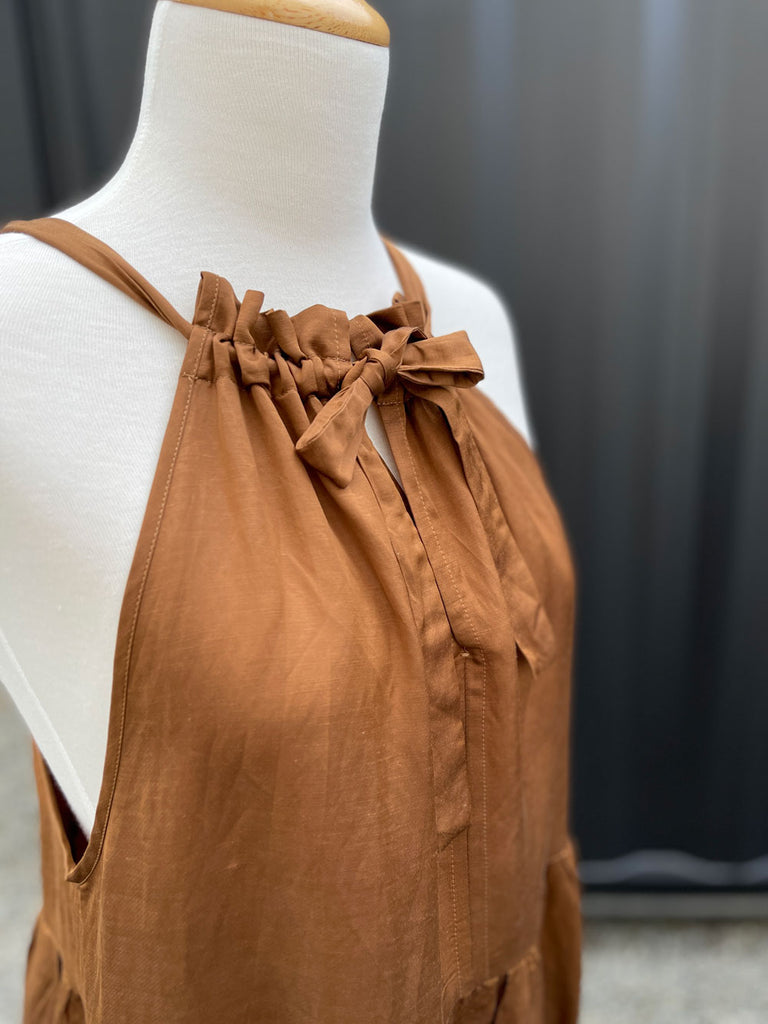
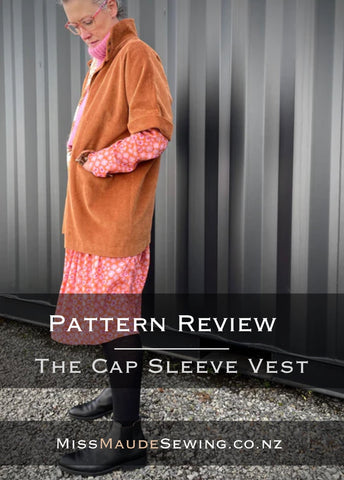
 A classic shape that you will be able to wear for years to come - with or without the removable tie.


 I Am Patterns


 Miss Maude exists because of my personal journey with mental health and the role that making has played in helping me heal and stay well. I don’t underestimate the positive impact that making has on my state of mind and mental health. This together with the impact neurological conditions have had on our family and friends has made supporting The Foundation’s important work a no brainer (pun intended!).
  Searching for ways to heal, I realised that I had stopped making. All my life I have created things with my hands - but with the upheaval that comes with moving across the globe, that had all stopped. It hadn’t seemed like a priority - until I realised it was.
 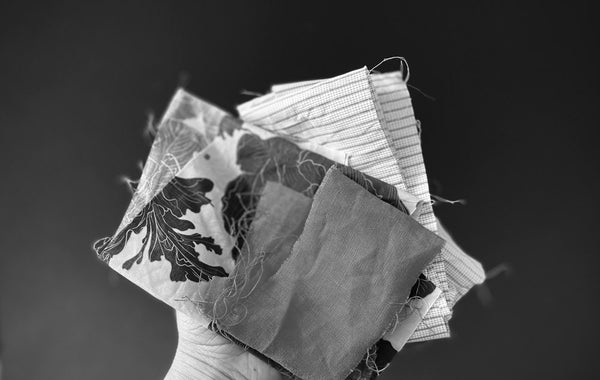 So I gathered together a few scraps of fabric, then somehow found the ability to get out of the house to visit a local fabric store to purchase a few more. I started to put them together to make a quilt. It was slow. Sometimes it was hard. But it was cathartic. As if with each little piece of fabric added, I was one step closer to a healthy me.
  Making not only brings a sense of achievement, but it is a process that can bring so much joy. Sometimes it is calm, sometimes it’s less so. Sometimes it’s easy, sometimes it’s a challenge.


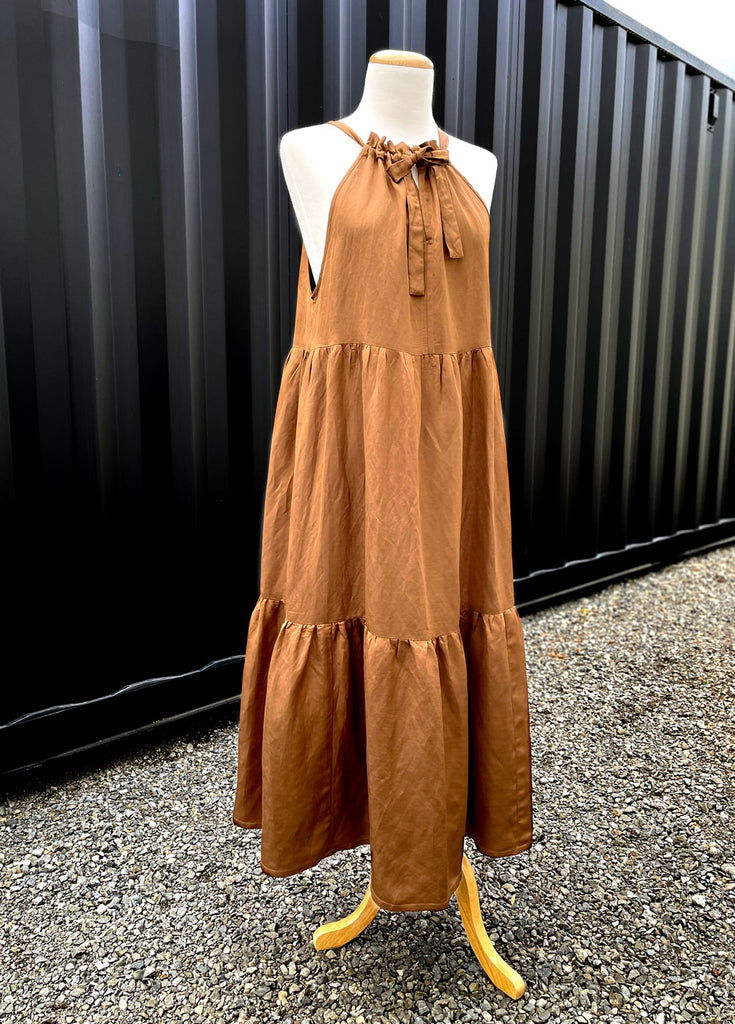


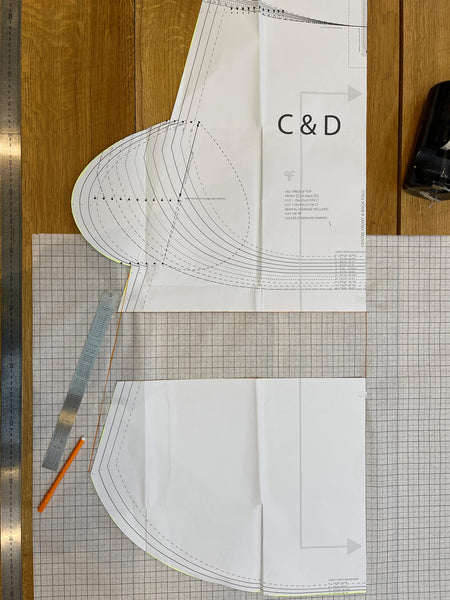
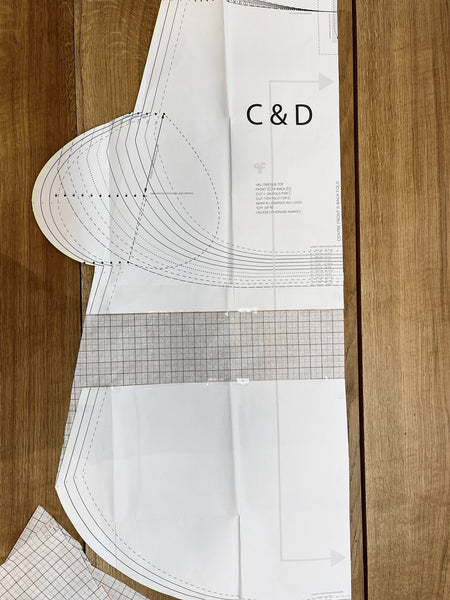
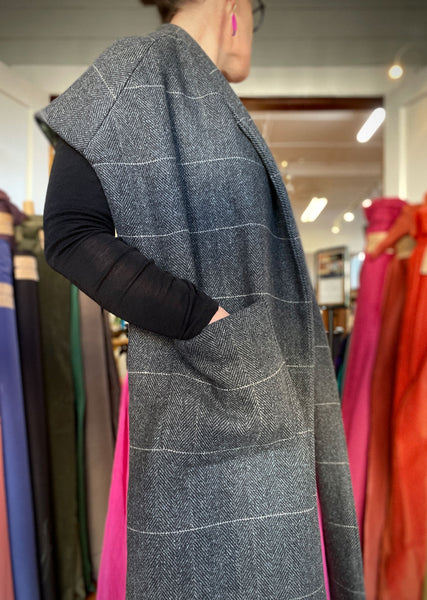
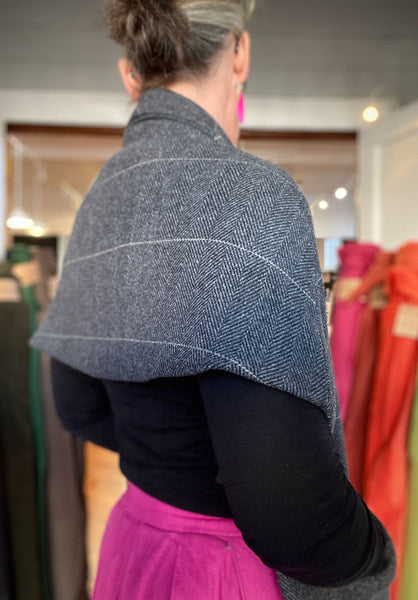
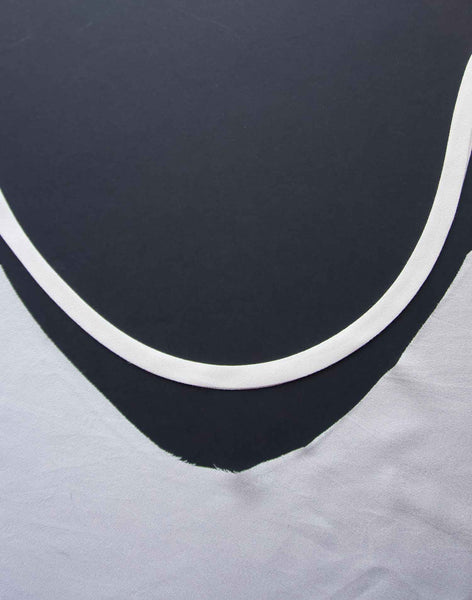
 To make the adjustments for the sleeveless gown follow the steps in the pattern instructions until step 3 is complete.

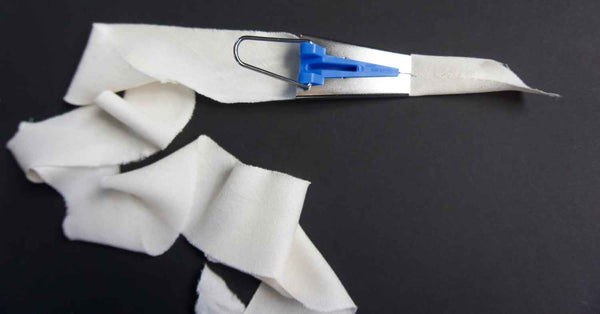

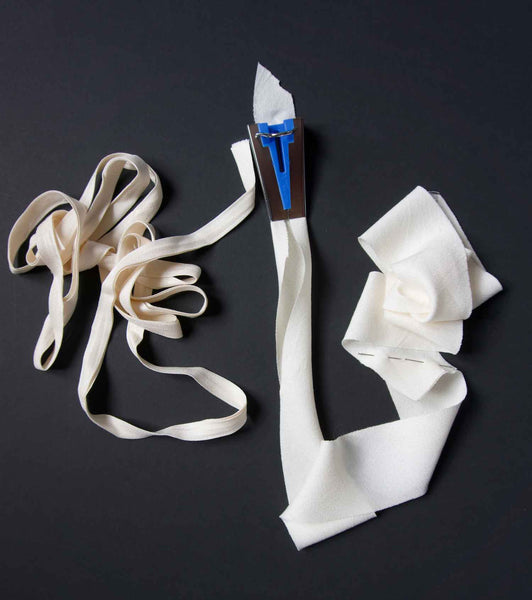


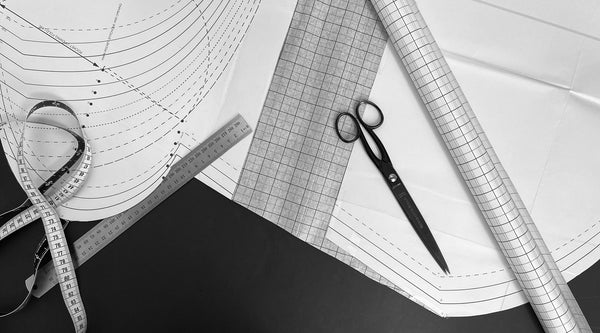
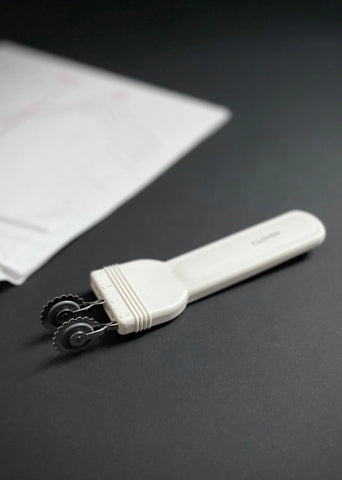
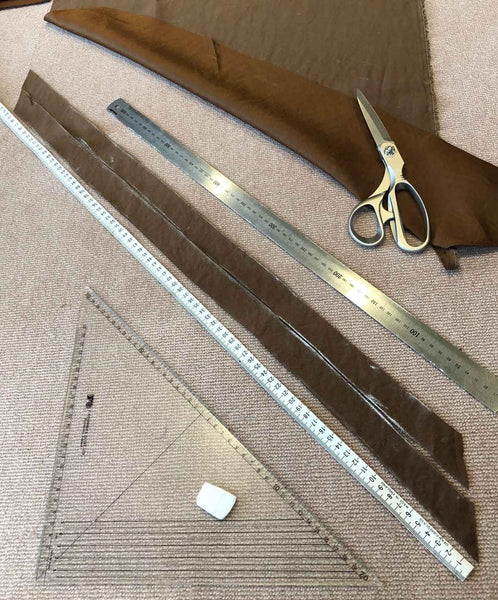
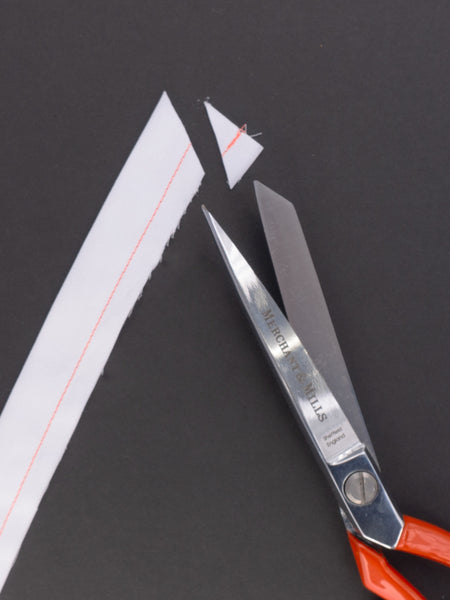
 Depending on the length that you require you will need to join the strips of fabric to make one continuous length, place the ends at a 90 degree angle and sew at a 45 degrees. Trim to neaten the edges.
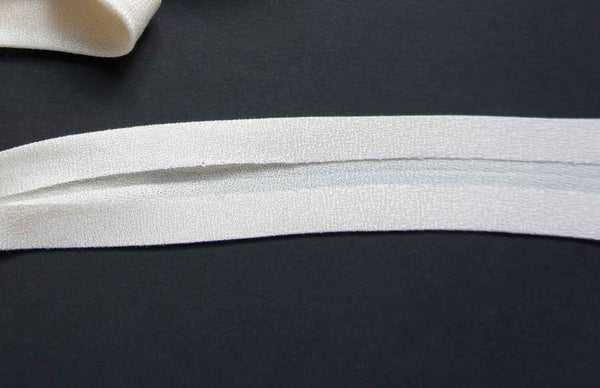
 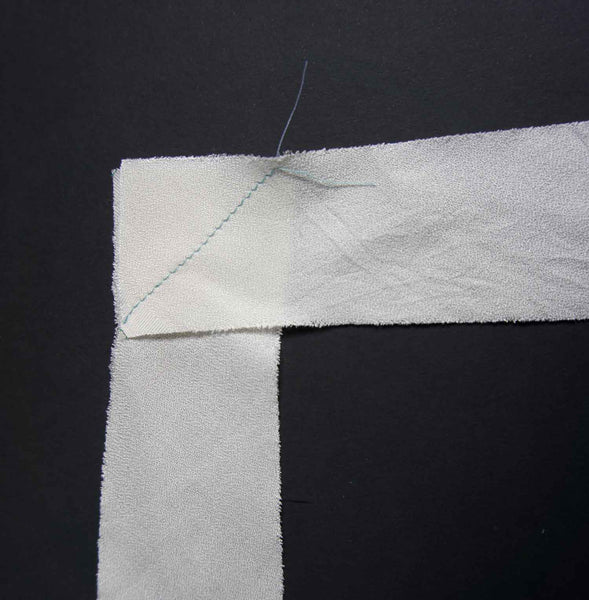 Before inserting the fabric into the tape maker pre stretch it, this will help it to go around any curves. Gently pull the tape while using lots of steam and heat on it.
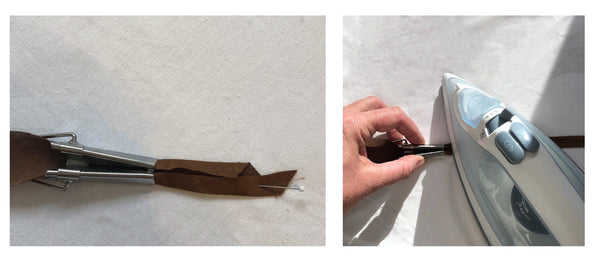
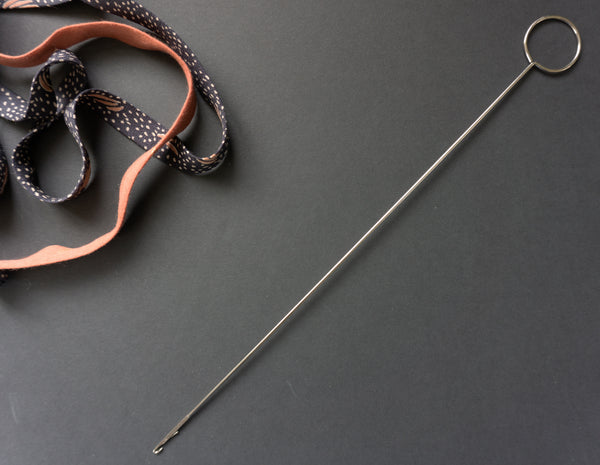
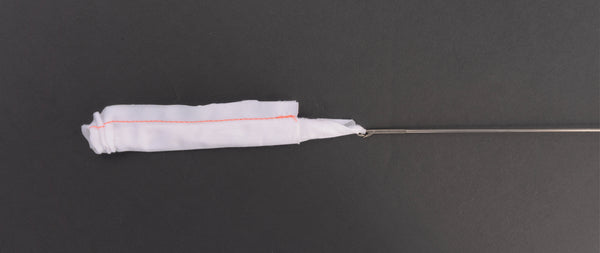
  Insert the fabric in to the tape maker (with the wrong side facing up), it sometimes helps to use an awl to help the fabric through.
 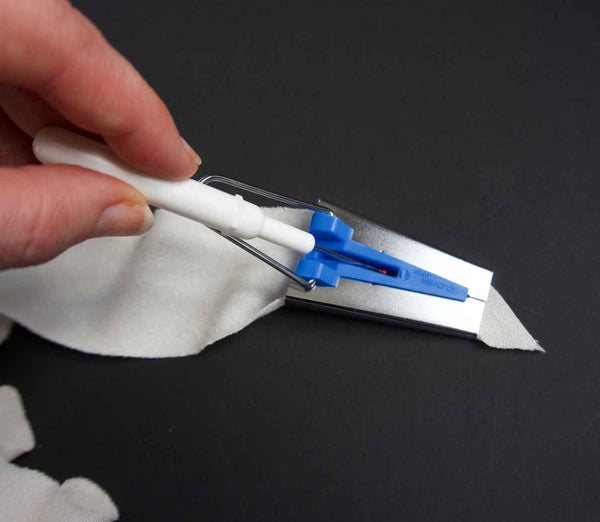 Pin the end of the tape to the ironing board and then pull the tape maker using the handle and iron the tape as it comes out the tape maker.
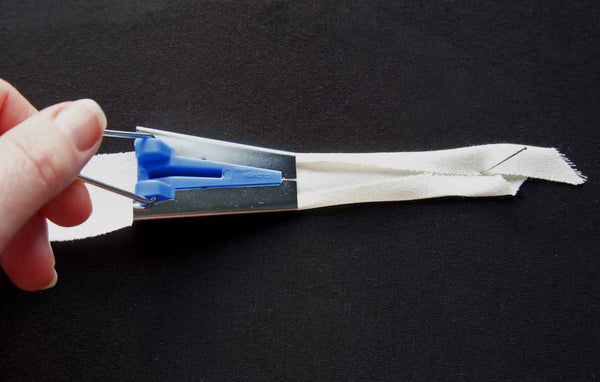 If you want Single Fold Bias Tape then your tape is ready to be attached. If you are after Double Folded then fold the binding in half again and press the bias binding, it is now ready to attach.
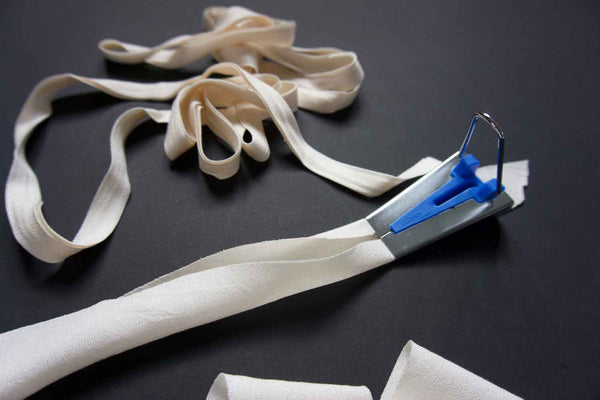


 Fit
Fit


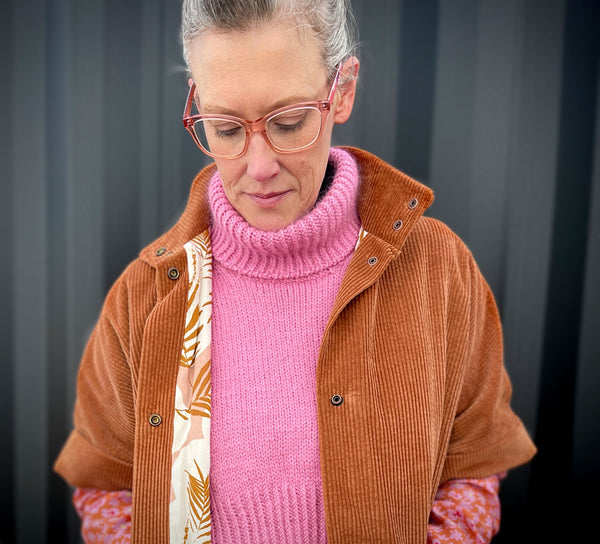


 If you are wondering what a wale is - we aren't talking about the mammal or the country. The wale is the number of ridges, or cords, per inch on the fabric - the lower the "wale" number, the thicker the width of each wale (e.g., 4-wale has much thicker cords than 11-wale). Our corduroy is 6 cords per inch, making it relatively chunk, but also very soft with a lovely drape.


