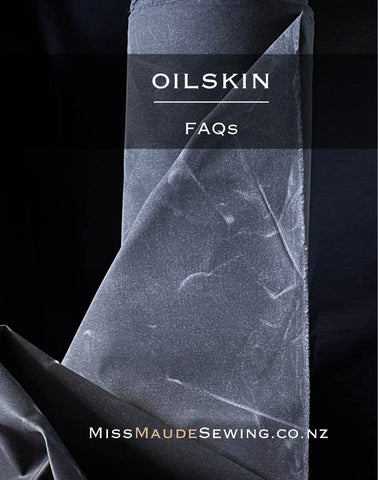
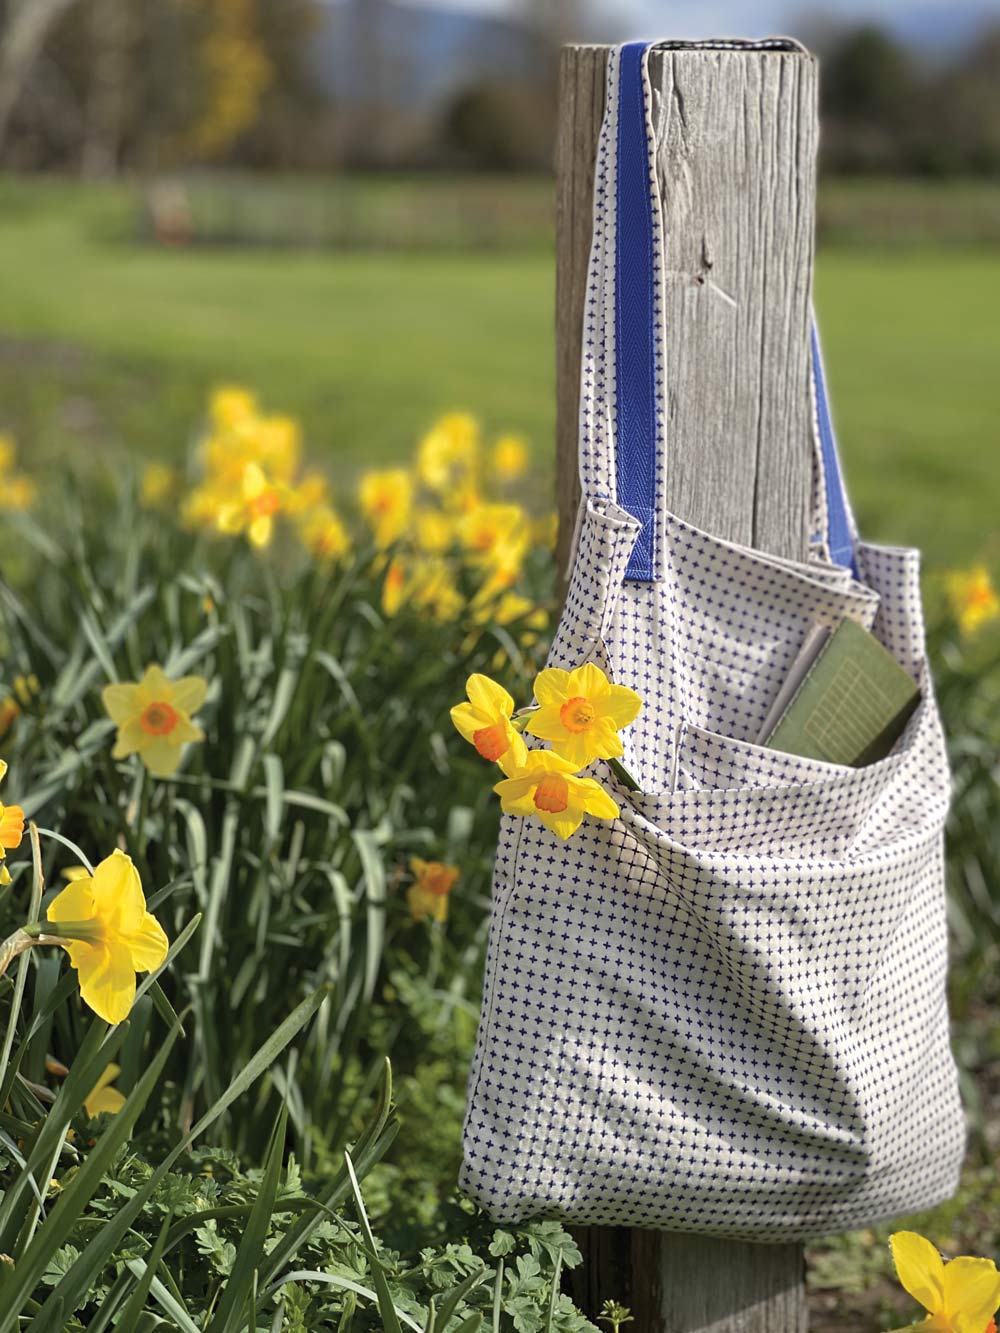
Oilskin looks and feels different to other fabrics and that can understandably make people nervous. We want to make you feel as comfortable as possible using it, so we tested out a few of the common things you may query.
For all these experiments I used a 90/14 needle. My sewing machine is a standard middle of the road sewing machine. It isn't anything fancy.
I carried out the same experiments on both traditional and dry oilskin.
If you want to try any of these methods we REALLY recommend testing it out first on a scrap piece of fabric. Some of the things I tried out on the oilskin we would NOT recommend doing.
What Type of Foot Should I Use on Oilskin?
I have both a walking foot (which feeds or 'grips' the fabric from the top and the bottom) and a regular foot (which just relies on the feed dog to 'grip' the fabric from below. I sewed two layers of both the traditional and the dry oilskin with both feet. As you can see, there is very little difference in the quality of stitch. I was concerned that the walking foot might leave a mark on the fabric with the extra feed dog but this wasn’t the case.


Conclusion
This one is down to personal preference. Use whichever foot you are most comfortable with or have. There is no need to go and buy a special foot for these projects.
What Happens if I Make a Mistake when Stitching Oilskin?
Firstly unpicking a seam happens. Don't beat yourself up. Everyone does it multiple times in a project. Unpicking a seam on oilskin will leave a mark and it is much more noticeable on traditional oilskin than the dry oilskin. But the fabric can be ‘healed’ to really reduce the marks. I tried three different ways to 'heal' the fabric and here are the results.
When unpicking the dry oilskin the stitch marks weren't visible which meant there was no reason to run the experiments on the dry oilskin. The experiments to 'heal' the oilskin was only carried out on traditional oilskin.
Rubbing
Based on the theory that over time oilskin will wear and develop a patina, I wondered what would happen if I rubbed and scrunched the fabric to see if they would eventually disappear.
This is the result.

Conclusion
While rubbing and scrunching the fabric didn’t remove the marks it did reduce their visibility. There was a difference on each side of the fabric. On the underside of the fabric (which was facing down when it was sewn) it is much more obvious than the side of the fabric that was facing up when it went through the machine. This is because of the needle punching through the fabric and you can feel the little bumps on one side.
Hairdryer
Oilskin doesn't like heat, it can melt the oil and remove it from the fabric, but this can work in your favour if you want to make holes disappear.
I used a hair dryer on the hottest heat that it had and waved it over the fabric about 10cm from the fabric and rubbed the fabric with my finger.
Conclusion
This was probably the best result I had but because I was heating the oil up it did mean there was a lot of transfer on to my fingers and hands. It doesn’t fully get rid of the marks but it does significantly reduce them.

Iron
Going against everything that we have said. What happens if we use an iron to try and remove stitch marks?
To protect the iron, the ironing board and the fabric I sandwiched the fabric between a layer of scrap fabric.

Conclusion
Not great and I would not recommend this method. Despite using a fairly low heat and putting it between two pressing cloths the oil still transferred to the pressing cloth and there was a visible strip on the fabric where the iron had been.
Overall Conclusion
If you really want to get rid of the stitch marks I would recommend either just rubbing the marks with your fingers or using a hair dryer (using your fingers is a less messy option!). But please stay away from the iron.
Pressing Open a Seam
I don't know about you, but nothing makes me happier than a well pressed seam when I am sewing. It also makes your sewing a lot more accurate and looks well finished. But what can you do if you can't iron?
I tried three different ways to press open a seam.
Finger Pressing
This is a simple one. Just open it up and press the seam firmly with your finger on a hard surface, or just between two fingers.

Conclusion
This was simple and it worked. It provided a really clean crisp seam on the traditional oilskin. It didn't work as well on the dry oilskin. It pressed open but it didn't sit as flat.

Clapper
I saw a tip about using a wooden clapper for pressing open the seams. A clapper is a great tool for getting crisp, flat seams without marking and/or singing the fabric. They are traditionally used in conjunction with a steam iron, however in this instance I used the clapper without an iron. I simply used by body weight to press it down on the seam.

Conclusion
It gave the same result that the finger pressing gave, however as the clapper is an untreated piece of wood (i.e no varnish or oils on them) it absorbed a little of the oil from the oilskin fabric. This is now a problem, as this oil now on my clapper may be transferred to my next project.
We would NOT recommend using a clapper on oilskin.
Iron Between Two Pieces of Fabric
What would happen if I did iron the seam? To protect it I ironed it between two pieces of fabric and a mid range heat.

Conclusion
This did not go well. The oil from the traditional oilskin transferred on to the pressing cloth and left a very visible mark on the oilskin where it had dried out and the pressing cloth had absorbed some of the oils. The dry oilskin was more successful with a pressing cloth and a low heat. As long as you were very careful and didn't hold the iron in one place for too long this would be ok to do.

Overall Conclusion
The beautiful thing about oilskin is that it presses really well just using simple finger pressing, there is no need to risk the heat on the fabric or risk damaging other sewing tools.
What Happens if I Wash Oilskin?
Firstly, just don't wash oilskin. But for scientific research I did that. So you don't have to.
Hot Wash
I put both the dry and the traditional oilskins through my washing machine at 60 degrees on a normal wash. I had a full load so put them in with that so they got the full wash experience.

Cold Wash
I then put both pieces through a cold wash. Again it was a full load so it was the same as the hot wash.

Overall Conclusion
The traditional oilskin was ruined in the hot wash. The dry oilskin wasn't as affected. They fared better in the cold wash but were left with marks that would affect the appearance of the cloth. I recommend NOT putting them near the washing machine.
Removing Marks
When we ship oilskin it is cut and folded, when it arrives it will almost certainly have marks like this. Please note that for the purpose of the photograph, I have really pressed these creases into the oilskin fabric to make the marks more defined.


It might not bother you, but if you find it distracting when marking out patterns then I thought I would see if I could remove it for you.
There are several options.
- using a hair dryer to remove them
- just scrunch it up and start the patina process! It's going to happen anyway.
Below are the results of both options.


Conclusion
If you really feel the need to remove the creases from your oilskin, a hairdryer or scrunching it up will reduce the marks but not make them completely disappear. Or you could just ignore the marks and cut out and sew your projects knowing that it is going to mark as you move along.
Transferring Oil on to Other Fabric
Does the oil from oilskin transfer from one piece of fabric to the other? I rubbed both the traditional and dry oilskin repeatedly for 5 minutes (I used a timer) on to muslin to see what would happen.
The results are below.

Conclusion
It was very hard to see any transfer from the oilskin on to the fabric. I think more damage was done from the vigorous rubbing to the muslin rather than the oil transfer! More oil was transferred from when it was ironed.
The dry oilskin did not transfer anything, which is designed to do.
We hope that you found this guide helpful, what we really encourage you to do when trying anything new is to test it out of a scrap piece of fabric before committing to your final piece of fabric.
Please remember If you want to try any of these methods we REALLY recommend testing it out first on a scrap piece of fabric. Some of the things I tried out on the oilskin we would NOT recommend doing.
SAVE IT FOR LATER....
