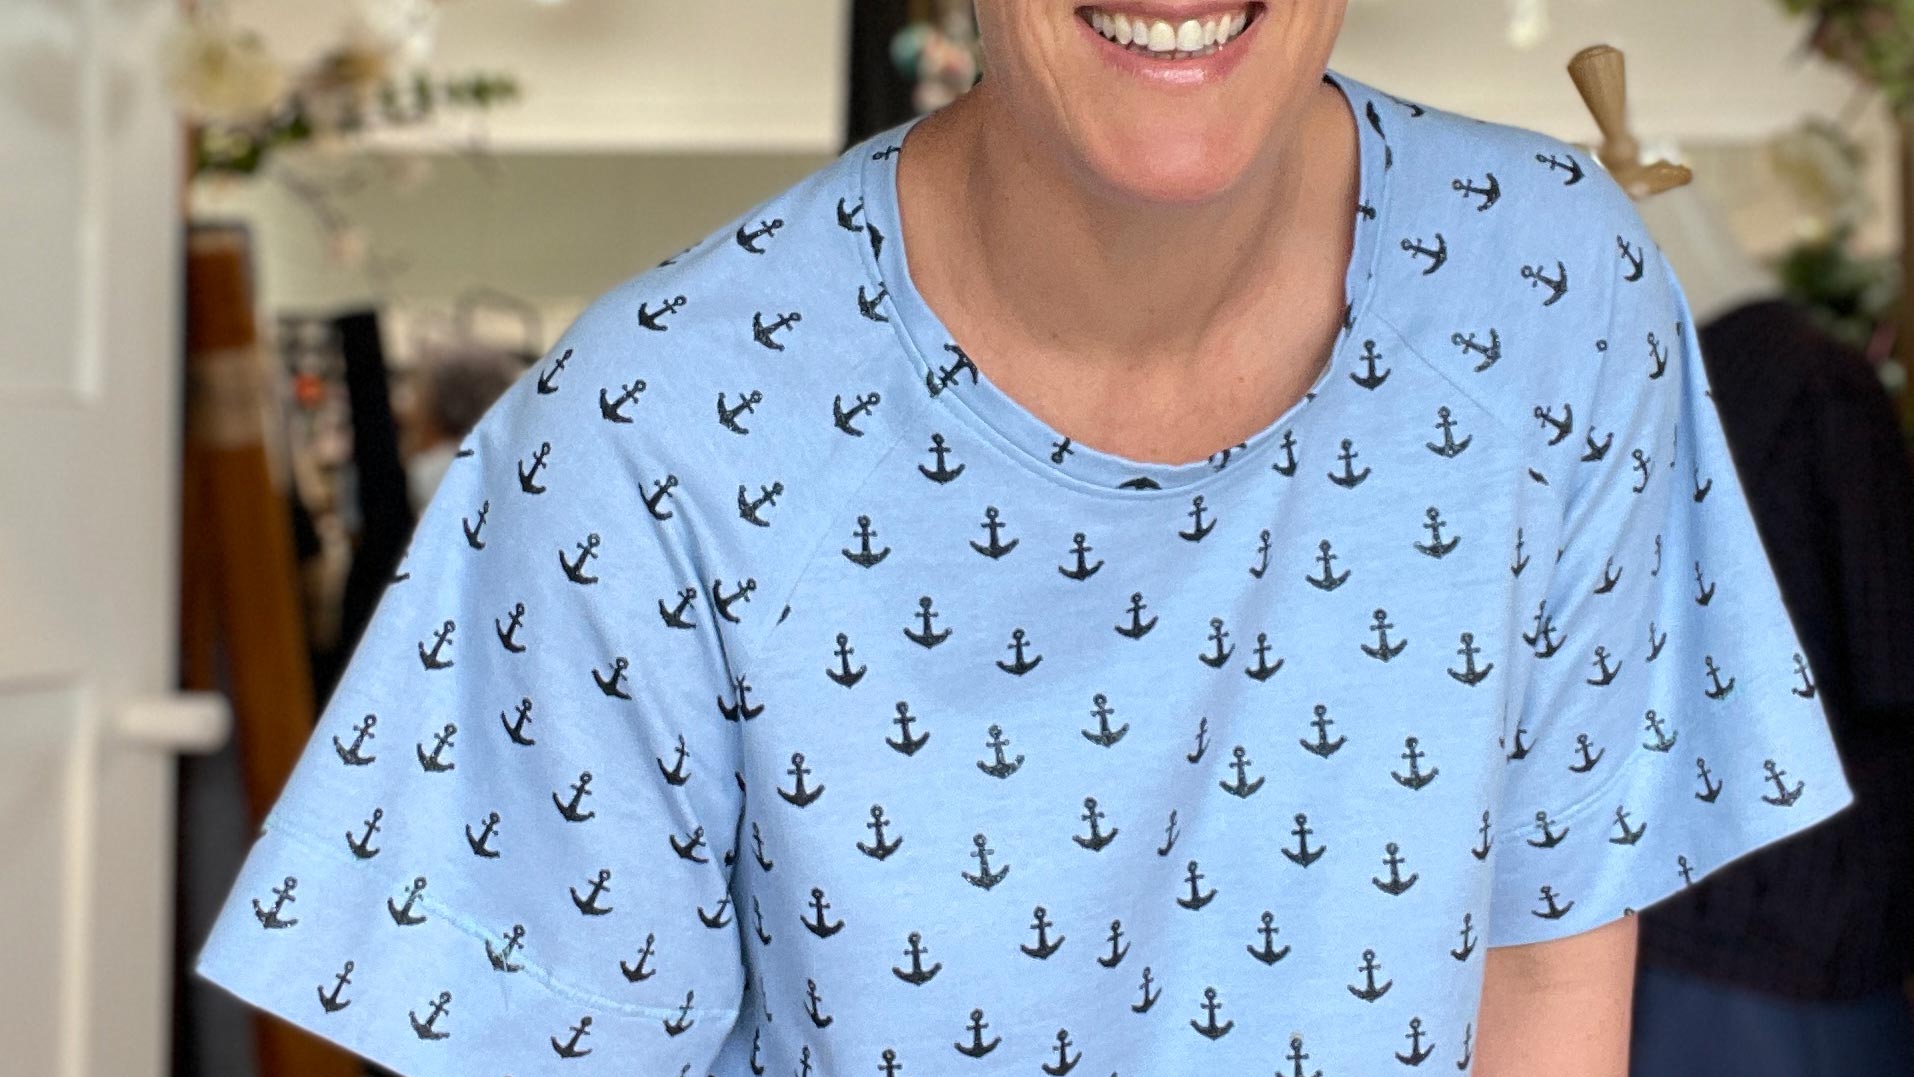
Written, made and worn by Emma.
More often than not, bright colours and pretty prints are reserved for spring and summer fabrics - so what to do when you’re a colour lover and it’s the middle of winter? Well it's time to get a little creative! For me this winter I created my own winter fabrics using light weight cottons quilted together with some lush bamboo/cotton batting to create bright, fun and cozy winter ready fabrics.
And the best part is that it opens up a world of possibilities for different fabrics to be used for autumn, winter and spring makes.
Two projects that I worked on this winter are the Sidney Jumper and the TN34 Parka. Both use hand printed light weight cotton fabrics (normally reserved for high summer) in bright colours to add a little joy to the winter wardrobe.


Want to give it a go?
It's a straight forward process, you just need to allow a little extra time to quilt your fabric before cutting out your pattern. Here are all the details and our top tips for creating your own beautiful and cozy quilted garments:
✂️ You will need three layers of fabric to quilt together - consider how thick and supple you would like your finished quilted fabric and how it will work with your chosen sewing pattern. You can pretty much quilt anything, but obviously the thicker your layers, the thicker the final product. For these two projects we used light weight hand printed fabrics - around the 100gsm mark. Similar to a lawn/light poplin. Our bamboo/cotton batting is 160gsm and then for the orange and pink Sidney Jumper we used organic cotton voile as a backing, while for the TN34 Parka we choose a slightly weightier cotton poplin.
✂️ Quilting a couple of metres of fabric can get a little cumbersome, so I quilted multiple pieces that were each sized to fit on of the pattern pieces - with a little room to spare. Typically the quilted fabric will shrink a little when washed.
✂️ Don't forget to take note of any directional prints you need to factor in at this stage.

✂️ Choose what your stitch pattern will be for your quilting - for the jumper I choose a simple diamond with 75mmm spacing between lines. I ruled the lines with an erasable fabric marker before stitching. Otherwise you could use a quilting guide on your sewing machine foot, or like I did with the striped coat - use the fabric print to keep you straight.
-
- note > the closer together the quilting stitching, the firmer the finished quilted fabric.
✂️ This ends up being a little more fabric hungry than usual, so I recommend getting approx 10% more than what your pattern suggests. You will need the same for your main fabric, batting and lining (note a lot of quilt batting is double width, including ours, so take this into account)
✂️ Once my fabric was quilted I washed/soaked each piece to take out any shrinkage and to give that lovely crumpled quilt look. 

✂️ Finishing Seams - these can get a little bulky, so you'll probably want to grade seams to reduce the bulk. For these two projects I used a combination of grading seams and top stitching them flat, while other seams (on the unlined TN34 Parka) I bound with beautiful bias binding.


✂️ For the TN34 Parka, where the pattern called for interfacing the main pattern pieces, I interfaced the corresponding facing piece instead. This worked well, and kept the quilted ‘puff and texture’ of the main fabric.
✂️ Make sure to have extra thread on hand - I used approx 500m for the Parka.
✂️ Enjoy the process and the world of possibilities for creating unique winter sewing projects 👌