Making and Sewing Bias Binding
Making and using bias binding is a really great skill to have in your sewing arsenal and gives a clean finish to seams and edges on garments. It is also a good replacement if you don't want to use a facing that is provided by a pattern and prefer to have a different finish instead.
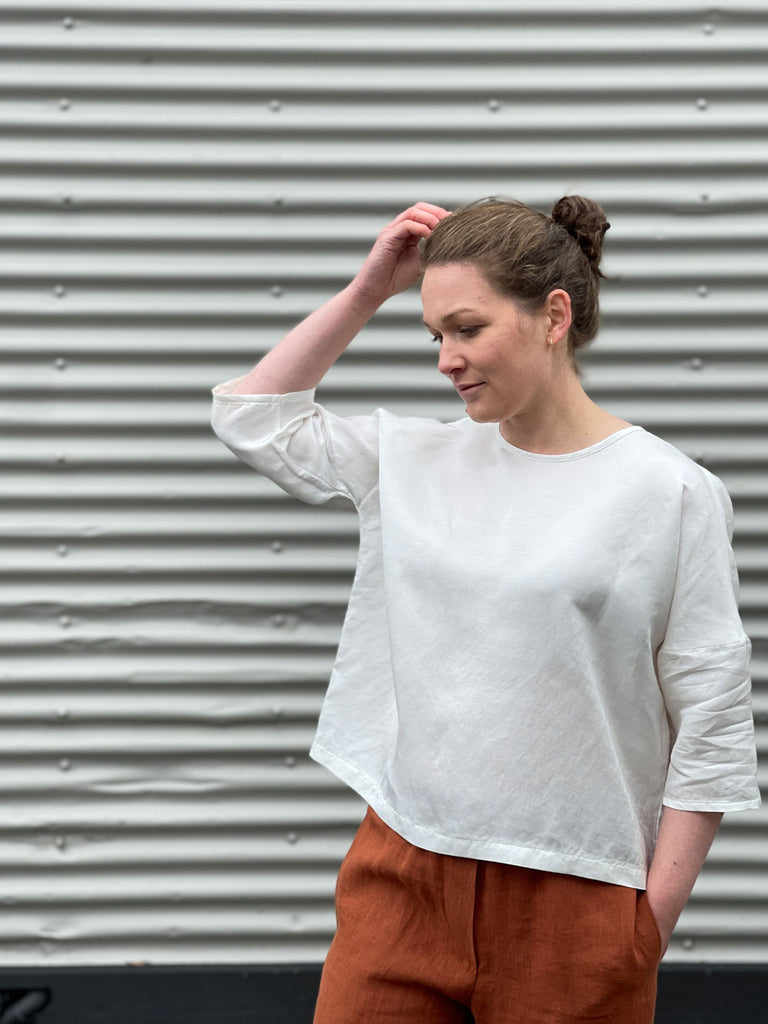
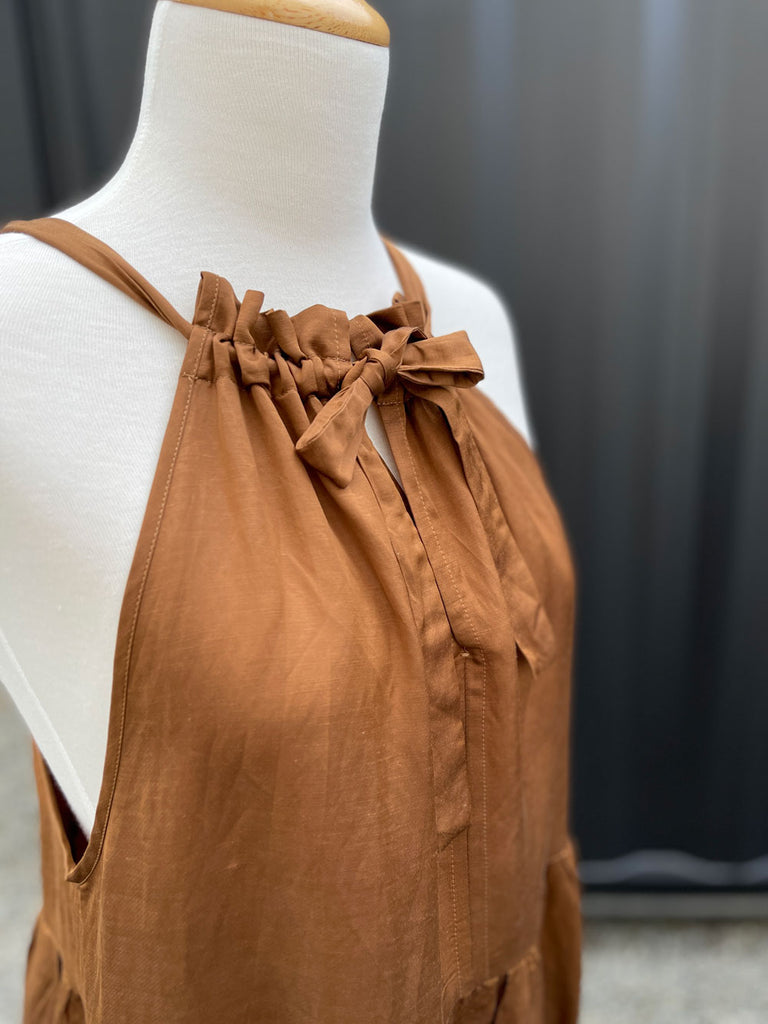
We have used our Reveal Linen Viscose to sew both the Wiksten Shift Top and The Wilder Gown where we used bias binding to create beautiful finishes on the neckline and armhole respectively.
Wiksten Shift Top Sewing Pattern Review
Friday Patterns Wilder Gown Sewing Pattern Hack
Why is it called Bias Binding
Simply it is because it is cut on the bias (diagonal) instead of cutting in line with the grain of your fabric. Anything cut on the bias will have some stretch to it, as opposed to cutting something with the grain.
The grain is the direction of the yarns in a fabric, and they are woven with a warp and weft yarn which gives the fabric stability. Turn the fabric 45 degrees and it pulls across the yarn.

Why should I use Bias Binding?
Bias Binding is cut on a 45 degree angle, diagonally across the grain of the fabric. Cutting it at this angle means that it gives the tape flexibility to be worked around curves such as necklines and armholes. It can also be used to finish seams using a technique known as a Hong Kong Finish. This is a method of binding seams with bias tape, and is a great option if you are making an unlined coat where the seams will be visible.
Bias Binding can either be bought pre-made or you can make your own using a Bias Tape Maker.
Single or Double Fold?
When making or buying bias binding, you might notice that it is referred to as either Single Fold or Double Fold Bias Binding.
Our Bias Tape Makers create Single Fold Tape - where the edge of the binding is folded in to meet in the centre of the binding strip. Single fold bias is a good option when you want to finish an edge, such as a neckline, and only want to binding to be visible on one side.
To make double fold bias just fold it in half again and iron.
We also stock pre made Double Fold Bias Binding, which is great for binding an edge where you will see the binding on both sides of the edge. This might include binding seams, finishing the edge of a blanket. or adding decorative detail to the top of a patch pocket.

How to make bias binding using a Bias Tape Maker
The great thing about making Bias Binding is that you can use offcuts from a project which helps reduce waste from a project.
Take a largish section of fabric and find the grain line, you will want to make a 45 degree cut across the fabric.

Cut strips of fabric that are the width as stated on your bias maker, or if not using a bias maker, cut the fabric four times the finished width of the final binding for double fold binding, or twice the finished width for single fold bias. I want binding that is approximately 12mm when finished, so will cut out fabric that is 50mm wide.
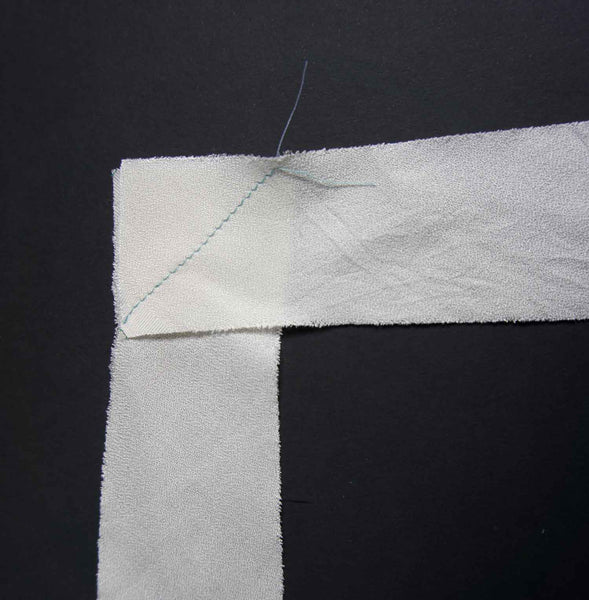
 Depending on the length that you require you will need to join the strips of fabric to make one continuous length, place the ends at a 90 degree angle and sew at a 45 degrees. Trim to neaten the edges.
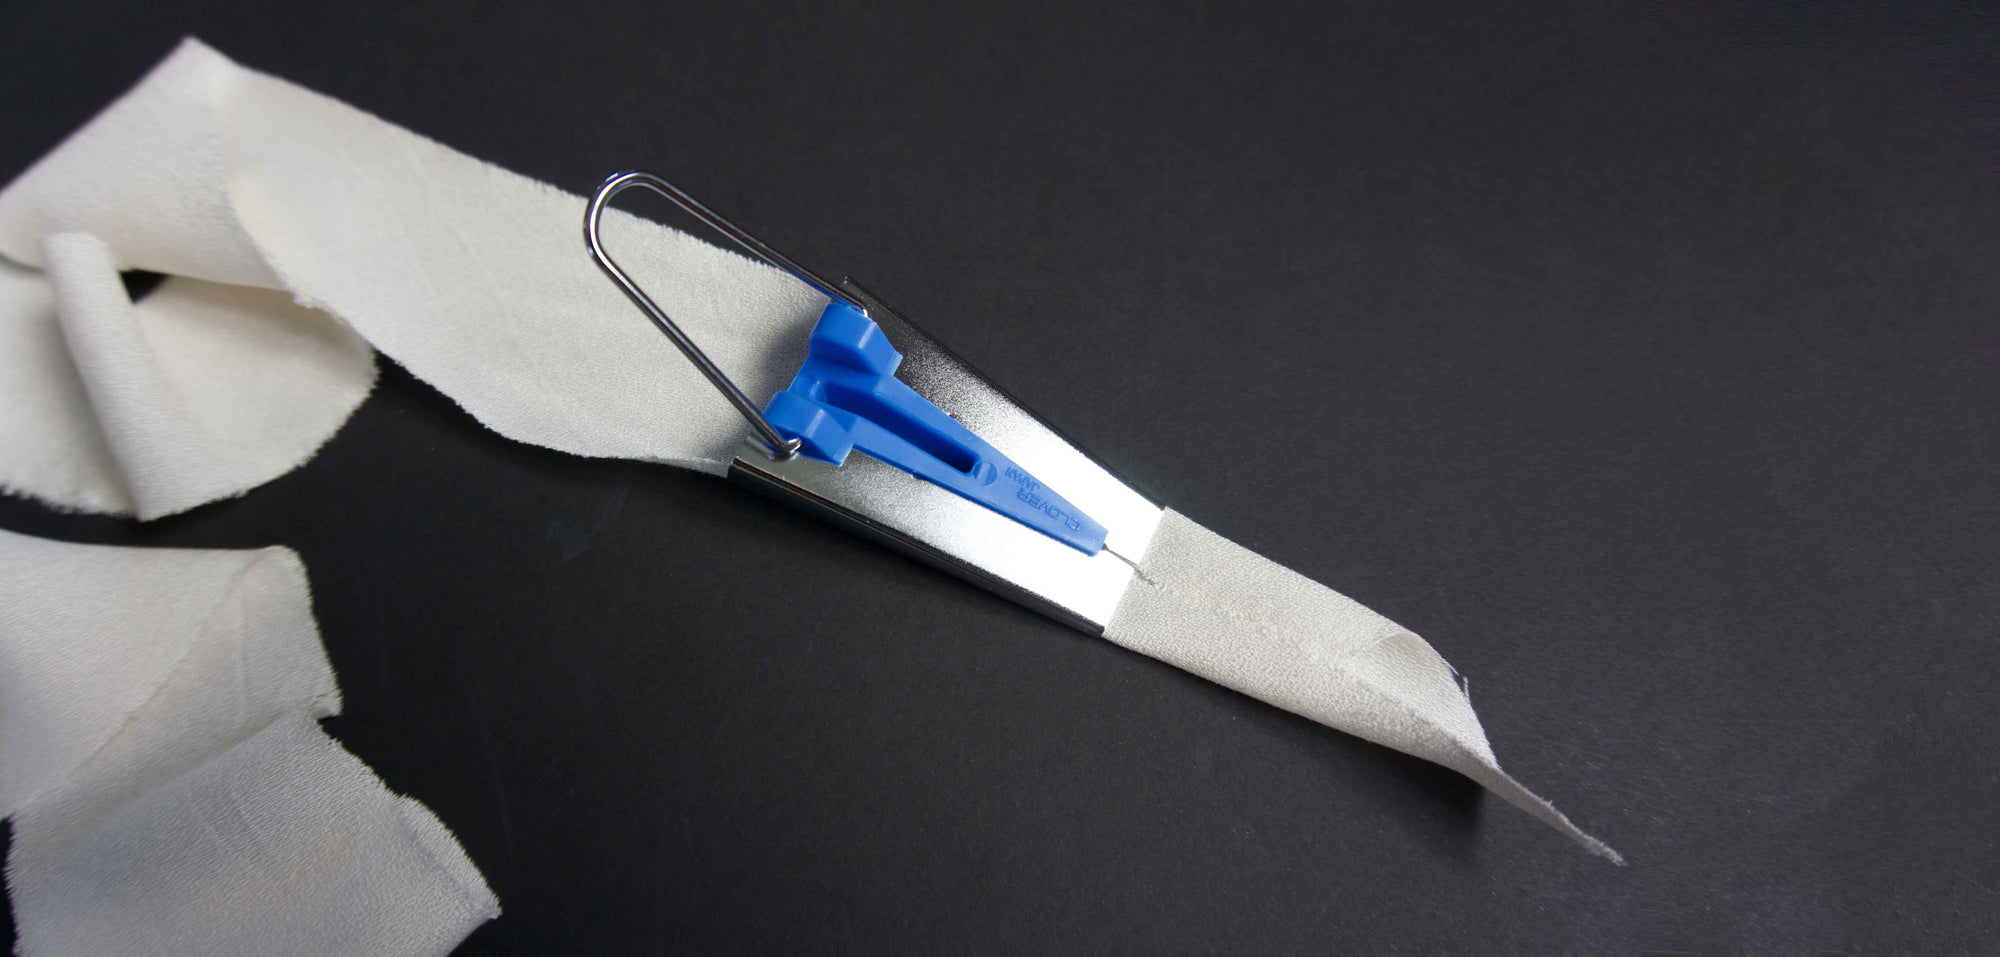
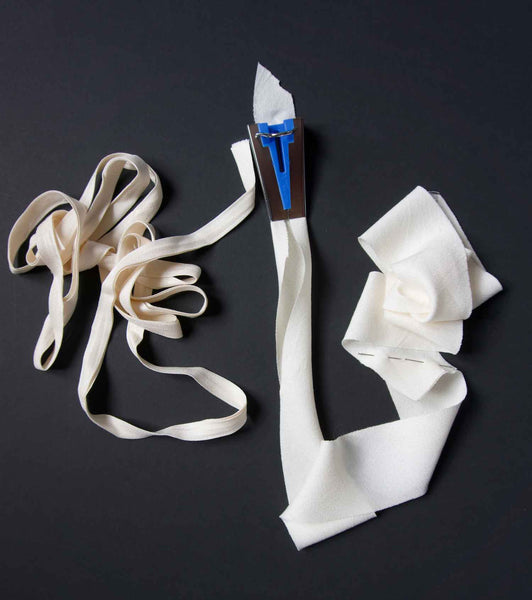
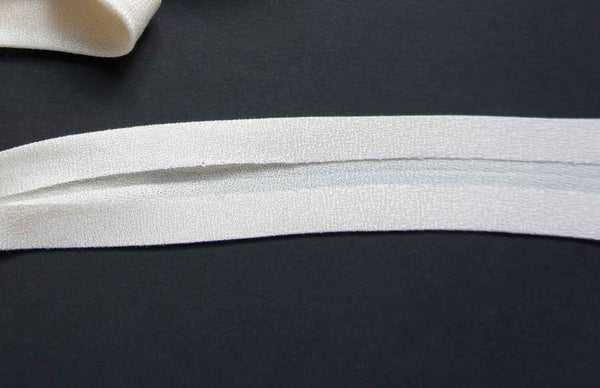
 Before inserting the fabric into the tape maker pre stretch it, this will help it to go around any curves. Gently pull the tape while using lots of steam and heat on it.
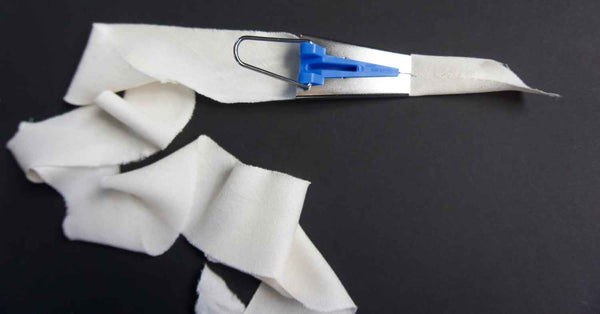
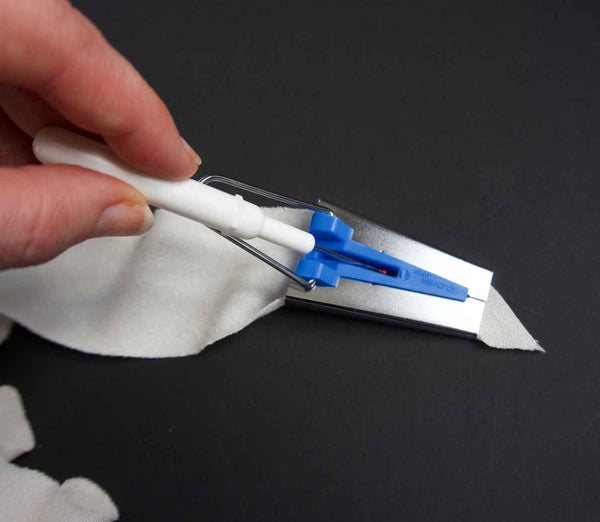
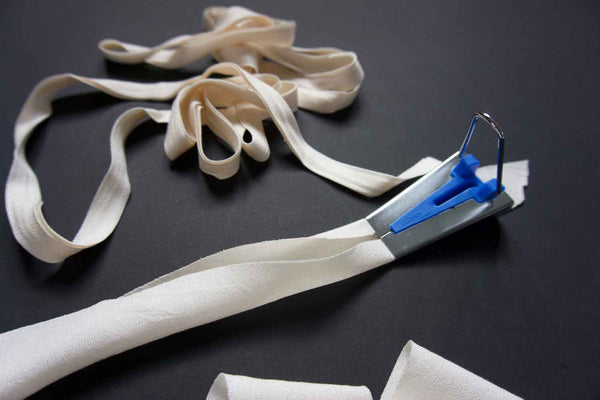
 Insert the fabric in to the tape maker (with the wrong side facing up), it sometimes helps to use an awl to help the fabric through.
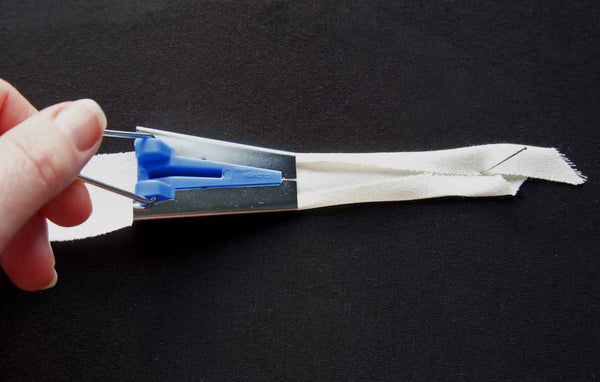
 Pin the end of the tape to the ironing board and then pull the tape maker using the handle and iron the tape as it comes out the tape maker.
 If you want Single Fold Bias Tape then your tape is ready to be attached. If you are after Double Folded then fold the binding in half again and press the bias binding, it is now ready to attach.
How to Attach Bias Binding
Tips on how to attach bias binding to avoid getting the twisting and roping.
These tips will apply if you have ready made tape or you made your own and will help you to insert tape that is free of twisting and roping that can sometimes occur.
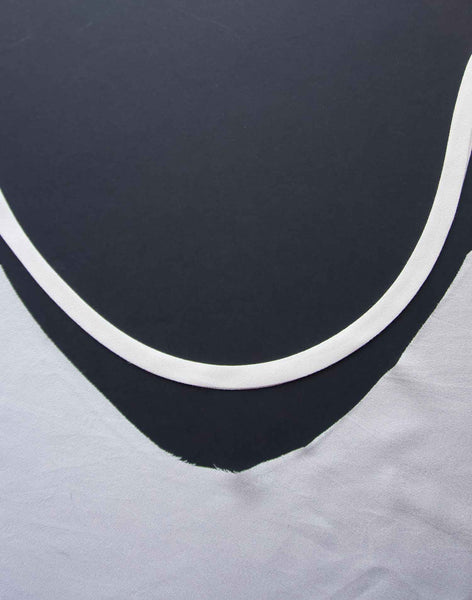
Skip this step if you are binding a straight line. If you are going to be attaching bias binding to a curve it is well worth pre-curving the tape before attaching it. It helps the binding to sit flat and be inserted smoothly.
Place it on your ironing board and gently curve it around, check against the curve that you are going to be sewing it on to make sure that it has enough curve to it. Do not move the tape until it has cooled.
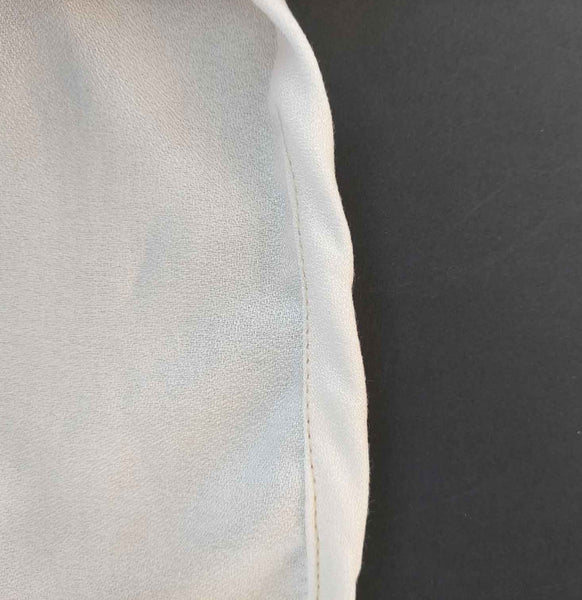
Attach the bias binding to the right side first, by sewing at the first fold line, then fold over and use a lot of pins to prevent the roping effect. It's always good to allow it to relax after you have pinned the first time and before folding it over to let the fabric settle after it has been manipulated.
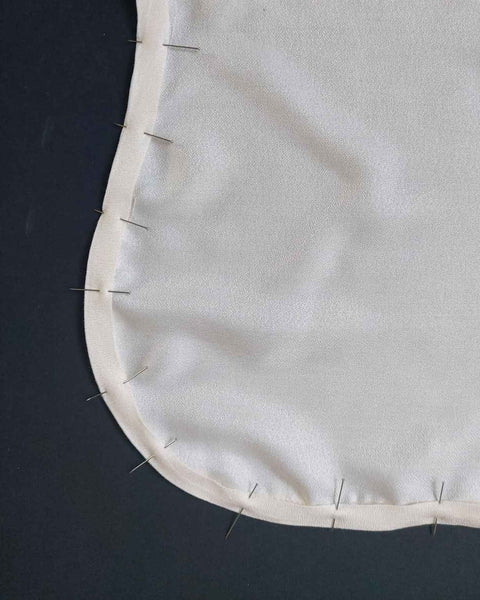
Roping (the ripples that you can occur sometimes on bias binding) can occur when the bias is stretched and pulled too much in the wrong direction. Allowing it to relax after you have initially sewed it can reduce this from happening.
Give it a bit of time (as long as you can, over night if you have the time) and then fold the tape over and give it a final sew.
The main tip is to take your time. There is no rush. Bias binding really doesn’t like to be rushed!

SAVE IT FOR LATER....
References
Sewing Step By Step Alison Smith MBE