Written by Caroline
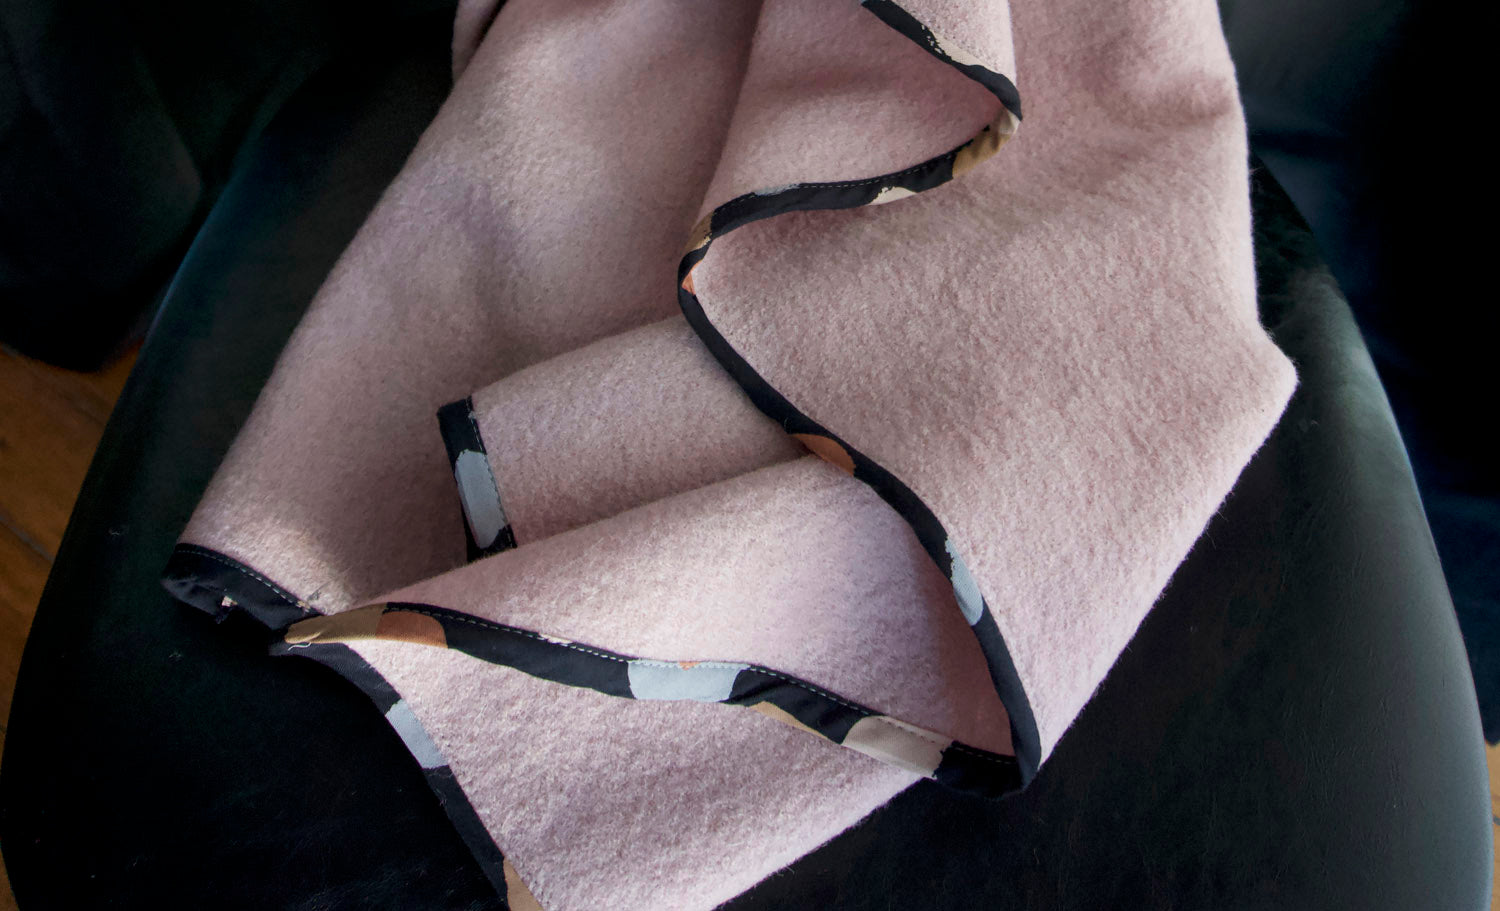
This boiled wool throw is an easy sewing project that would be a perfect for a gift for your family or friends. Or just a great project to make for yourself if you want a simple sewing project. I have written a sewing tutorial to show you how to attach bias binding and how to successfully sew mitred corners.
When the first of the winter fabrics started arriving, I bought some of the Calamine Boiled Wool (sadly now sold out, but still available in other gorgeous colours). I used the excuse that I would make a cosy throw to justify buying it, not that I really need an excuse! It doesn't have to just be boiled wool, any of the wools would work, or mix it up and use a lighter fabric for summer (these may need to have backs on them).

Mine was made with a contrasting bias binding but if you wanted something more subtle there is plenty to choose from in our bias binding section.
I'm a quilter and binding is one of my favourite parts of quilt making! If you haven’t done it before and are unsure where to start, I have put together a tutorial to help you with the corners and joining the ends. It’s a pretty easy process and not a long task.
Things That You Need
For my Throw I bought 1.5m to make an almost square. (The fabric width is 142cm) and 7m of Bias Binding. I also added a cute little 'So Comfy' label from Kylie and the Machine. It is from the Limited Edition Metallic Side Seam pack.
Attaching Bias Binding
Firstly you need to make sure the corners are square, if need be trim it slightly and trim the selvedge.
To start, decide which side you want to be the ‘right’ side.
Half way along one edge of the fabric line up the raw edges of the fabric and the binding, right sides together and start sewing roughly 5cm from the end of the bias binding tape.
It is best not to start at a corner, you will have too much bulk in one area when you are finishing the binding at the end.  Sew until you are 1cm from the corner of the side you started. Pinch the fabric up so that the edge of the binding goes around the corner and lies flat on the next side.
  Fold the excess fabric towards the seam you have sewn. This is very important to do because you do not want to catch it under the side you are about to sew.
To sew the next side, start from the edge of the fabric and sew to the next corner and repeat until you have sewn all four corners.

Joining The Binding
The next step is to join the two ends of the binding together so it provides a neat finish.
On the final side of the blanket, stop when when you get about 10cm away from where you started the binding and backstitch to stop it from coming undone.
Lay the end of the binding over the top of the start of the binding and trim the binding so it overlaps the start of the binding by 2.5cm.
Fold the end of the start of the binding up at 45 degree angle and place the end of the binding over the top of it.  Ensure that the binding is taut along the fabric and clip down the layers, the more clips or pins the better.
Sew from where you finished the stitching to the start of the stitching. All the layers should now be sewn down.
The binding is now attached!
Fold the binding over the edge of the fabric with the raw edge tucked up inside of it so it is all enclosed.  To finish the binding and the blanket simply slip stitch it down on the ‘wrong’ side of the fabric and your blanket is done!
SAVE IT FOR LATER...