Sewn by Aimee
Written By Caroline
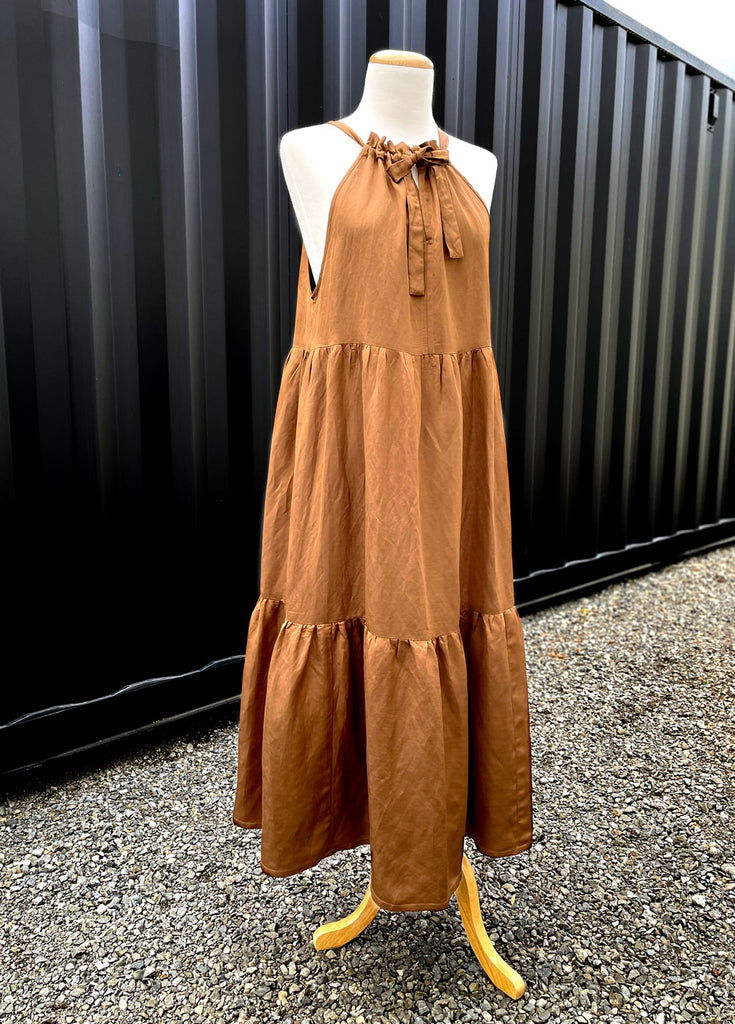
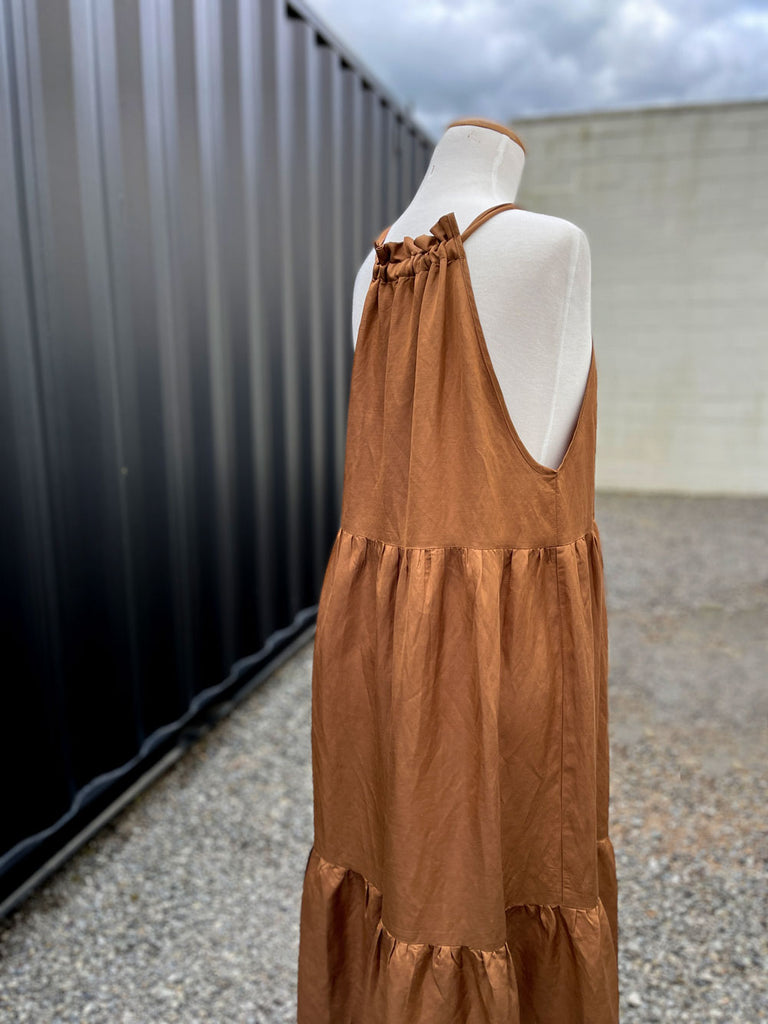
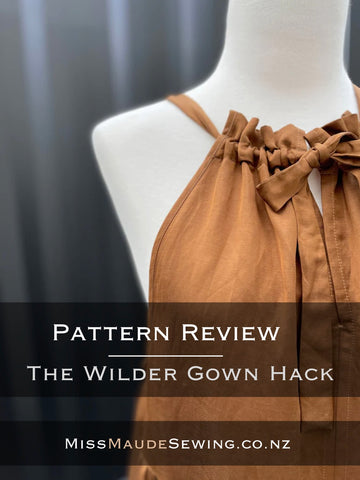
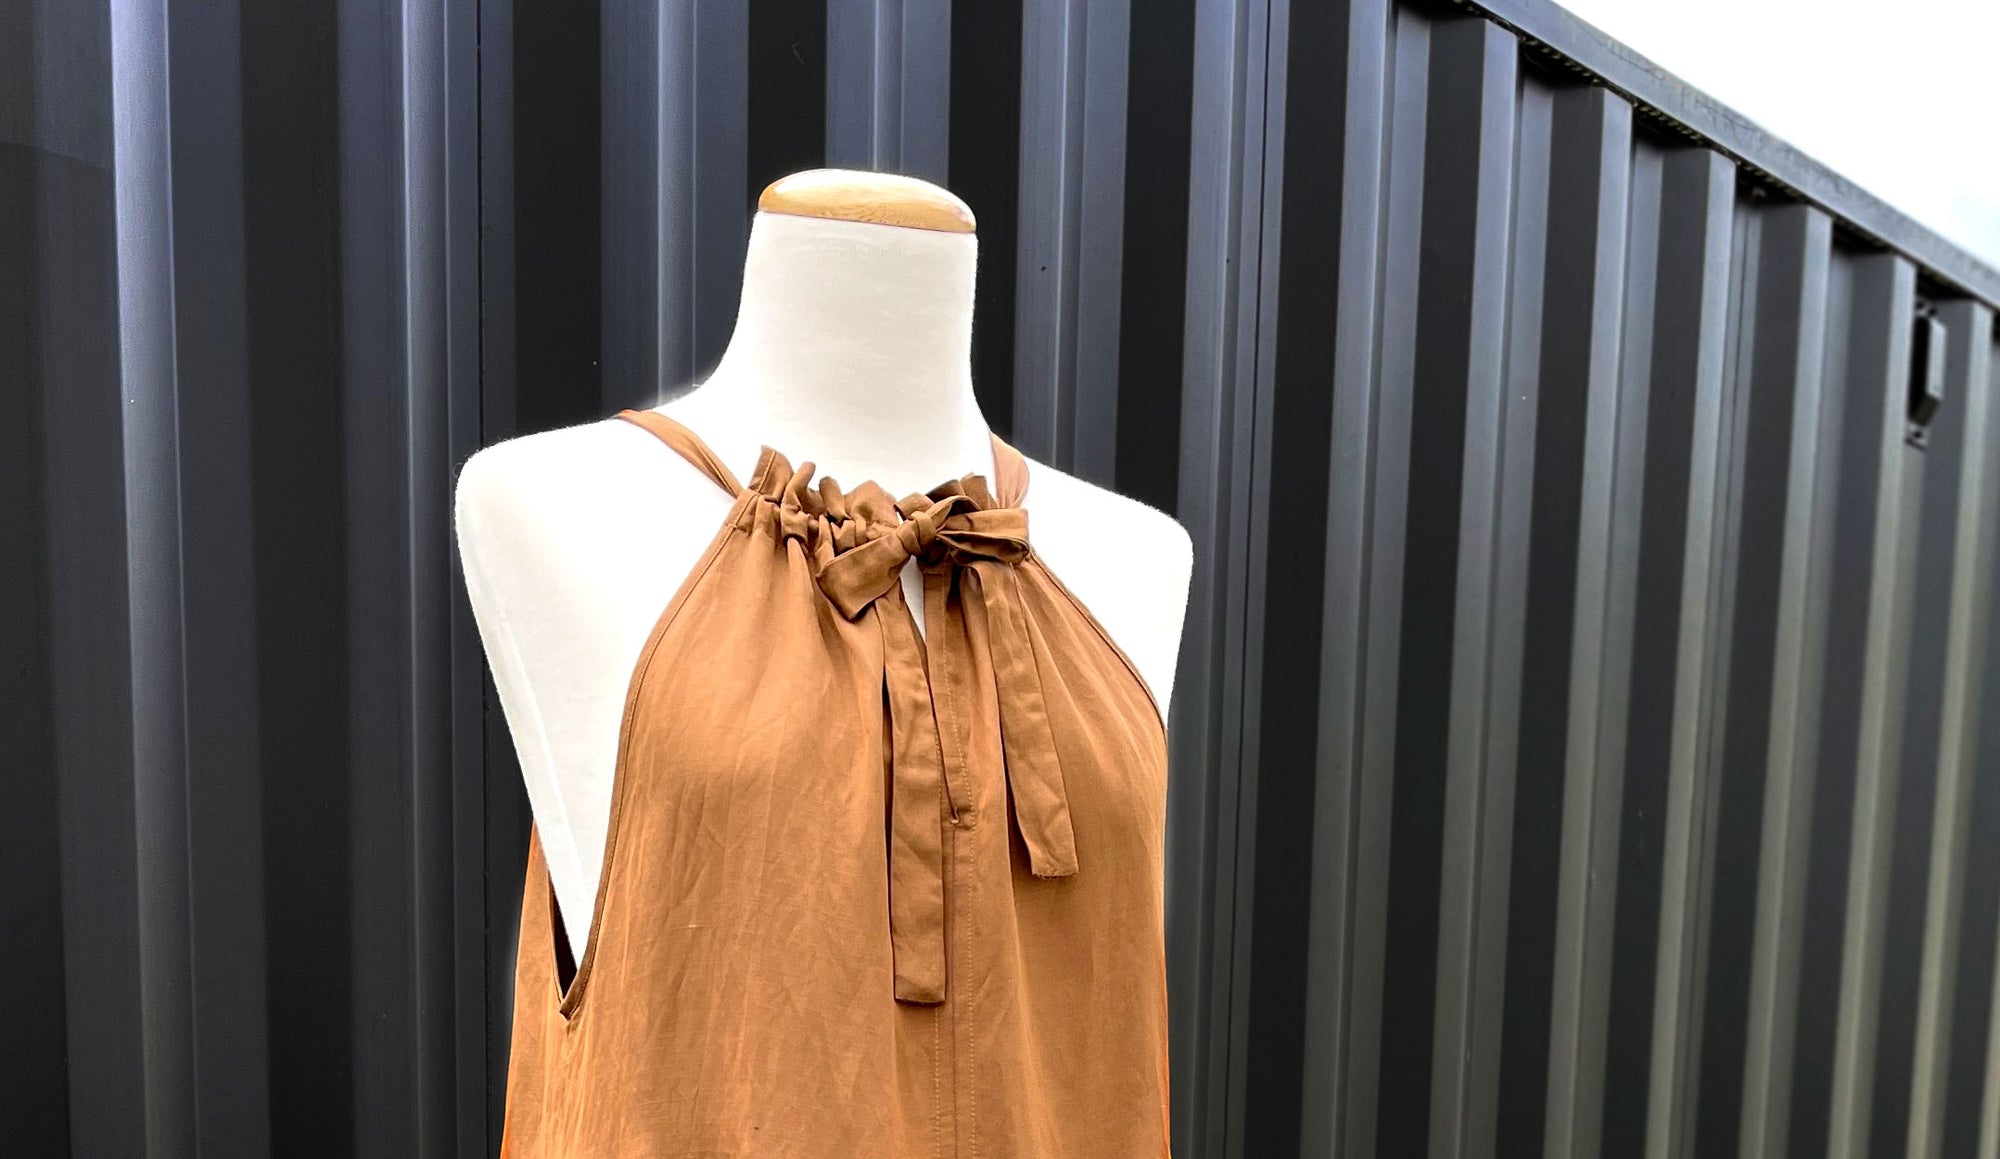
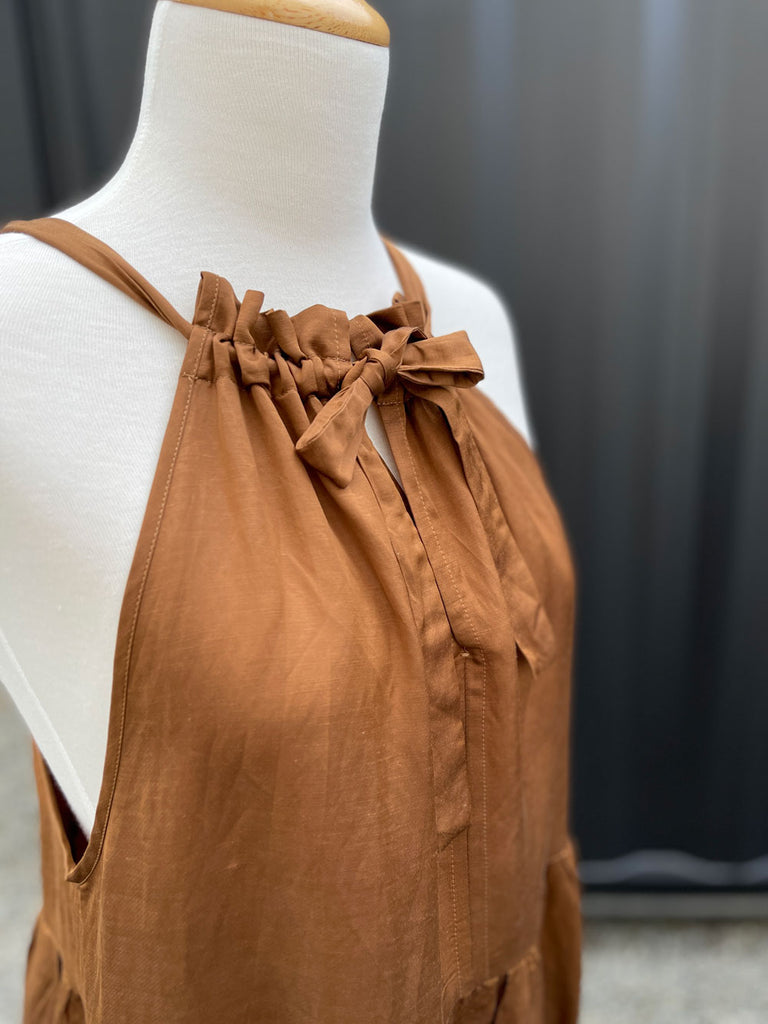
The Wilder Gown has been wildly popular in the sewing world since its release, and it's not hard to see why, it's easy to fit and easy to wear. The pattern features sleeves but for this version we thought it would be fun to remove them and replace them with bias binding to create a beautiful sleek gown, perfect for balls, weddings or parties…or even a summer holiday somewhere hot if you are lucky enough to be leaving these shores or are just getting prepared for the summer months!
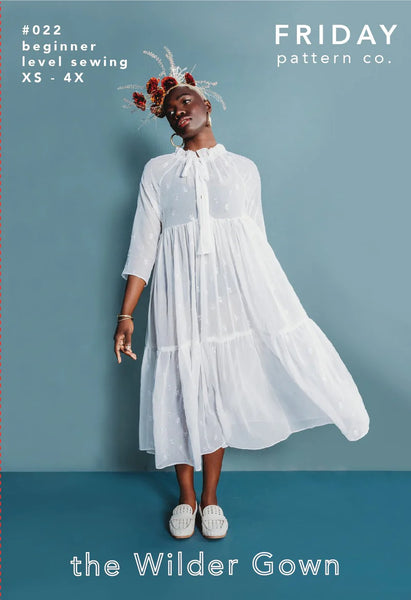
Pattern - The Wilder Gown - Sleeveless Hack
Size - Medium
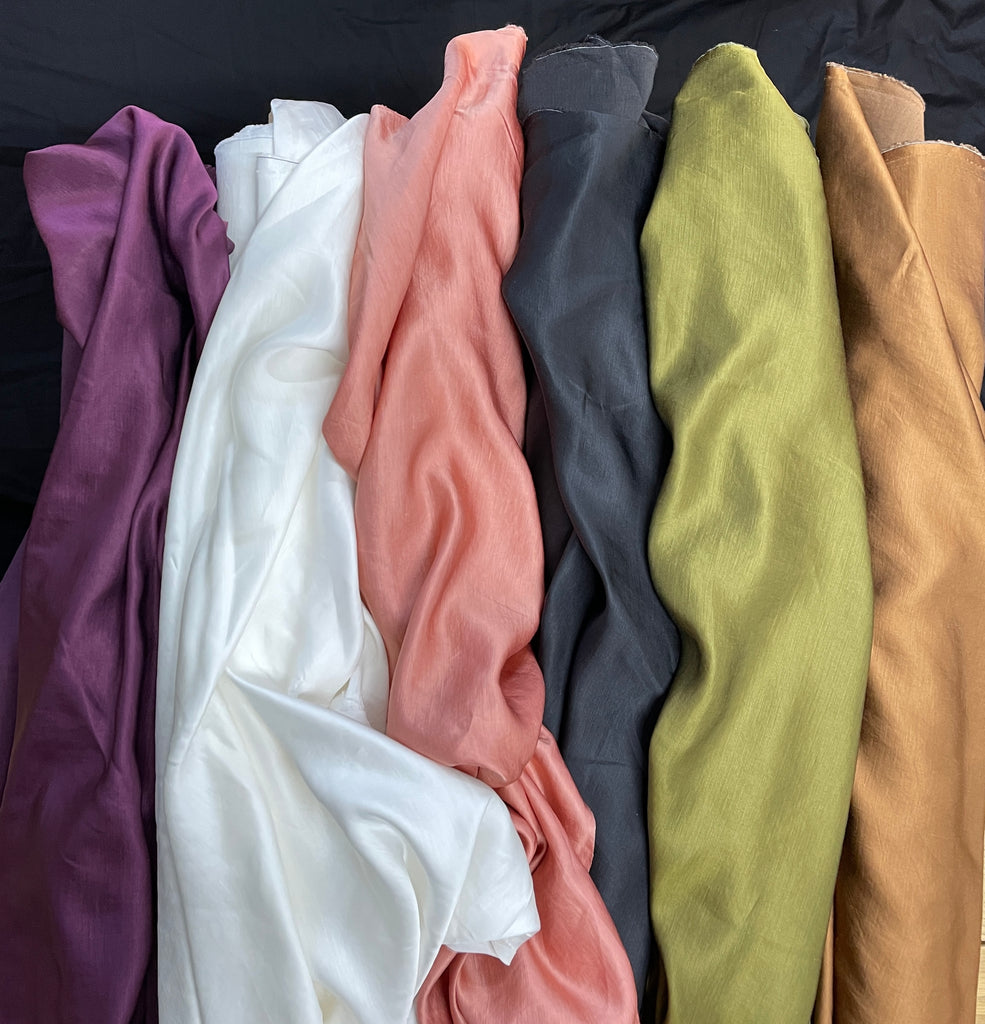
Fabric - 2.7m Reveal Linen Viscose - Cinnamon
Notions -
Skill Level - Beginner
Maker - Aimee
Skills Used - Making and attaching Bias Binding
Review -
Aimee followed the pattern for the most part, and only omitted the sleeve section of the sewing pattern instructions. To finish the armscye (armhole), Aimee used bias binding that she made from the Reveal Linen Viscose.
Below we will go through the steps that you will need to make this version.
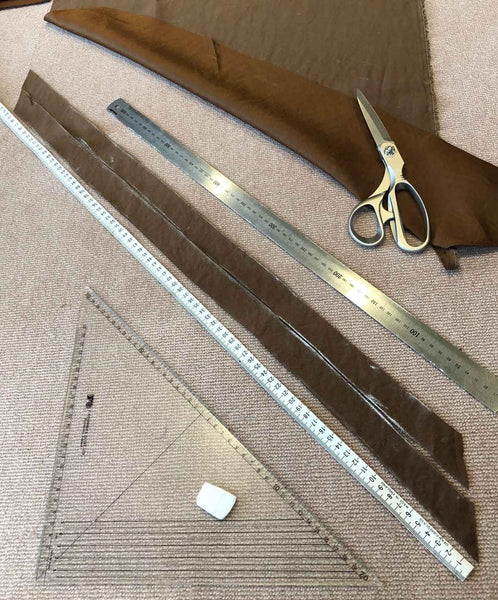
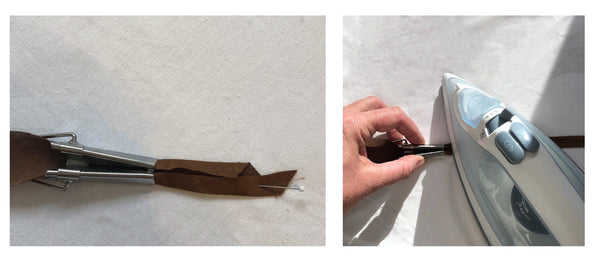
To make the bias binding, Aimee cut 2 x bias strips 75cm long, 53mm wide for the arm holes and prepared it using a bias binding maker.

 To make the adjustments for the sleeveless gown follow the steps in the pattern instructions until step 3 is complete.
Then stitch the side seams right sides together with a 1.6cm seam allowance and finish the seams using your preferred method.
Taking the bias binding strips that you made earlier, attach them to the armhole edge with the following method:
- Starting at the side seam (lower point of the armhole) and with wrong sides together, pin bias binding to the dress. The middle point of your length of bias should line up with the side seam.
- Continue pinning up each side of the armhole towards the neck.
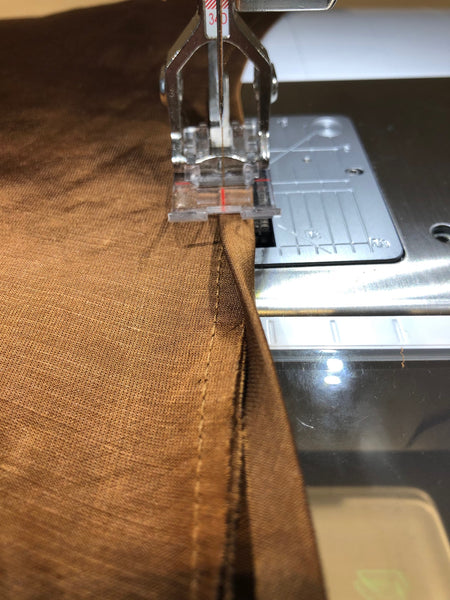
- Sew each side of the armhole with a 5mm seam allowance. Start at the side seam each time, as shown in the image below.

- Fold bias binding over to the right side of the dress and topstitch down
- for detailed instructions on how to sew bias binding and get a great finish, see our How To Make and Sew Bias Binding Tutorial
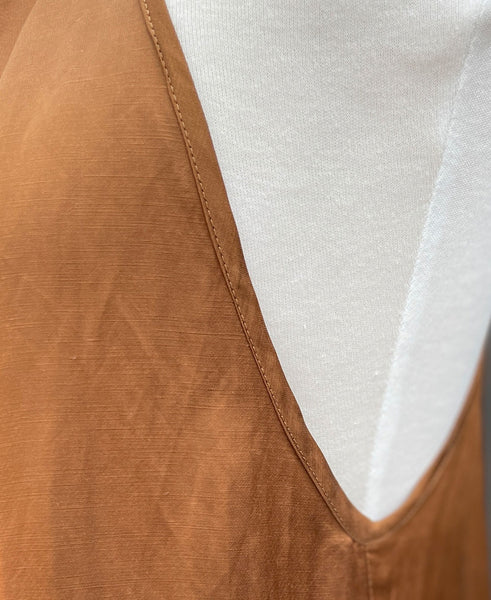
You can now skip to Step 8 of the pattern instructions. Press the top edge of your bodice under 1.3cm towards wrong side. (The pattern illustrations shows to turn the top of the sleeves over as well, which you won't need to do.)
Follow step 9, again just the bodice not the sleeves.

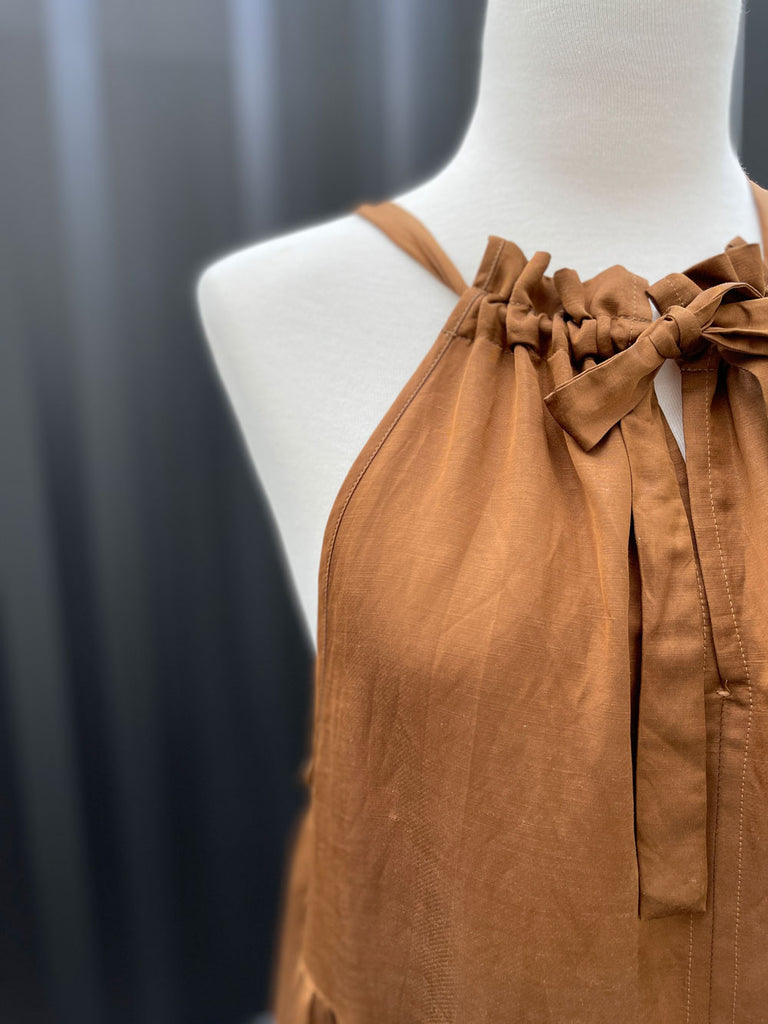
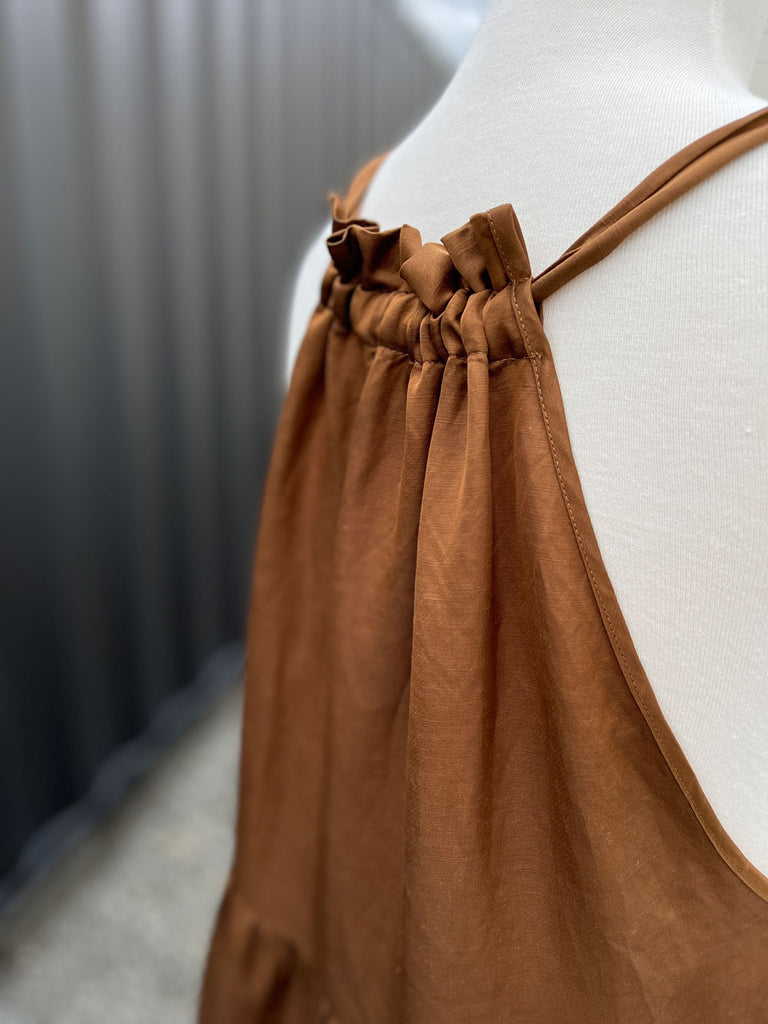
And then continue as per the instructions.
And Voila! You will have a beautiful sleeveless dress!
Conclusion
One of the things that Aimee really loved about this pattern was all the motivational cartoons that are in the instructions - she loved to be told that she was going great! This is something that you will see in all Friday Pattern Company patterns and it is very cute!
The lovely part of this was the skirt, it only has one pattern piece but cut five times, three for the bottom tier and two for the top tier - it makes for simple cutting out!
The linen in the Reveal fabric makes it much more stable than just the viscose by itself, but still has a lovely drape and handle to it.
The fabric can be used on either side, depending on what takes your fancy! It makes it a really versatile fabric.
Aimee thought it was a really great combination of fabric and pattern to create a statement dress. It's a lovely versatile dress that comes in a wide range of sizes and has nice simple lines that allow you to create shorter versions or a blouse. Definitely a pattern to have in your stash!
SAVE IT FOR LATER....
