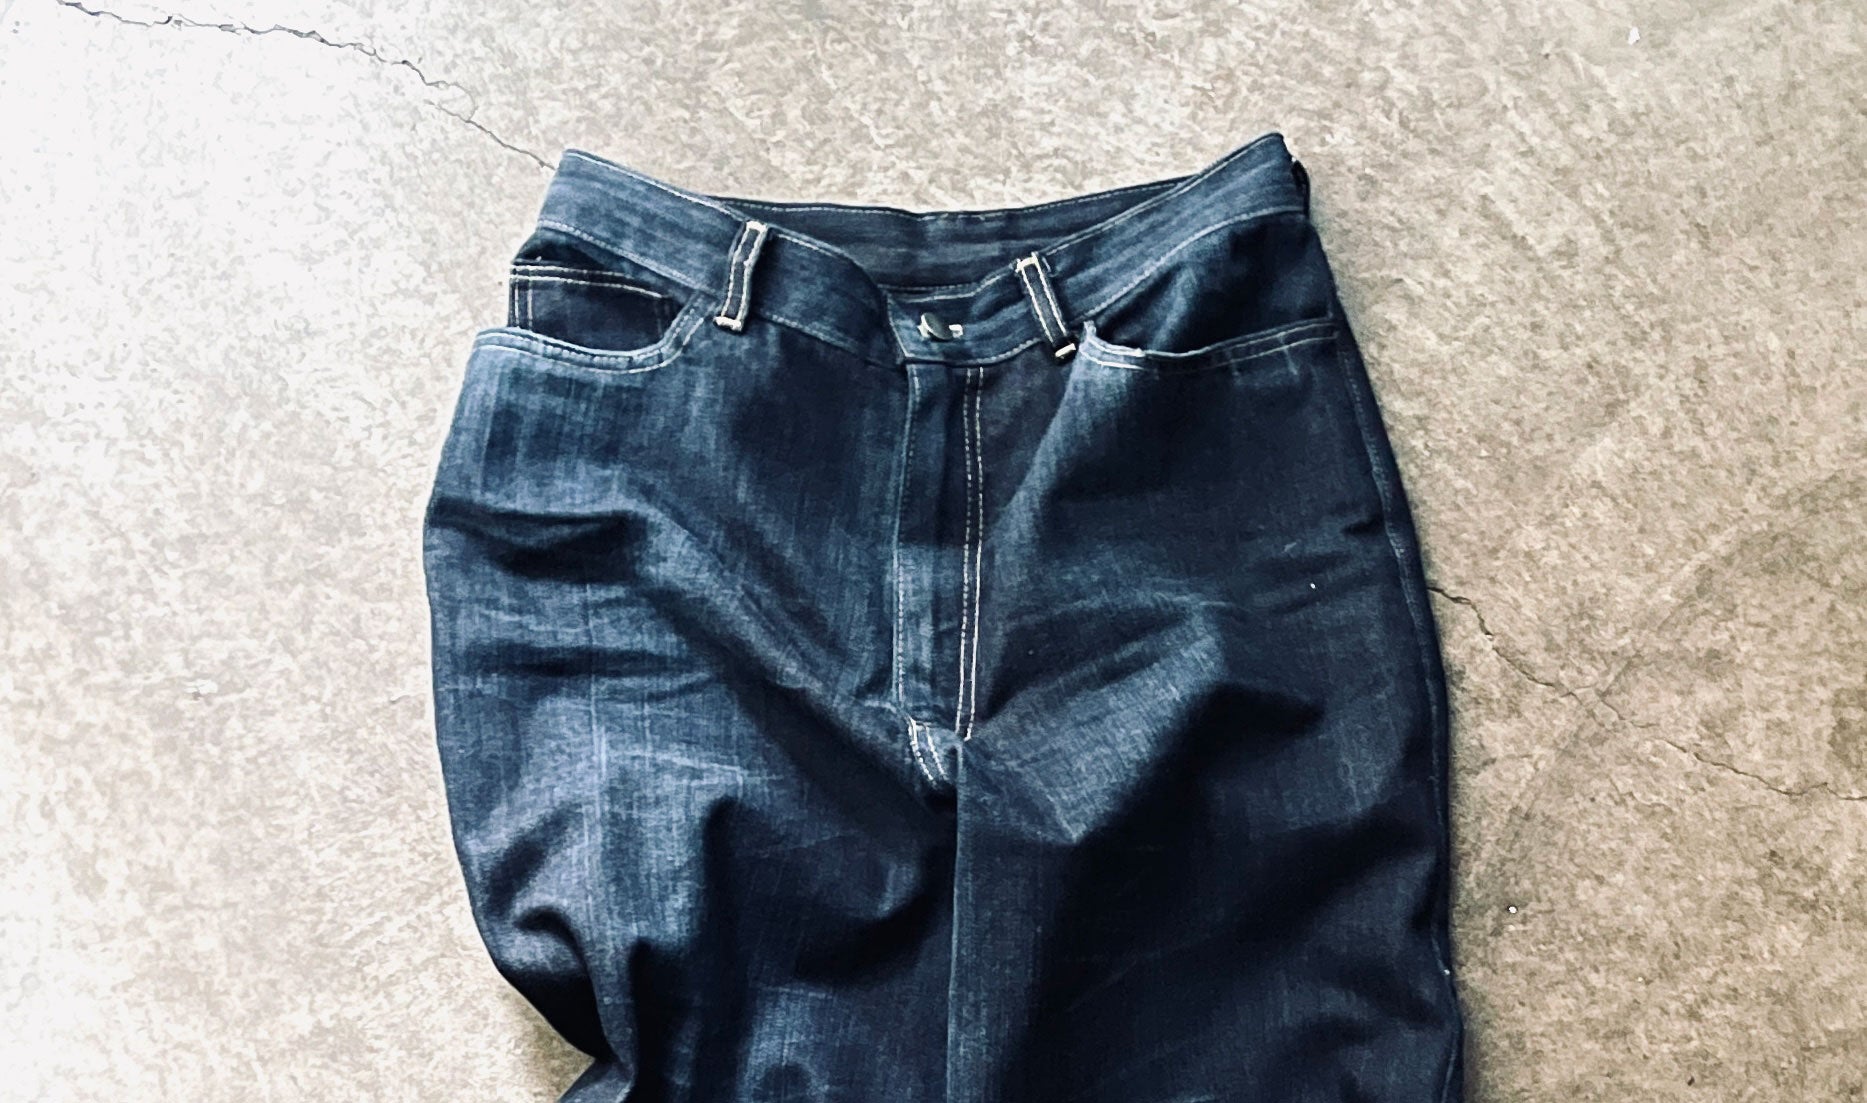
I was motivated to make this pair of jeans, not only because my current thread bare pair had got to a stage where they were no longer 'decent' to wear in public, but I also wanted to document the process to show that making your own jeans is really not complicated - it's just one stitch at a time. The satisfaction at the end of the project is pretty amazing - the first time I made a pair, I felt like I had traversed into the realm of a 'real sewist'!

This was a slow project for me - snatching moments of time between a busy time at work and family life. It was also a 'slower than normal' project as I filmed many of the steps and techniques. Previous jeans projects have taken me a weekend to complete.
Pattern - Heroine Jeans By Merchant & Mills

Size - 10. Although my body measurements are closer to a 14. I sized down to get a closer fit through the waist and hip.
Fabric - Organic Cotton 11.5oz Rigid Denim
Notions -
- Denim Thread - 2725, Nickel
- Topstitching needle 90/14
- Jeans needle 90/14
- Tailor's Clapper
- Hot Hemmer
- Sew All Thread
- Jeans Button
- Sand Paper - 180 grit
- Awl
- Jeans Zip
For a quick link to all our notions that you might need for a denim project, you can find them in our Denim Haberdashery section.
We have different fabric options in our Denim Fabrics section

Skill Level - Intermediate plus
Maker - Emma, for herself
Skills Used
- Sewing with heavy fabric
- Topstitching
- Buttonholes
- Fly Zip
REVIEW
This is the second pair of Heroine Jeans that I've made - the jeans are high waisted, slightly oversized with a wide leg. I like this style for my body shape - I have a comparatively small waist, long torso and larger legs. This makes for easier fitting - and I think a good style for your first pair.
Pattern and Instructions
It's no secret that I'm a big fan of Merchant and Mills patterns - I love their timeless style and have always found the instructions clear and easy to follow. I followed the instructions with only small tweaks -
- sized down two sizes (see below)
- took out 2cm from the centre back seam - I have a sway back and this is a very common fit adjustment for me
- created my own topstitching design for the back pockets
- distressed the jeans with sandpaper as I went
- attached the belt loops into the waistband seam
 Fit
Fit
The key areas to fit are the waist, hip and the rise. I recommend making a toile (practice mock up in scrap fabric - mid/heavy weight calico is ideal).
I found these jeans to be quite large around the waist and hip for me - so I sized down two sizes.

If you want to skip some of the more detailed fitting techniques, I recommend making these jeans to size as per your body measurements to achieve a baggier style of jean. (Generally speaking, the tighter the fit, the more likely there is to be detailed fit adjustments required). Then look at simple adjustments such as taking in the side seams if needed; lowering or raising the rise; and possibly tweaking the centre back seam.
Haberdashery, Tools, Topstitching and Construction
I documented the entire project, on social media, saving each post to an Instragram Highlight. and now also here on You Tube. Here you will find detailed information about the following key areas:
- pre washing denim fabric
- how to layout and cut your fabric to prevent twisting in the leg
- denim haberdashery used
- how I topstitch and finish seams - getting the right tension
- basting for fit
- minor waist adjustment
- how to distress your jeans as you go
- tips for crisp edges and getting through bulky seams
- how to shorten a zip if yours is too long
- and general tips along the way!
We also have a great tutorial on how to install our jeans buttons and rivets,

I used two sewing machines for most of the project - I have a gorgeous old Singer 201k that I found hidden at the back of a second hand store. It only sews a straight stitch, but it loves heavy fabrics and thread, making topstitching a breeze!


SAVE IT FOR LATER....


