The concept of layering and stitching fabrics together to create quilted fabric has been around for hundreds of years - applicable for many uses, including bedding, clothing and decoration. The multiple layers create both a warm and relatively structured fabric.

Traditionally quilting was done methodically by hand, but as time has passed we now have the time saving luxury of either quilting at home with our sewing machine or purchasing fabrics that have been pre-quilted for us.
THE BENEFITS OF QUILTED FABRICS
Extra Warmth. The layers of fabric quilted together trap air for warmth - making quilting an obvious choice for bedding, but it is also a fantastic option for winter garments. Jackets, coats, jumpers and even dresses!
Extra Structure. While the layers add warmth, the stitching and type of fabrics used will add structure to the finished project. In general, the closer the quilt stitch lines, the stiffer the resulting quilt fabric will be.
Extra Durability. Each layer of fabric supports the next, while the stitching creates a 'net' to hold it all together. Creating a fabric stronger than its parts.
Extend the Usability of Your Fabric Stash. One of the things we love most about quilting is to create a warm winter fabric from lightweight summer favourites. Light cotton lawn quilted with a batting layer of wool (try repurposing an old blanket) or cotton flannel, will give you a wonderfully warm fabric for a winter coat.
TOP TIPS FOR SEWING WITH PRE-QUILTED FABRIC
Here are our top tips when sewing a garment with your quilted fabric - whether that be a repurposed bed quilt, fabrics that you've quilted from your stash, or pre-quilted and purchased from the store. You can check out our current range of quilted fabrics here.

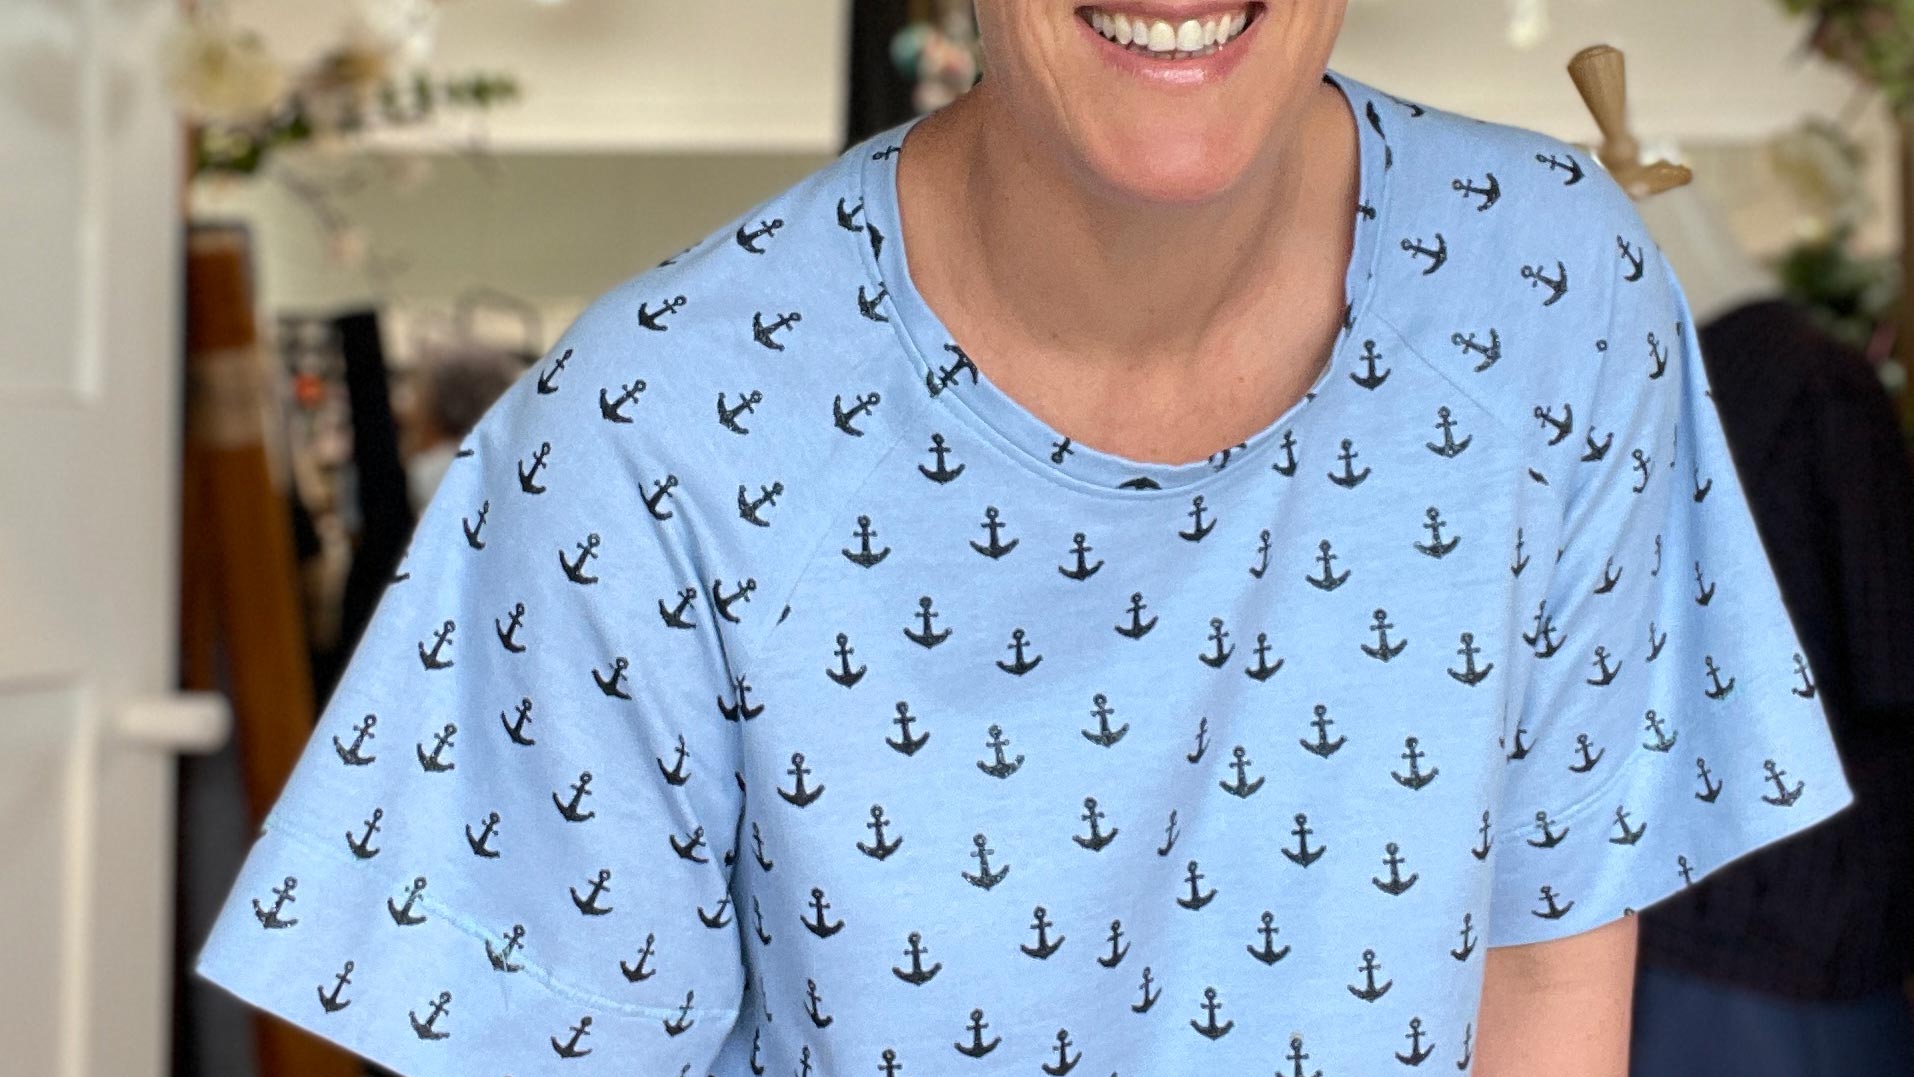
We sewed a Merchant & Mills Sidney Jumper with a pre-quilted cotton double gauze. We wanted a soft and cozy winter jumper that had lots of texture as well as a relatively structured silhouette. The blue fabric used has been created from two layers of cotton double gauze with a polyester batting - the quilt stitch lines are approximately 5cm apart.

Pre-wash. Once you have your quilted fabric, we recommend pre-washing it. The layers will naturally move against each other and some may shrink or behave slightly differently once washed. This often results in a slightly crinkly, textured fabric. If there is any shrinkage or slight distortion, it is better that is happens before you start cutting out.

Cutting out your pattern pieces. You may have a relatively thick fabric to cut, so be careful that you are not cutting through the layers on an angle - otherwise you might find you have a right sleeve bigger than the left sleeve! If necessary, cut each pattern piece out individually.
Pinning. It is normally helpful to use longer pins or fabric clips to hold the bulkier fabric in place. Try using quilt pins, fabric clips or flower head pins - standard dress making pins can sometimes get a little lost in the bulk!
 It can sometimes be hard to see if you have all the bulky layers lined up evenly, so I tend to use more pins than I normally would.
Use a Walking Foot. This will help evenly feed the multiple layers of fabric through the sewing machine. Many machines come with one in the box - otherwise they can be purchased as a seperate accessory. Make sure to get one that is compatible with your make and model.
 Hold Fabric Taut. If your fabric is on the bulky side it can be hard to see if you have layers lined up correctly and/or hard to sew an accurate seam allowance (Pic A). To help with this, hold the fabric taut as it feeds through (Pic B)- without restricting the sewing rate. I hold all layers together then bend them up at right angle to the machine surface (Pic C) - this keeps things taut and more likely to feed through evenly.
Pic A
Pic B
Pic C
Finishing Seams. For this project, I overlocked each seam. If you don't have an overlocker, a zig zag stitch is also a good option. For seams where I wanted to reduce bulk, I topstitched to keep the seam allowance flat. This was only on the shoulder and neckline seams.

 You could also bind seams if you were sewing a coat or cardi where you'd see the seam.
Taking care to catch all layers. For this project, there were between six and nine layers of fabric in each seam - so it can be very easy to not catch them all properly! This is where pinning, holding the fabric taut, and also ensuring that none of the layers have curled back when you sew or overlock is essential. I also found that I had to sew a little slower than I normally would to pay particular attention to this. You can see in the photo below where I missed a bit!  Holding all layers of fabric together as I sew/overlock:
  I'd recommend that you check each seam from the right side of the project to ensure you have all the layers sewn together. Do this before you move onto finishing the edges.
Easing In. For this pattern the cuffs, collar and hem would normally be finished with a stretch rib knit. But I chose to use the main fabric for these elements. As there is no stretch in this quilted fabric, I had to ease in each piece - particularly the bottom hem. To do this I sewed a long basting stitch, then gathered the fabric to fit. I did this to ensure that all layers of the quilted fabric were eased in without leaving any small tucks. You can see in the photo below how the top layer (bottom left of photo) of quilted fabric has been slightly gathered to fit.  This is also the process I'd recommend for sewing set in sleeves.
For the neck trim, I cut the pattern piece on the bias for a little stretch as well cutting it 1cm longer than the pattern called for. It's a tight squeeze over my head - but it works!


SEWING PATTERNS FOR QUILTED FABRICS
If you've felt a little inspired and would like to sew your own quilted garment, there are a number of sewing patterns suitable. In addition to the Sidney Jumper we've sewn here, here are a few of our top picks: