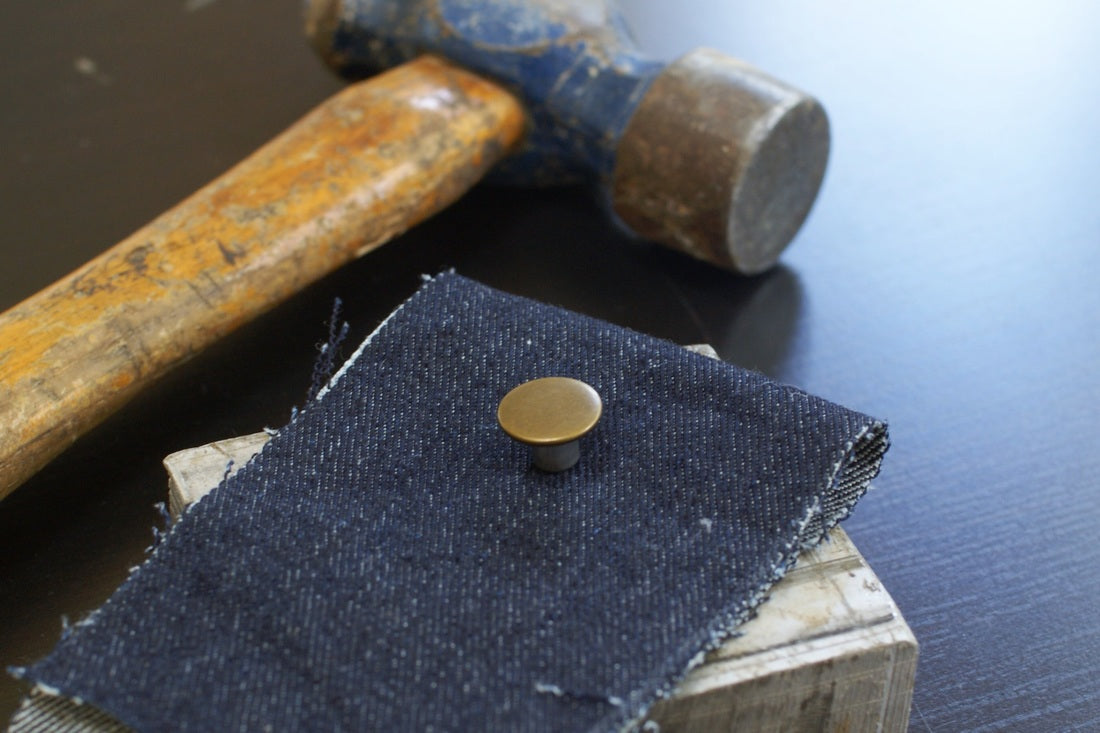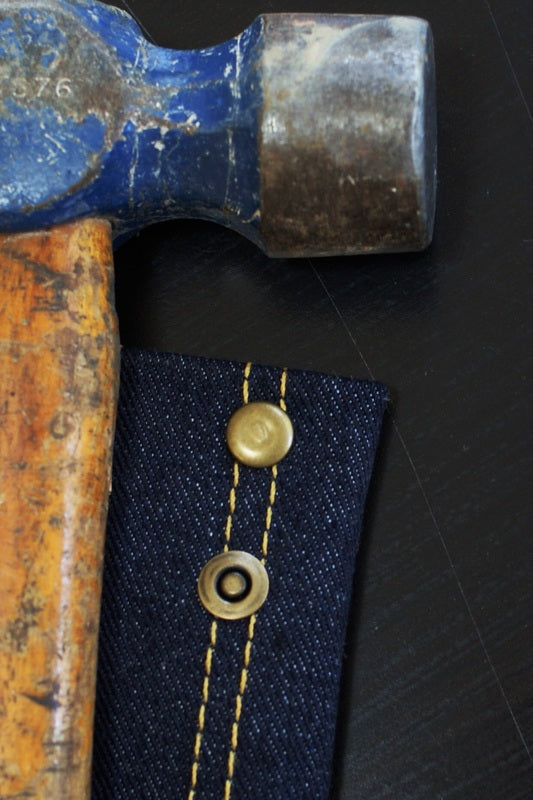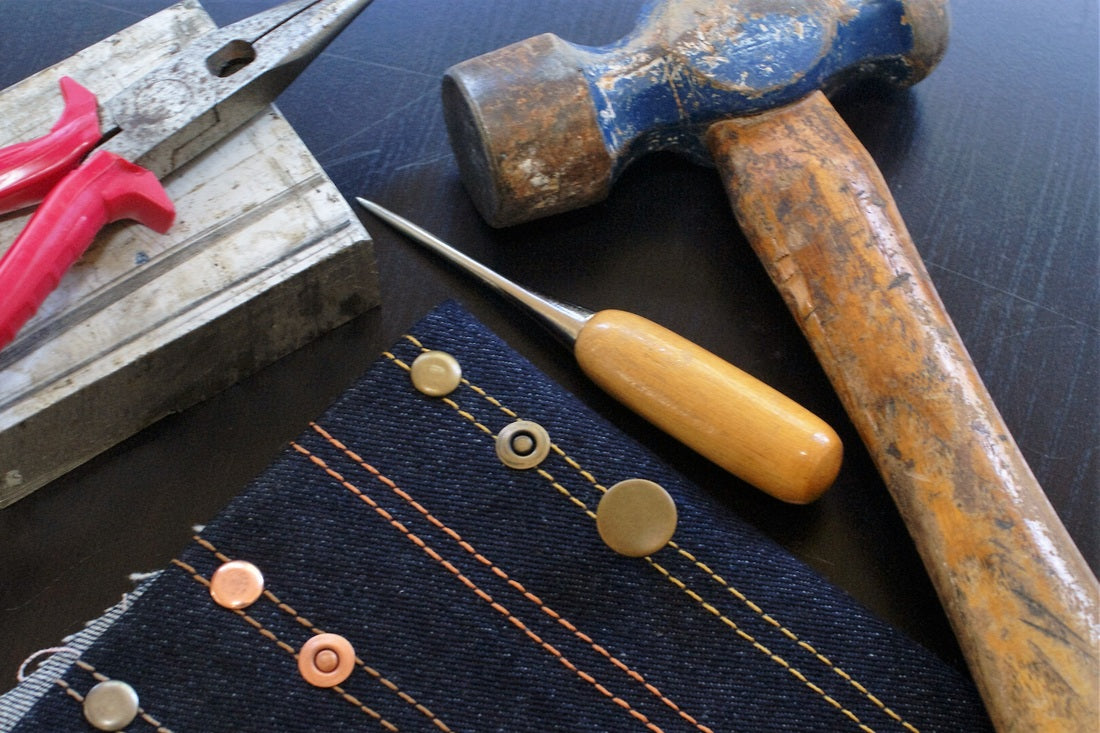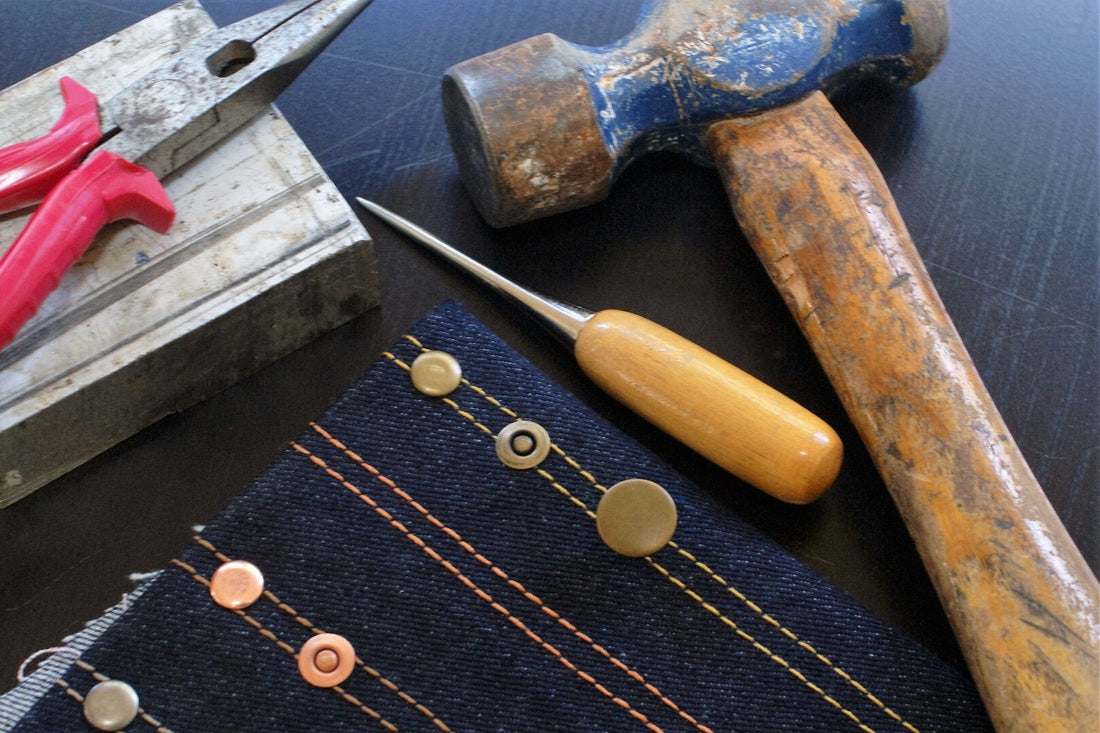
Here is a simple guide to show you how to install the buttons and rivets available in the Miss Maude Sewing Store.
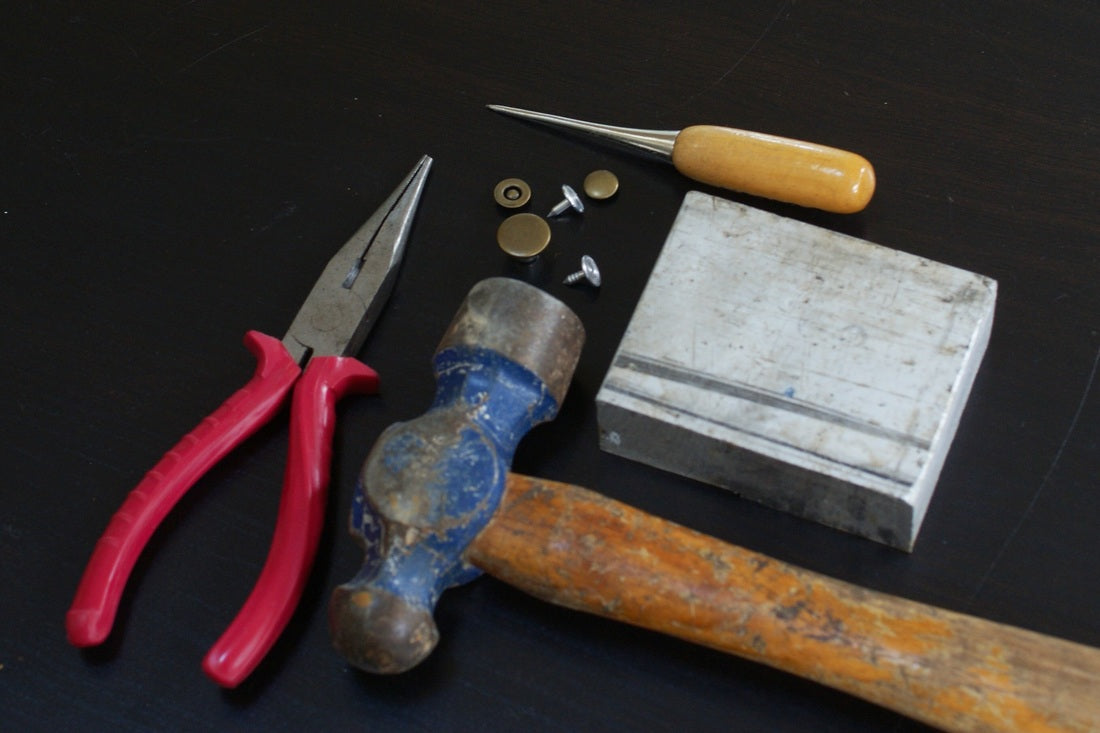
you will need:
a solid metal surface (the bottom of a cast iron pan will work!)
a hammer
an awl or other sharp point - ie a nail.
wire cutters (for rivets only)
your rivets and buttons
extra fabric, rivets and buttons to practice
It is recommended that you practice on a scrap on denim (the same number of layers as your finished garment), before you try installing on your garment.
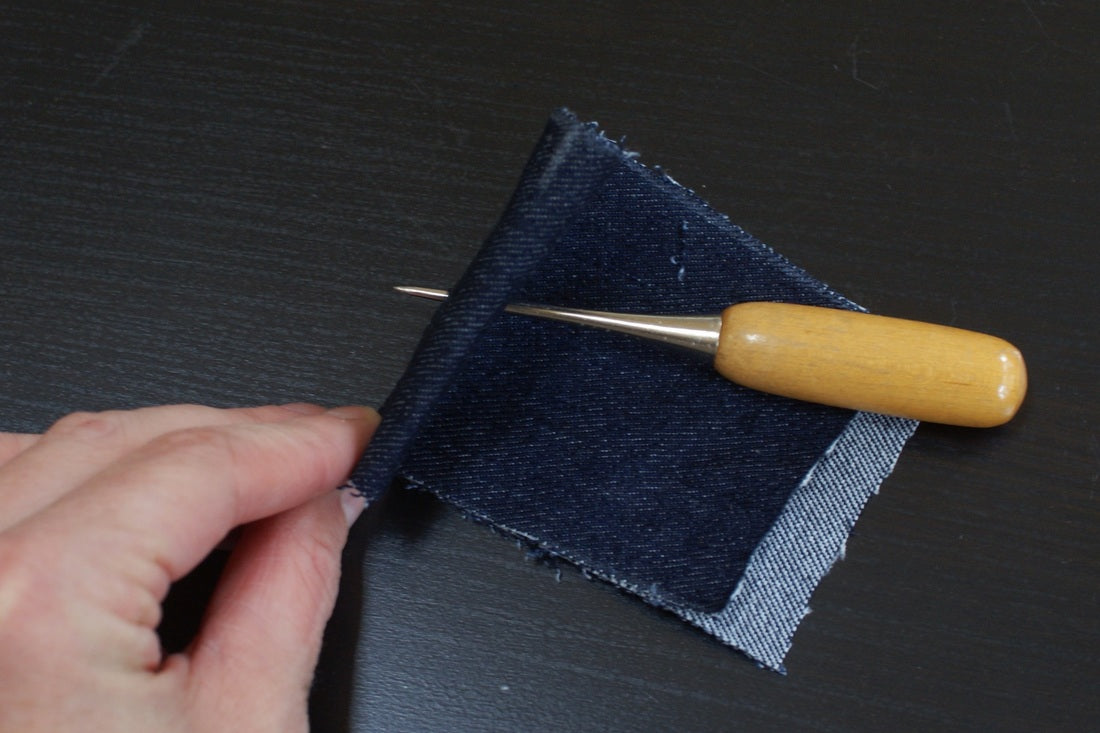
1. Using your awl or nail, make a whole in your fabric just big enough for the button/rivet tack to be pushed through.

2. Push the tack through from the back of the garment to the front. Make sure you are using the correct tack. For buttons, the shafts have ridges on them, for rivets the shafts are smooth.
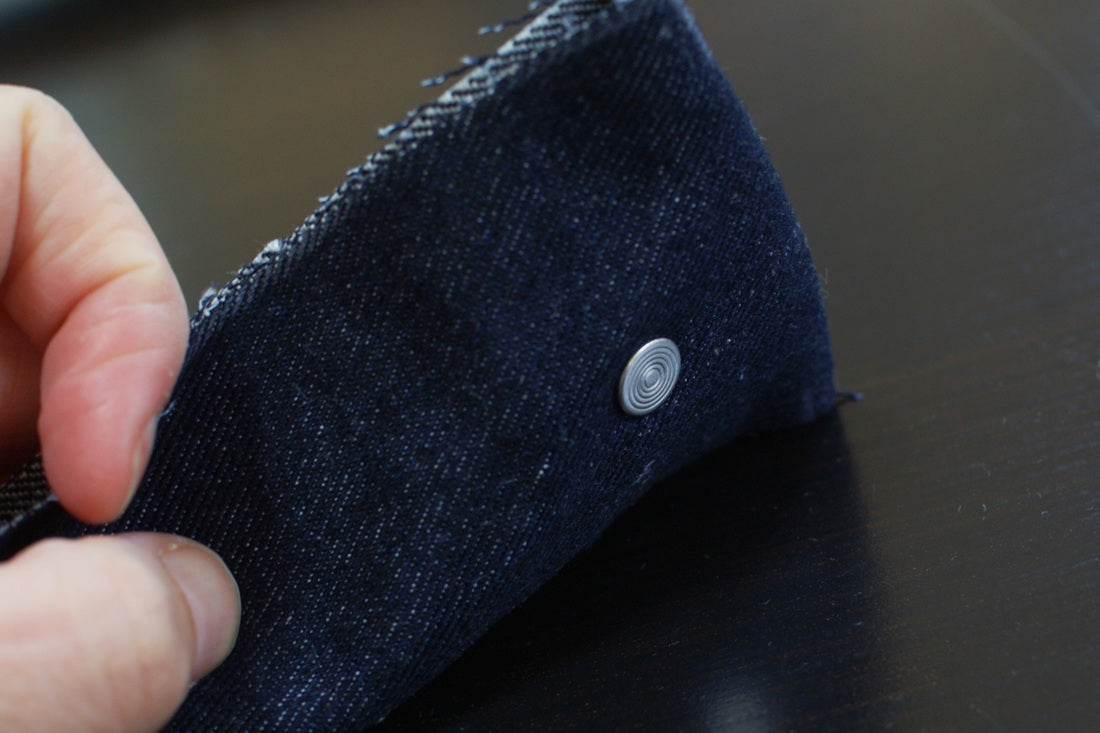
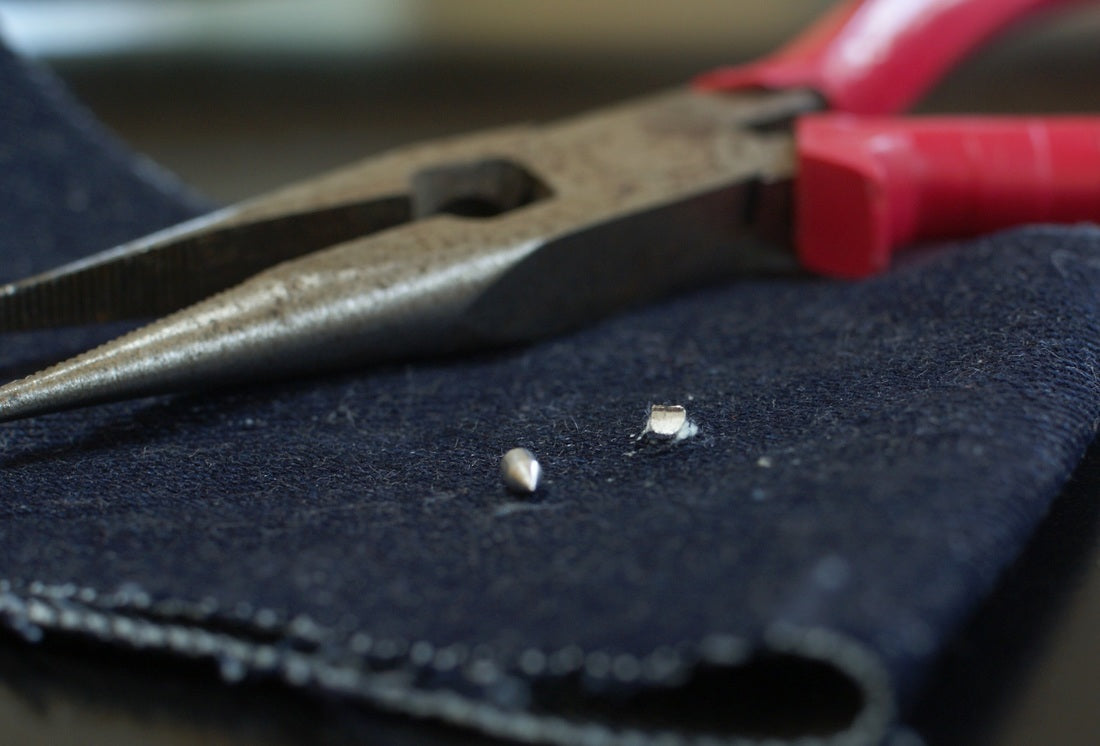
3. FOR RIVETS ONLY. Use your wire cutters to cut the shaft so that it protrudes about 1-2mm from the fabric.
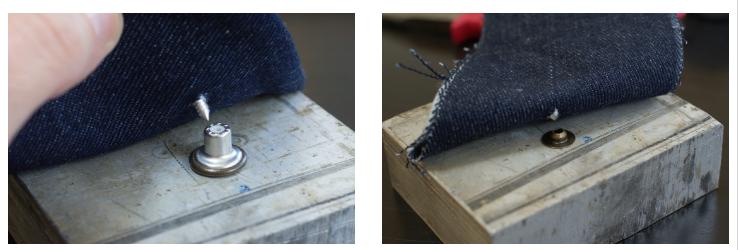
4. Place your button/rivet face down on your metal surface. Place the shaft of the tack into the centre of your button/rivet.
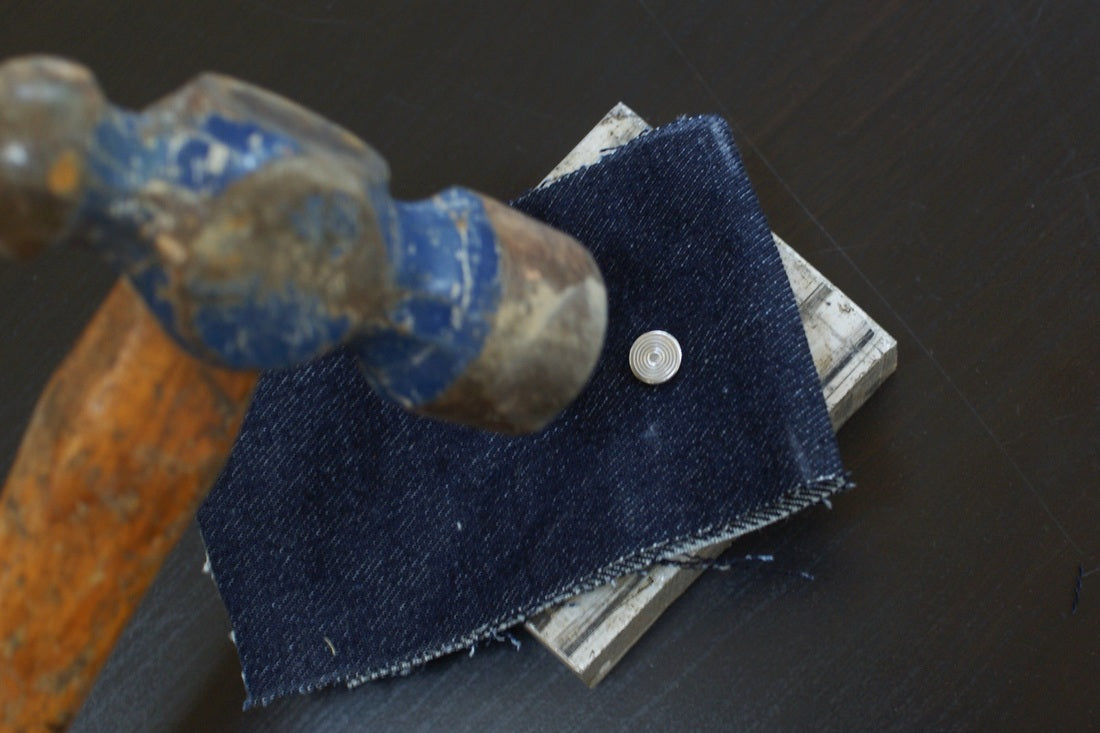
5. Lightly hammer the back of the tack. Check that it has engaged evenly into the button/rivet. Pull out and adjust if necessary.
6. Hammer firmly another two or three times on the back of tack to secure. There should be no movement or turning of your button/rivet if correctly installed.
