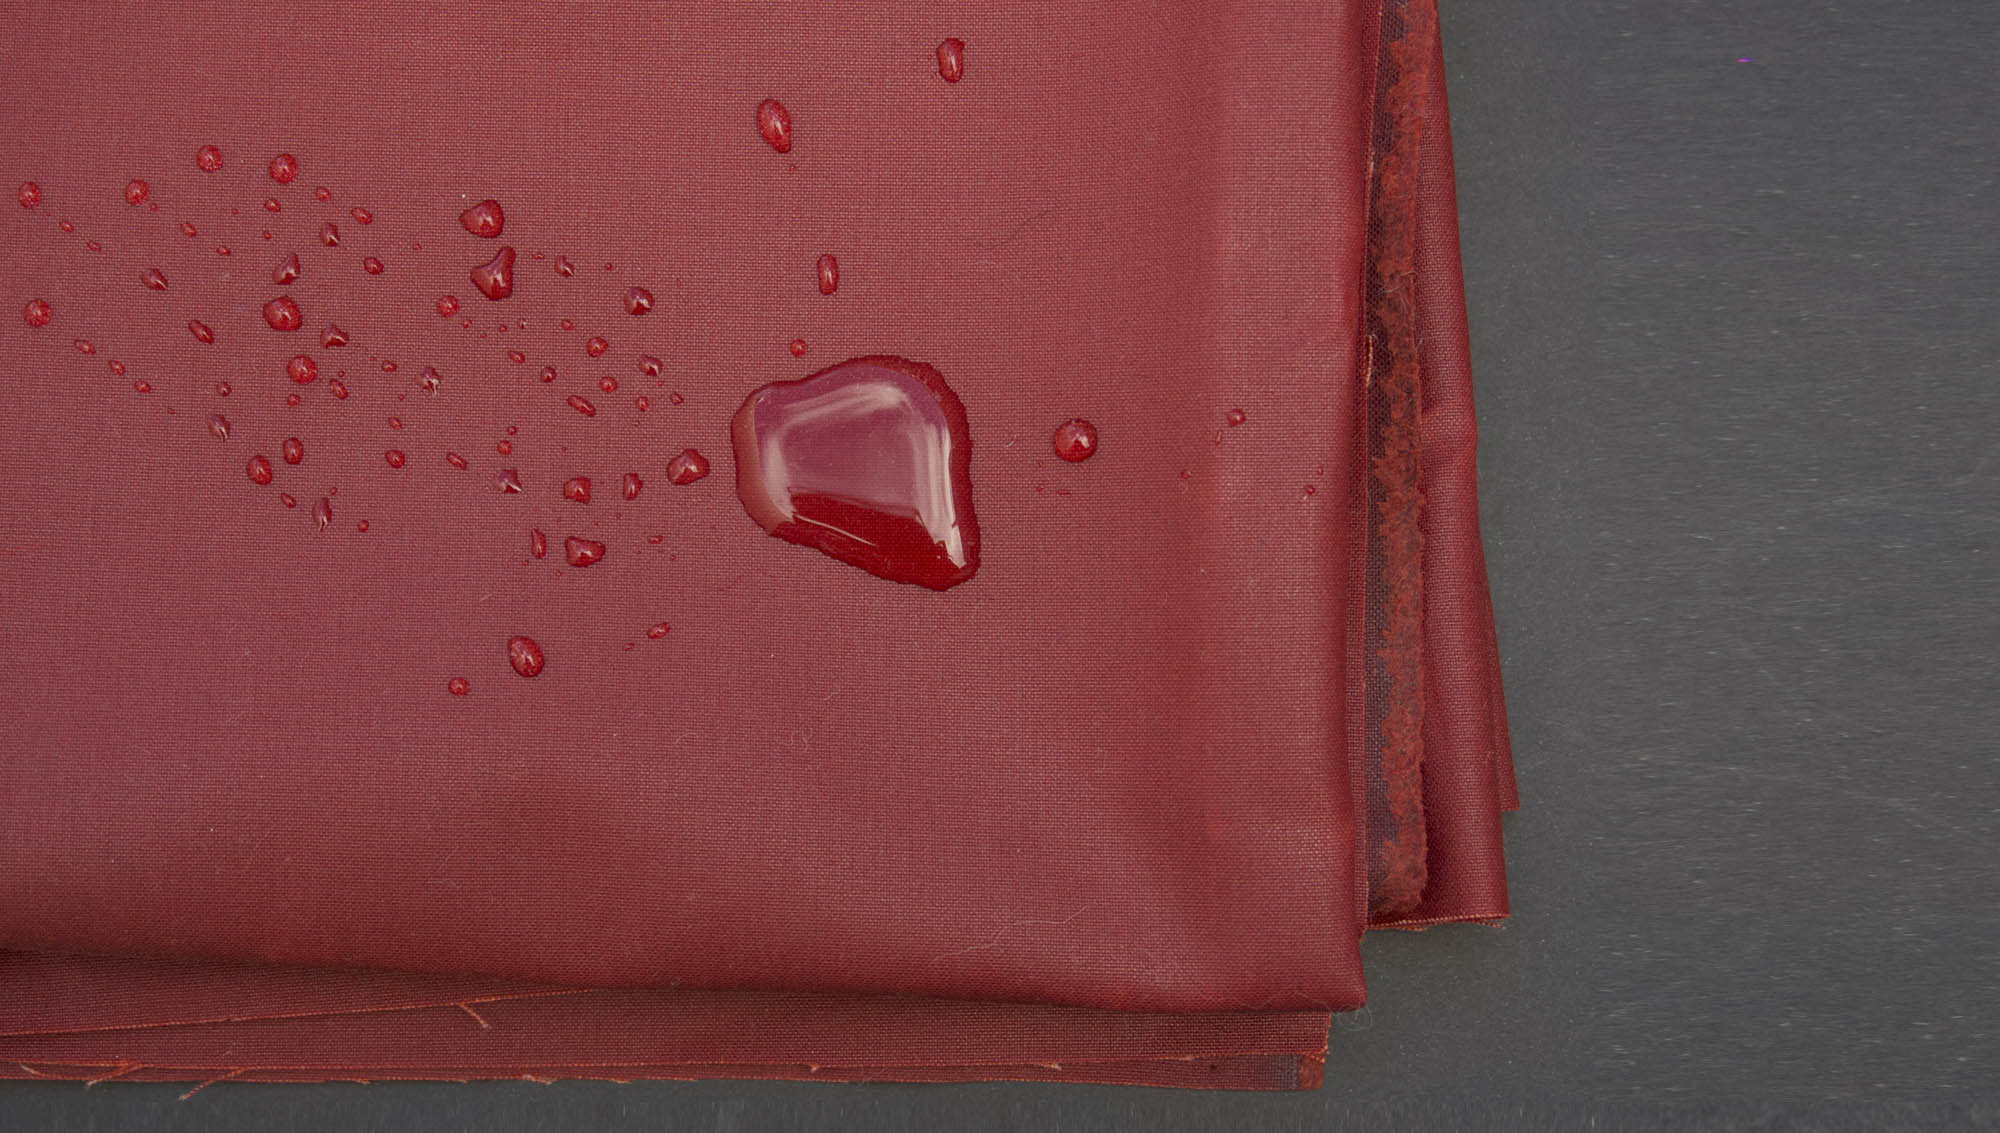
You've received your oilskin delivery, it's all exciting but this fabric is different to fabrics that you are normally used to handling. We are providing you with a guide on the best way to look after your oilskin to ensure it gives you a life time of happiness!
We ship our oilskin folded and it will arrive to you with fold marks on it. Do not be concerned!! If you prefer, these fold lines can be reduced with care, but once you’ve completed your project, any fold lines that were once there are unlikely to be noticeable. It is important to remember that part of the charm of oilskin is that it marks and weathers over time to give a lovely patina to it, rather like old worn leather.
Dry Oilskin doesn’t mark in the same way that traditional oilskin does. It will still have creases but not as defined as the traditional oilskin. Don't be tempted to iron it on anything other than a very low heat and use a protective cloth on both sides of the dry oilskin. The safest way is to smooth it with your hands and the fabric will ‘relax’ a little.
For more oilskin do’s and don’ts see our blog post on ‘Oilskin FAQs’. We carried out a variety of experiments on the two types of oilskins and have noted them for you.
Storing Oilskin
We recommend that you store oilskin separate from the rest of your precious fabric stash. If it is sitting for some time with the weight of other fabrics and/or high temperatures, there is a risk that the oil may transfer to other fabric. Place it in a brown paper bag or store separately from the rest of your stash.
When you buy your oilskin from us and also buy other fabric at the same time, we package the oilskin separately to avoid any risk of transfer.
Can I Wash Oilskin?
To maintain the appearance of your oilskin you should definitely NOT wash it. This will remove the oil from the cloth and mean that you will need to re-oil it with either a bar or a spray depending if it is a traditional or dry oilskin. This isn’t impossible to do, but why do it if you can avoid it? The surface appearance of dry oilskin can also change after it has been re-treated, which is another reason why washing it should be avoided.
Should you get dirt on your traditional or dry oilskin project, try brushing it off with a brush (an old toothbrush is a good start, if the brush is too firm it will leave brush marks). You can also use a damp cloth or sponge with COLD water to remove any unwanted dirt.
How Do I Remove Mildew from my Oilskin? Should your traditional or dry oilskin item get wet it is important that you allow it to dry properly otherwise there is a risk that you will get mildew on the cloth.
If you do end up getting mould on your traditional or dry oilskin item, brush as much of it off as you can. Then sponge a mixture of water and vinegar onto the affected area. Rinse off using cold water and then leave to dry (but not in the sun or anywhere too hot). You may need to re-wax the item after with a re-proofing bar or reproofing spray for dry oilskin. Reproofing can affect the texture of the dry oilskin, so it is best to avoid any washing if you can.
It will also need airing to remove the slightly musty smell. Again do this in a well ventilated area AWAY FROM DIRECT SUNLIGHT!
Like many things prevention is better than the cure. Look after your oilskin items, keep them dry, aired and away from the sun you will be rewarded with an item that lasts a long time.
Please remember that any methods we share are what we use, we always recommend that you try any of these methods first on a scrap piece of fabric to ensure it is right for you.
SAVE IT FOR LATER....


