Written, made and worn by Emma

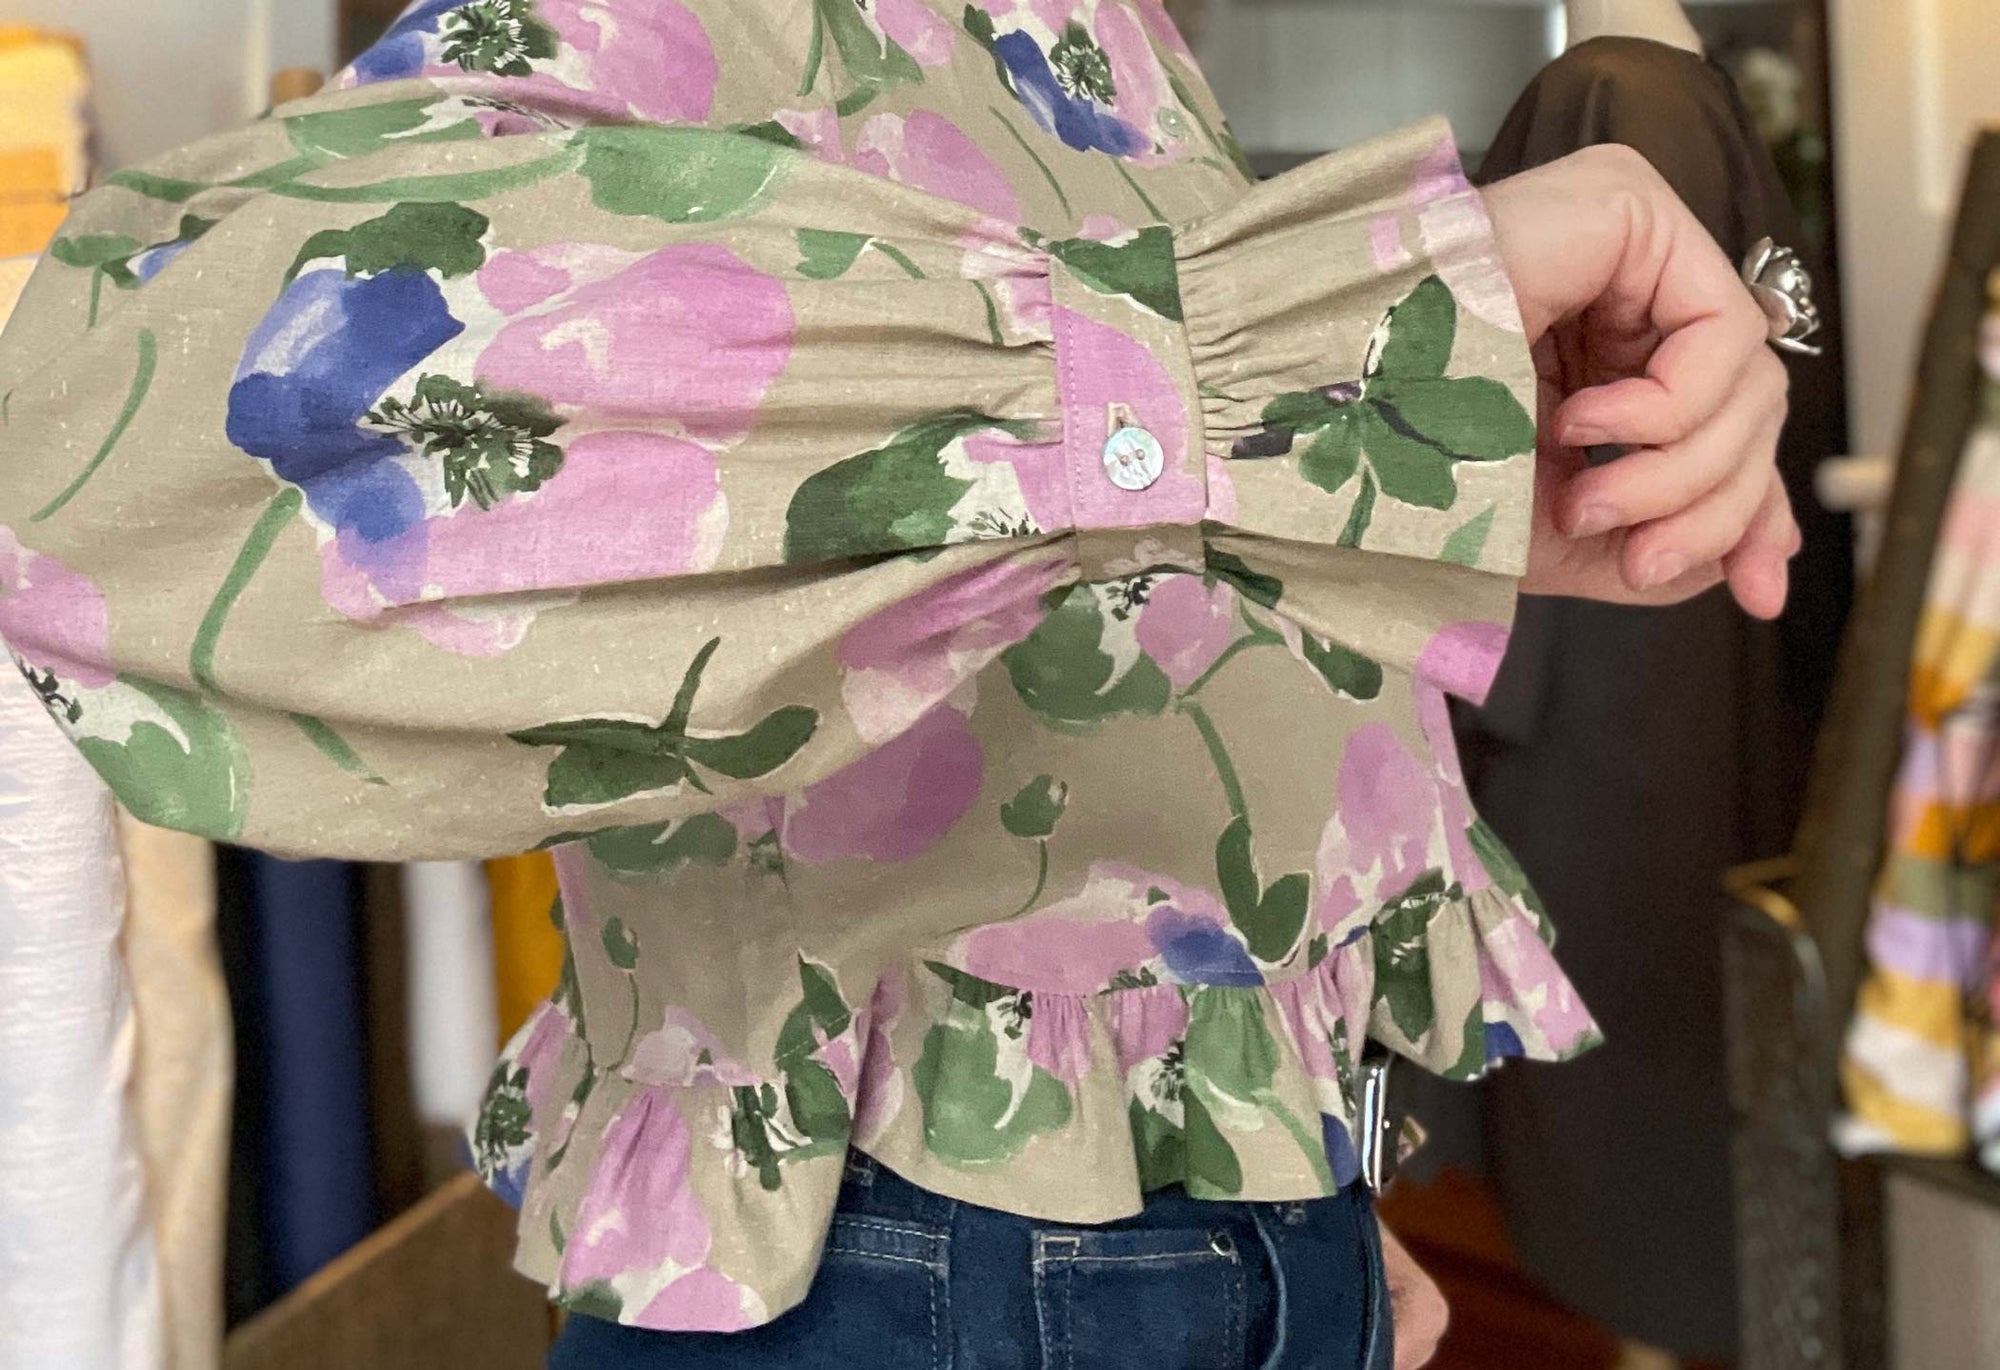
While the Ashling Blouse and Dress sewing pattern has been around for a couple of years now, when we received this new Watercolour Floral linen/cotton blend fabric in store we were inspired to pair them together.
I love the finished result - to me it seems to be the perfect marriage between pretty and structured. I love a ruffle, pretty pinks and flowers, but I'm also a girl of structure and practicality. The blouse works perfectly with jeans, but you could also amplify the romantic design details by pairing with a skirt.

Pattern - Ashling Blouse/Dress by Papercut Patterns
Size - 4.
Emma's bust = 97cm
Fabric - 2.6m of Watercolour Floral, a Japanese Linen Cotton blend fabric.
Notions - thread, light weight knit interfacing, 8 x 11.5mm Raw Shell Buttons,
Skill Level - Intermediate
Maker - Emma
Skills Used -

REVIEW
Pattern and Instructions
The sewing pattern is incredibly versatile - choose from a shirt, cropped shirt, or dress. From there you can mix and match frills at the collar and waist line. We've chosen to sew the cropped blouse and add in the frill at the collar.

Rated as an intermediate level sewing pattern - we tend to agree. If sewn in a relatively structured fabric such as what I used or perhaps a cotton poplin or lawn, then sewing is quite straightforward. Choosing to use a silky fabric such as a viscose crepe will make for a more complex sew.

Cutting layout - The fabric I used is a narrow at 112cm wide. There was not a cutting layout for the cropped blouse at this width. So I cut it out as per the photo below.

I also wasn't able to fit the waist frill for the back hem on the complete width of the fabric, so I cut it as two pieces. I made sure to add a seam allowance and joined the two pieces at the centre back.
The instructions are clear, however there are a couple of tips we'd recommend for a neater finish. This includes:
Gathers - when sewing gathers, we always recommend stitching two lines of gathering stitches - one on either side of the seam allowance. This will give you more control over the gathering and result in even gathers.

Cuffs - when sewing the frill to the cuffs, I made sure to pin the main part of the frill out of the way to ensure I wouldn't catch it.


Using a Hot Hemmer - Once you have a Hot Hemmer of these in your sewing arsenal, you'll never want to let it go! I used it a few times on this project - to neatly fold and press the front button placket, and when folding over one layer of the cuffs and collar stand. It makes short work of ironing and gives an accurate fold, making the next sewing steps much easier!
Grading Seams - It is not mentioned in the pattern instructions, but I made sure to grade the cuff and collar seams and corners. With all those gathers, there is a lot of fabric in there!

Hand Stitching Collar Stand - When finishing off the collar, the pattern instructions state to close the collar stand by topstitching from the inside of the blouse. I prefer to hand stitch the first part of the collar stand (up until the edge of the button placket), then secure it by stitching in the ditch from the outside of the collar. See images below.


Fit - My measurements put be halfway between a size 4 and 5. The Papercut Pattern images show it as a relaxed fit, so I decided to sew Size 4 for a more fitted look. I didn't make any pattern adjustments, and I'm really happy with how it turned out. I have broad shoulders and a long torso, so I'm surprised (and delighted) it hasn't ended up too short!
This is a store sample, but I'm thinking I need to make one (or more) for myself!


FABRIC
This fabric is a linen/cotton blend - 55% linen, 45% cotton. Lovely quality from Japan (as we've come to expect), it is a mid weight plain weave. 146gsm. A versatile weight that suits both tops and skirts or loose trousers/shorts.
It is a stable fabric making it a breeze to sew - so a great option if you haven't sewn a shirt before.

CONCLUSION
An enjoyable and straightforward shirt - definitely one I'd make again. I'm keen to give the longer option a go, and also have a play with the depth of the frills to give different looks.
SAVE IT FOR LATER....


