A short while ago I approached Gabrielle (better know as Bibbity Bobbity Buttons on social media) to see if she'd like to jump on board as a contributing blogger and I'm so pleased she said yes! Gabrielle is a thoughtful stitcher who is in the process of creating a beautiful and versatile handmade wardrobe.
Today I'm really excited to share the first of what will hopefully be many guest blogger contributions. Gabrielle's first review is of the Beryl Bomber Dress by Named Clothing . For transparency, I have provided the fabrics, pattern and paid for her precious time - but I have explicitly asked for an honest and open review. So without further adieu....
Today I'm really excited to share the first of what will hopefully be many guest blogger contributions. Gabrielle's first review is of the Beryl Bomber Dress by Named Clothing . For transparency, I have provided the fabrics, pattern and paid for her precious time - but I have explicitly asked for an honest and open review. So without further adieu....
BERYL BOMBER DRESS IN NEEDLECORD:NAMED CLOTHING
By Gabrielle of Bibbity Bobbity Buttons
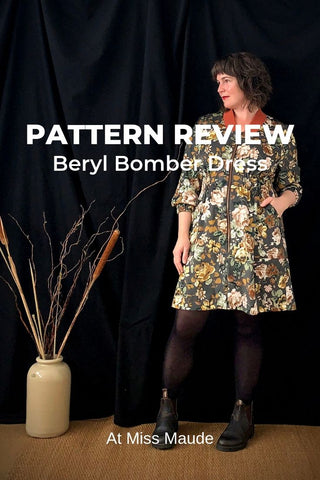
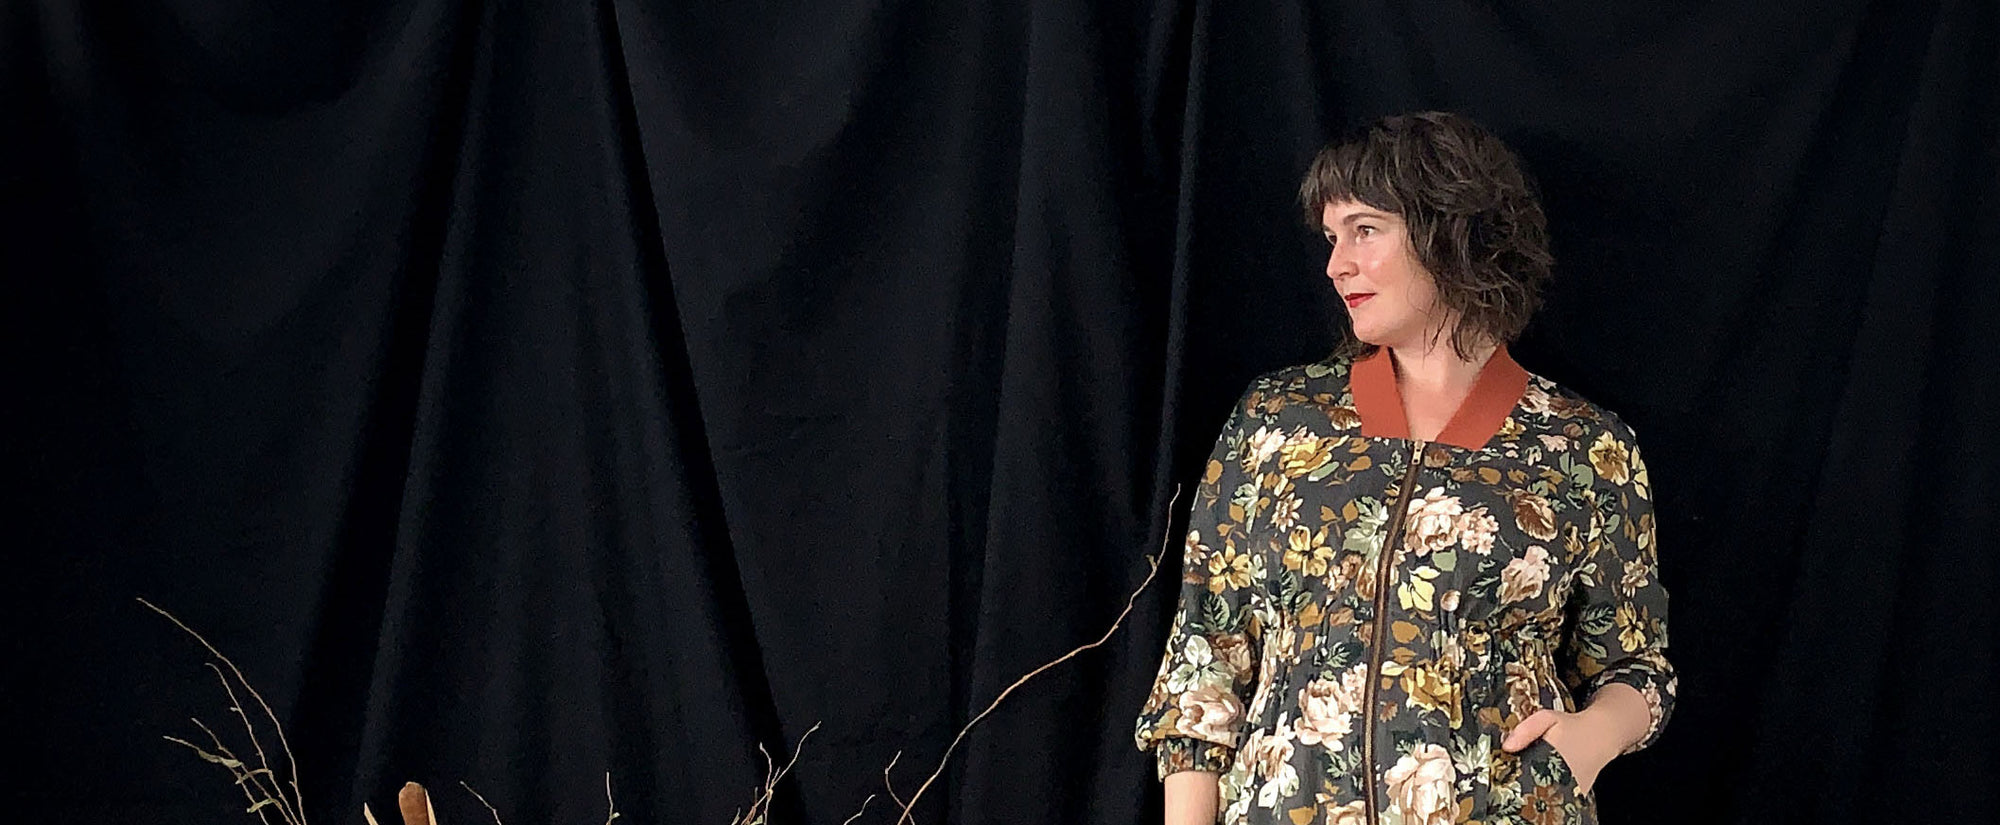
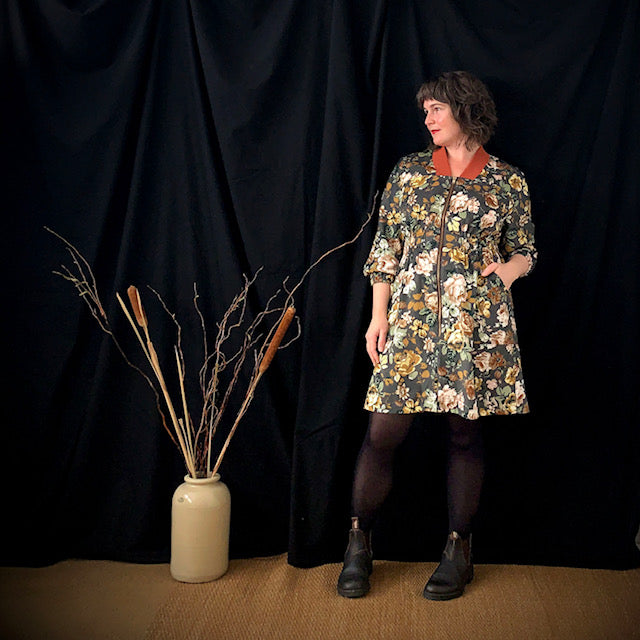
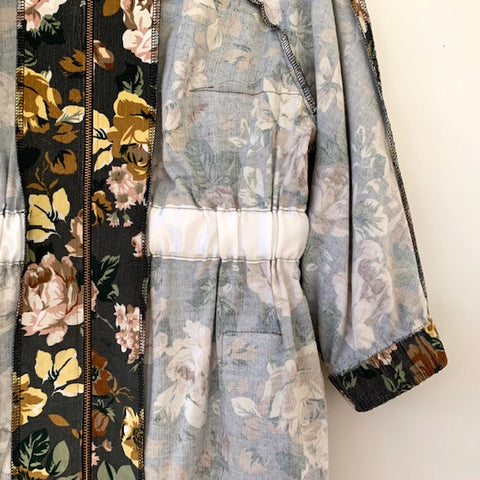
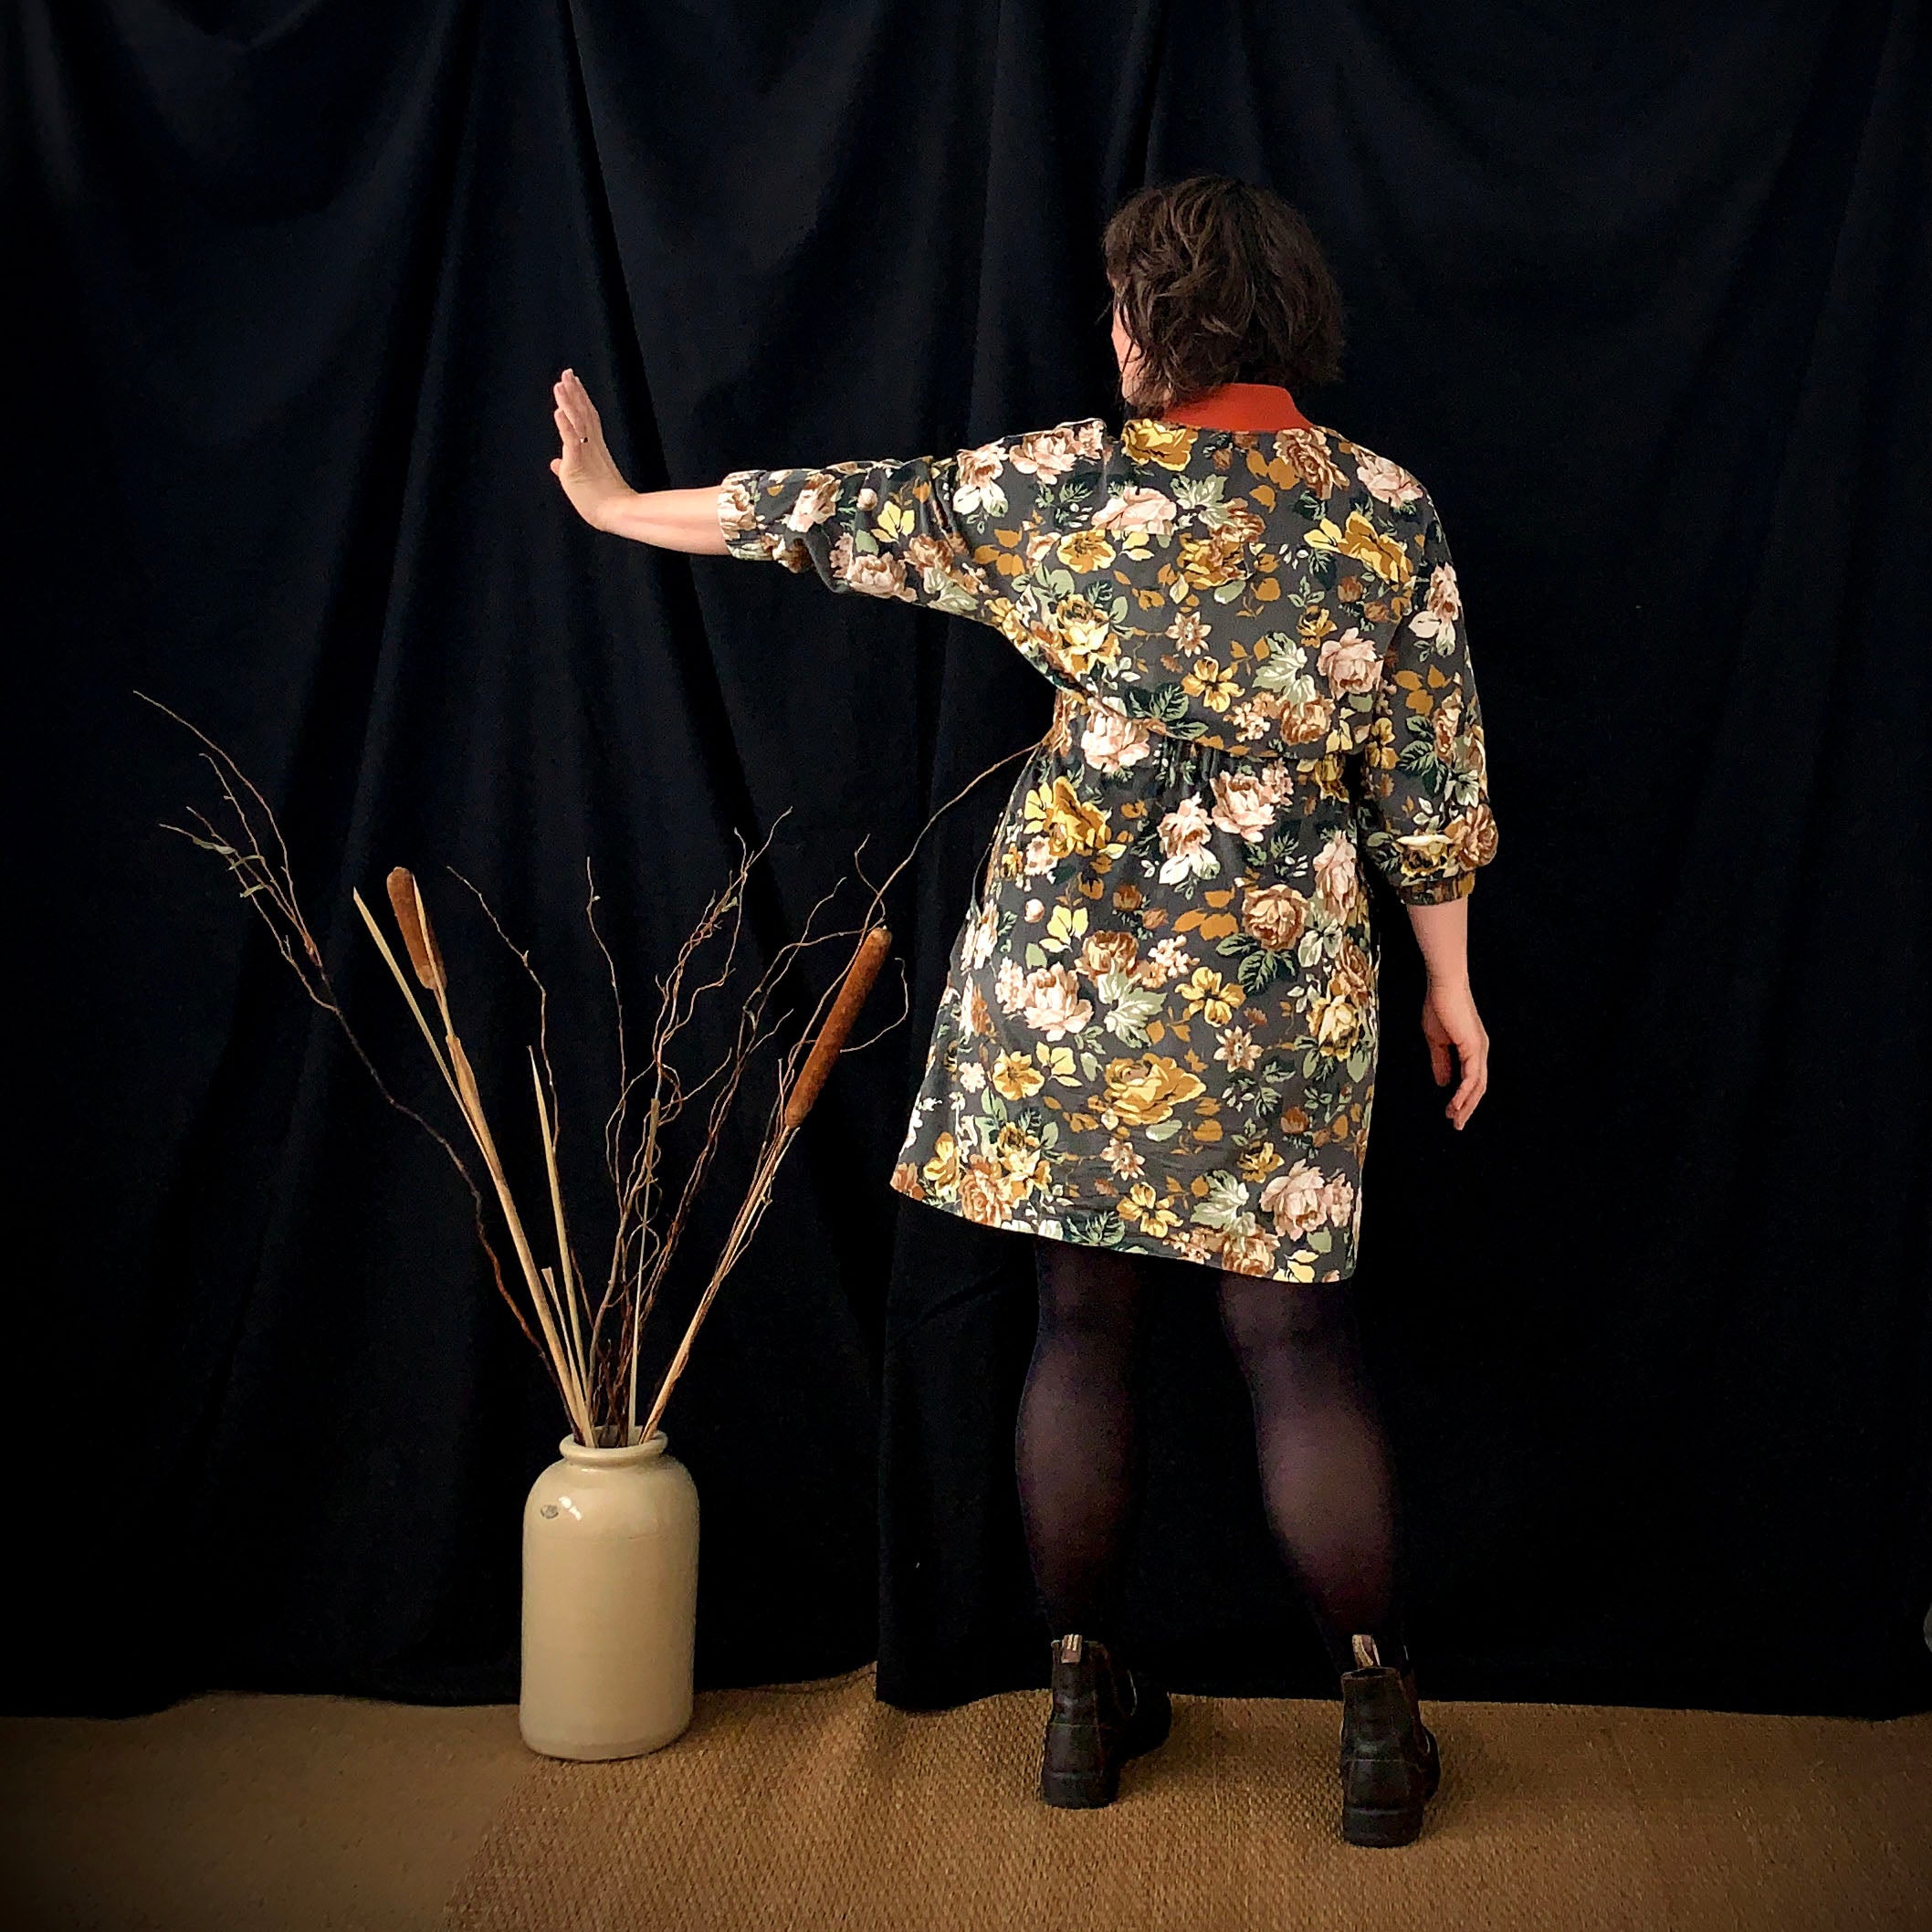
I saw this gorgeous Rose Pavilion Needlecord when I was sitting in an AirBnB playing fantasy-shopping-cart on Miss Maude’s website (a favourite pastime for when I’m away from home), and was completely caught by her suggestion to team this needlecord with the Beryl Bomber Dress. The Beryl Bomber Dress is from Named Clothing and takes its style from a bomber jacket. The vintage-looking floral of the needlecord combined with the tough design of the bomber dress felt so … right.
CORDUROY FABRIC + ORGANIC COTTON RIB
The needlecord was a beautiful fabric to work with, and a really good entry point into sewing with larger corduroy. I like to research new-to-me fabric substrates before I sew with them, so I spent time perusing the web to learn about how to handle corduroy, from washing to cutting, sewing to pressing.
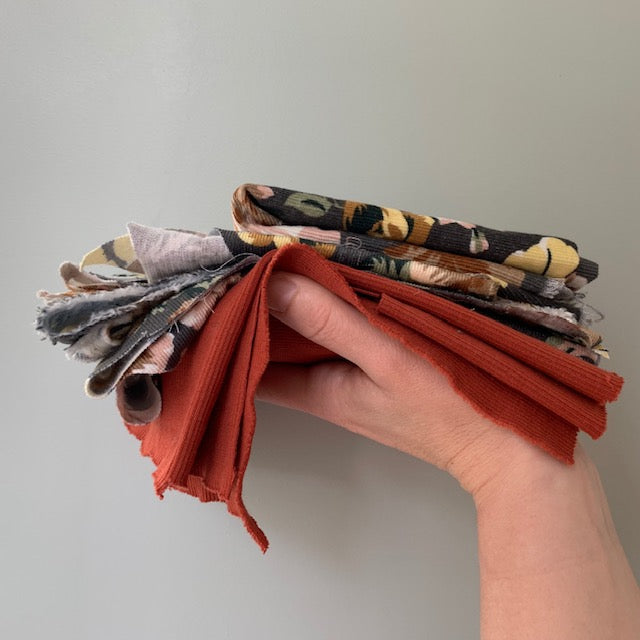
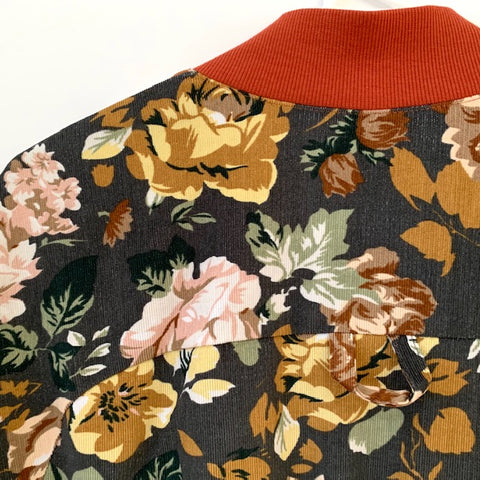
The needlecord is teamed with a richly-coloured rust-coloured organic rib knit for the collar. I was worried that it wouldn’t be firm enough for the task, but the rib knit has worked perfectly for this dress: sturdy, but not too firm. This fabric is lovely, and I have my eye on the leftovers for some stretchy and warm winter headbands!
The needlecord is teamed with a richly-coloured rust-coloured organic rib knit for the collar. I was worried that it wouldn’t be firm enough for the task, but the rib knit has worked perfectly for this dress: sturdy, but not too firm. This fabric is lovely, and I have my eye on the leftovers for some stretchy and warm winter headbands!
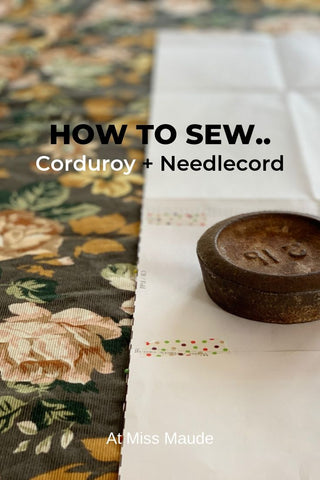
HOW TO SEW NEEDLECORD
In my research, I learnt that corduroys, although relatively easy to handle, do have some quirks worth paying attention to. The two key areas I really changed my habits was in cutting and pressing the fabric.
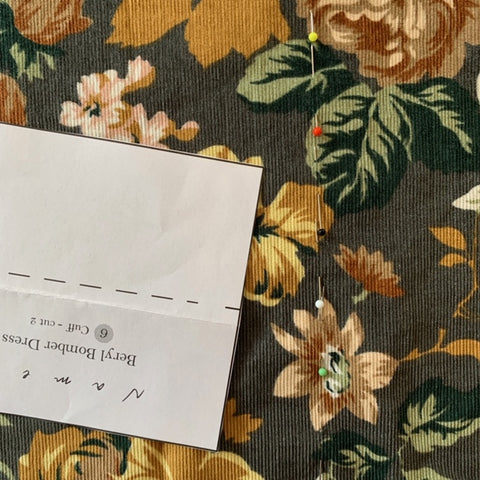
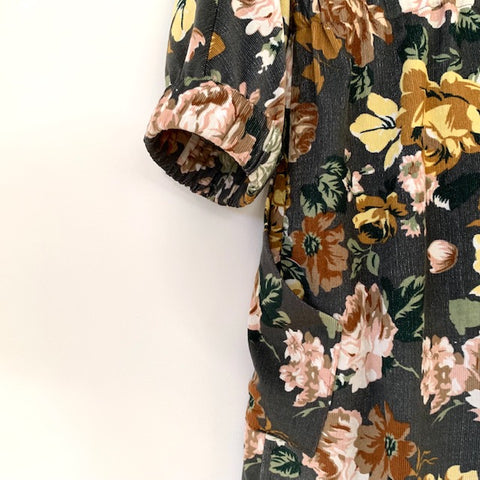
Cutting: This fabric needs to be treated like a stripe as the wales of the cord are a very dominant feature, even in this floral, and you don’t want squiffy stripes. To that end, I cut everything flat, pinning along the length of a wale and using that as either the centre of my pattern piece or as a point to measure grainline from. I didn’t worry about pattern-matching the floral (even though I agonised over that decision) but prioritised making sure the nap ran in the right direction—down the body.
Cutting: This fabric needs to be treated like a stripe as the wales of the cord are a very dominant feature, even in this floral, and you don’t want squiffy stripes. To that end, I cut everything flat, pinning along the length of a wale and using that as either the centre of my pattern piece or as a point to measure grainline from. I didn’t worry about pattern-matching the floral (even though I agonised over that decision) but prioritised making sure the nap ran in the right direction—down the body.
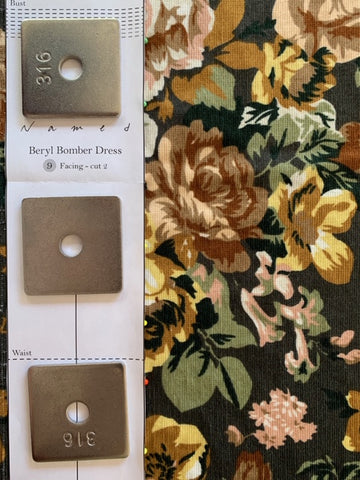
Pressing: I would highly recommend only steaming this needlecord. The cord doesn’t really need or like the pressure of an iron; when I did practice runs with actually pressing the fabric, it initially made the cord more rigid and shiny, and then, even after some restorative-fluffing, the cord had lost a little of the softness. Steam, however, was all it needed to deal with most of the creases, even heavy ones. When it came to pressing seams, I would puff a reasonable amount of steam onto the seam and then press on the seam with my tailor’s sausage. This little bit of moisture and heat was enough to get this very pliable fabric to behave.
Unpicking: One thing worth noting is the needlecord doesn’t love being unpicked. It is very soft and not as robust as you might think on handling it, so I highly recommend hand-basting the trickier areas (like the zip, the vent and the waistband casing) before committing machine stitches to it.
Overall: Both the cotton viscose needlecord and the organic cotton rib knit are lovely and comfy to wear against the skin; they are easy to handle while cutting and sewing; and they have worked so well for the Bomber Dress. This needlecord feels deliciously fuzzy and is wonderfully stroke-able, but it’s not the warmest; I’d probably categorise this as a really good transitional-season weight dress, and with a merino slip it can definitely be layered to cope with colder days. The shape of the sleeves and underarm makes it a little tricky to wear a slim-fitting coat over (it can be done, but it’s not the most comfortable) however, it’s great under a slouchy, over-sized coat! [such as Le 803 Raglan Cape or TN31 Parker]

PATTERN NOTES: BERYL BOMBER DRESS
Overall the pattern is clearly-written and has a methodology that works out very cleanly if you take the time to follow the instructions—it’s a pattern where going off-piste might not serve you well. The only part that I thought could be more clearly explained was how to judge the length of elastic to use for the waist and sleeves, but this is a minor gripe. And when you buy ribbon for the elastic waist casing, take a measurement from your dress width! I completely misjudged how much I would need and was luckily saved by a kindly shop attendant who just happened to give me a little extra so they could finish the roll.
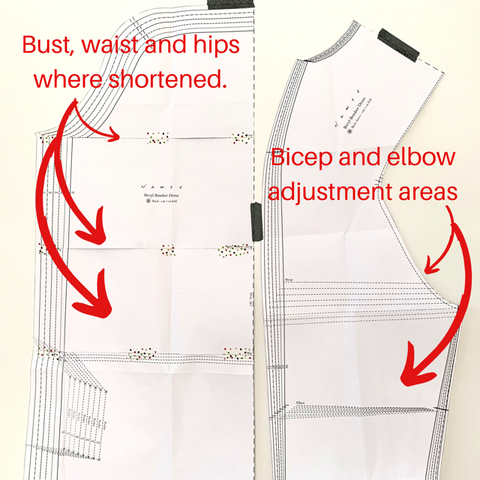
Fitting and Adjustments: One thing I very much appreciated about the pattern pieces is the substantial amount of markings on each - the bust, waist and hips are not just marked, but adjustment ranges are given; additionally, bicep and elbow adjustment ranges are given through the arm. This made making pattern adjustments (in my case shortening the pattern) a simple process.
My measurements are 39” bust, 33” waist and 43” hips, and I made a Euro-size 44 which has the body measurements at 39.5", 33" and 42.5" respectively (the pattern size range is 32-46). The biggest change I made to the pattern was in shortening it. The pattern is drafted for a 1.72m person, and I am but a measly 1.61m tall. I shortened the dress by a total of 108mm - taking out 26mm at the bust, 52mm at the waist, and 30mm at the hips.
These were guestimates, but I’m really happy with the length of the dress. Which is lucky because you don’t get a chance to adjust this later in the make—one of the first things you do is create the front vent, and from there the length is set. So, if you’re fussy about the skirt-length this is something to watch out for.
Pattern Ease: There is a lot of ease in the pattern, which at first made me wonder if I could/should size down—I dislike being drowned in fabric, especially through my bust. But after wearing the dress a few times I think the ease is necessary because of the unusual raglan-construction of the shoulders teamed with the elastic waist: you are a little constricted in raising your hands easily above your shoulders. And in hindsight, I’m actually fine with the amount of ease through the bust.
Waistband: Although there are placement notes for the waistband, I would recommend only using them as a guide: for me, I had to raise the waistband up by a couple of inches. To judge where to place my waistband, I used the ribbon to cinch in the waist where I wanted it and marked the front with pins. From there, I marked the line for the waist-casing, and hand-basted it on before machine sewing it in.
Waistband: Although there are placement notes for the waistband, I would recommend only using them as a guide: for me, I had to raise the waistband up by a couple of inches. To judge where to place my waistband, I used the ribbon to cinch in the waist where I wanted it and marked the front with pins. From there, I marked the line for the waist-casing, and hand-basted it on before machine sewing it in.
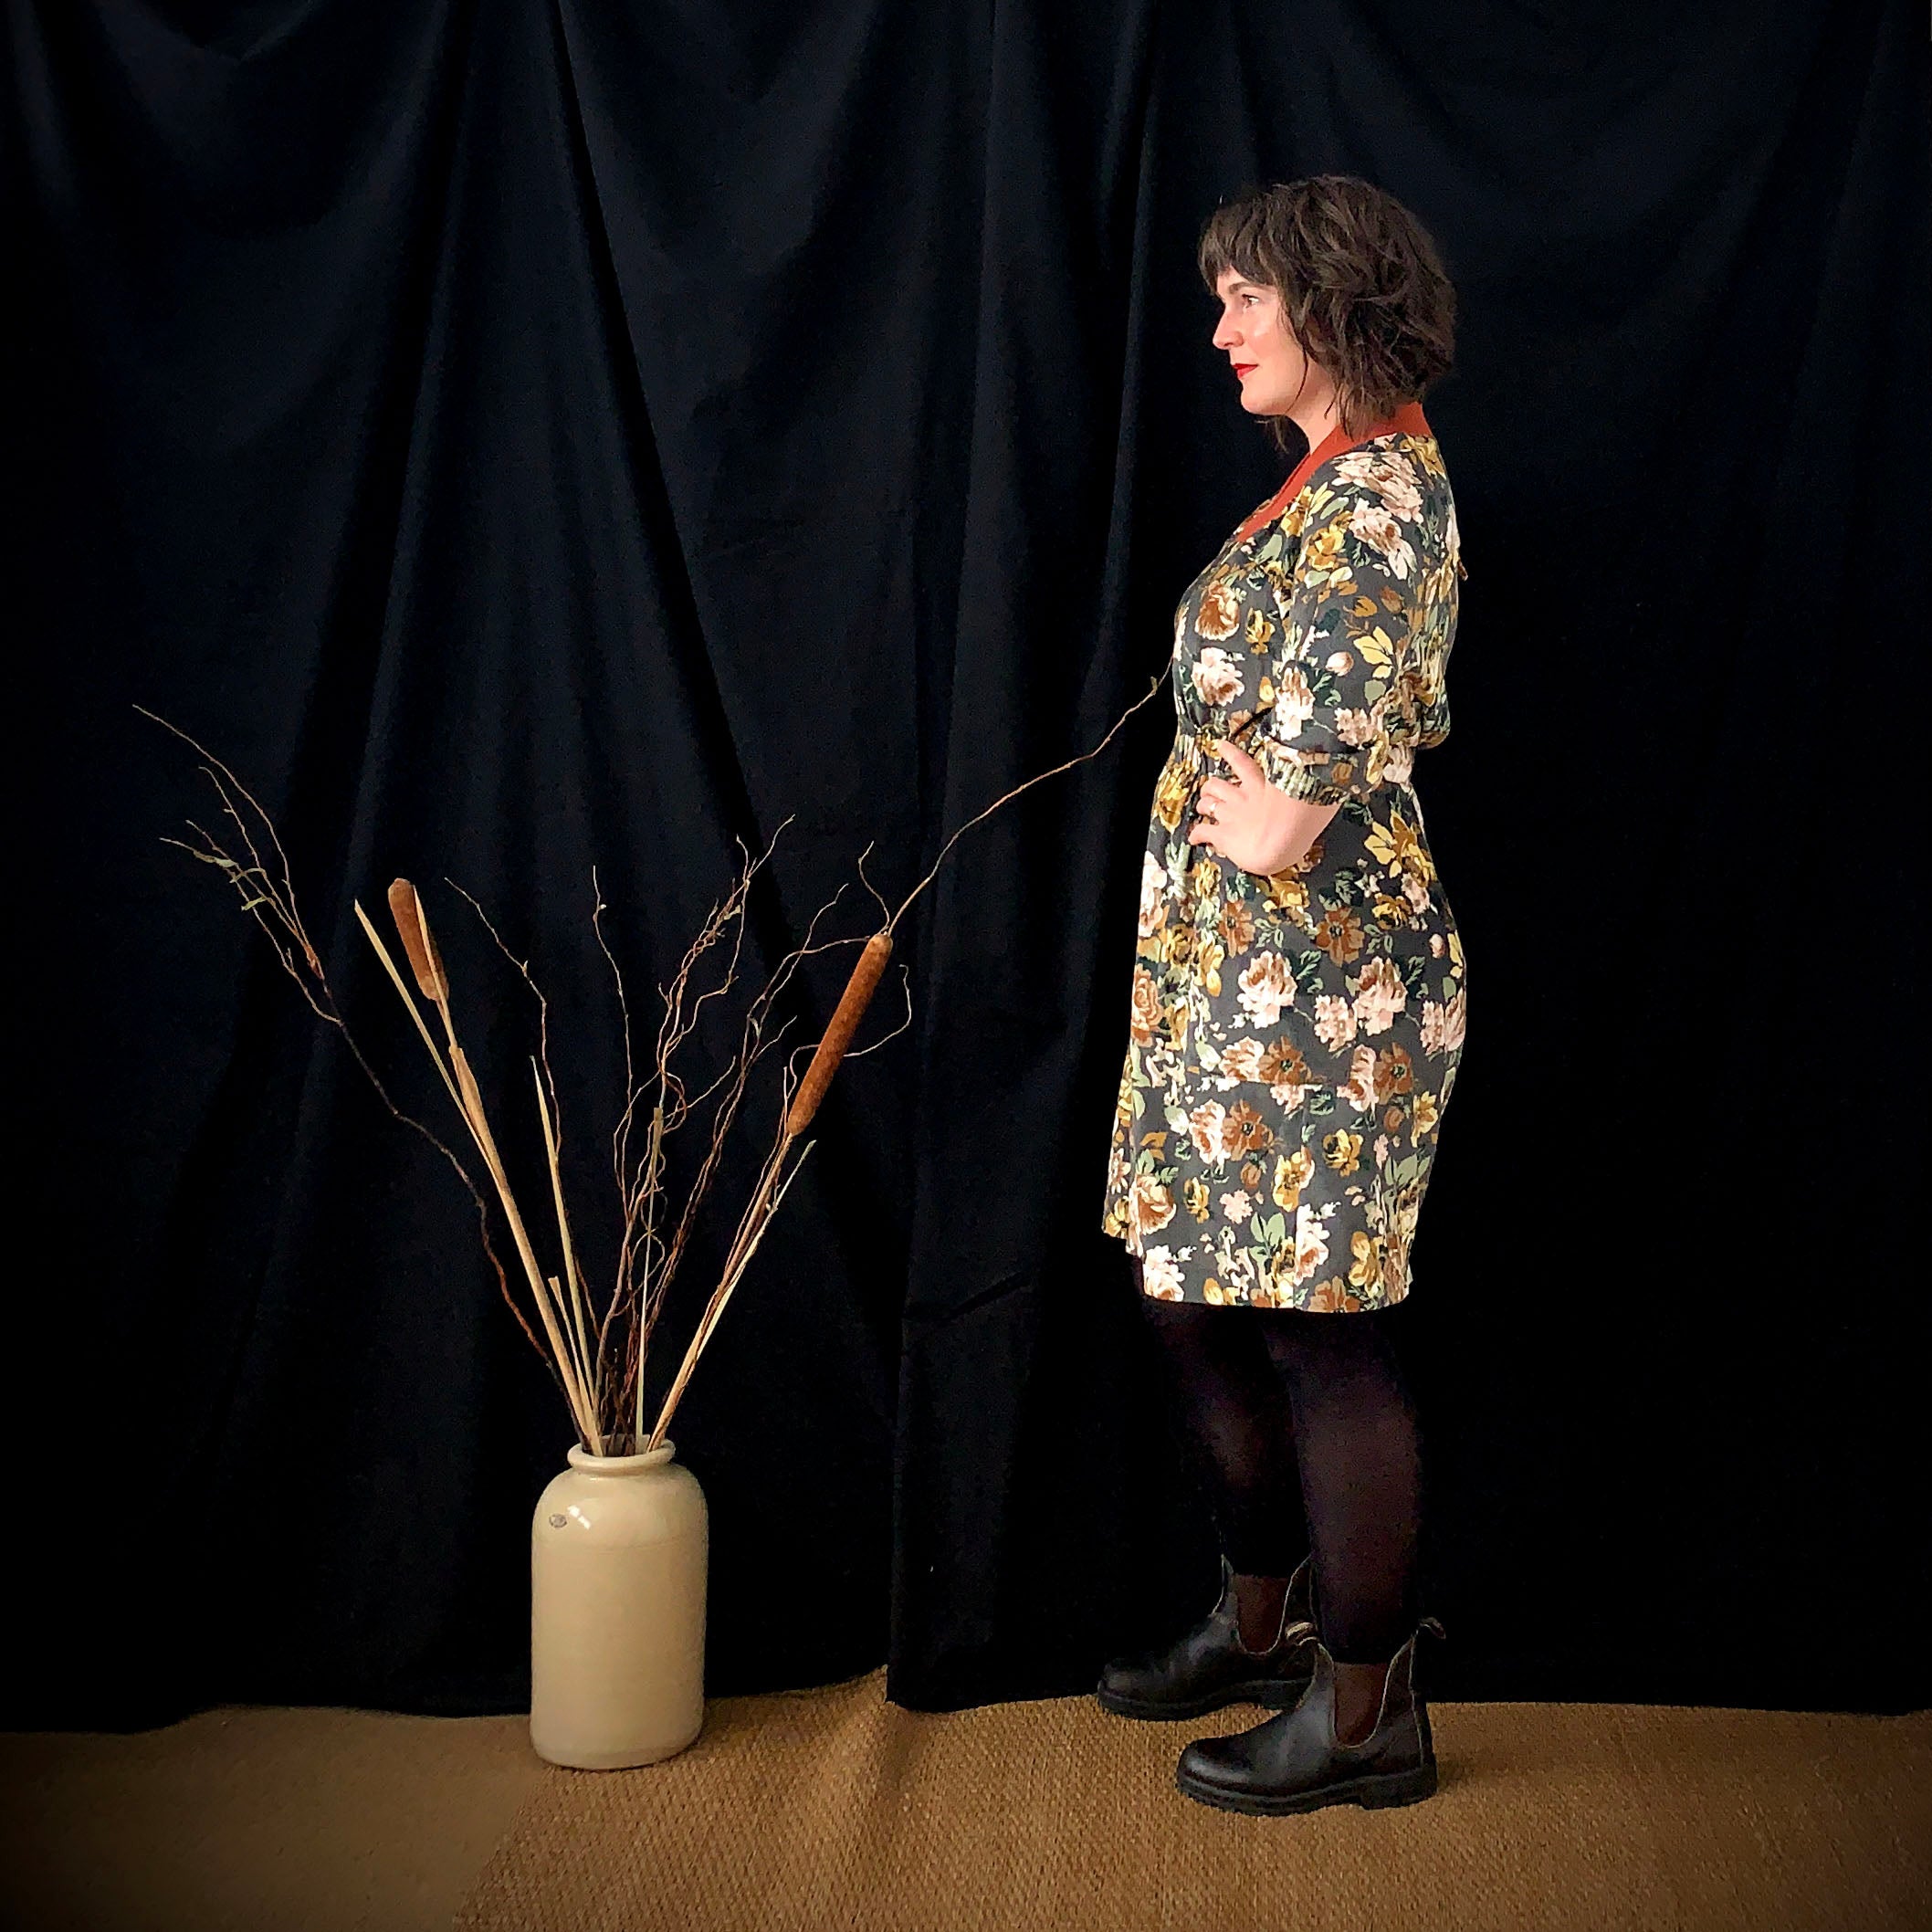
THE FINAL RESULT!
I love Beryl, my Bomber Dress! The contrast of fabric pattern and style makes me feel so KA-POWerful! I honestly think I strut more when I’m wearing it. Beryl was also an excellent addition to my little Me-Made-May-capsule wardrobe just as things were becoming slightly stale. The fabrics were great to work with, are lush to wear, and the pattern is a keeper! I’m definitely planning more Beryl Bombers, and I am definitely planning future corduroy garments.
USEFUL LINKS AND FURTHER INFORMATION:
- You can find more of Gabrielle's pattern reviews and sewing adventures over at Bibbity Bobbity Buttons : The Notions Tin
- Further information on sewing corduroy: Tilly and the Buttons, Threads Magazine
SAVE IT FOR LATER....
If you've found this blog helpful, you might like to use the images below to pin to your Pinterest account for reading later.
