Sienna Maker Jacket by Closet Core Patterns
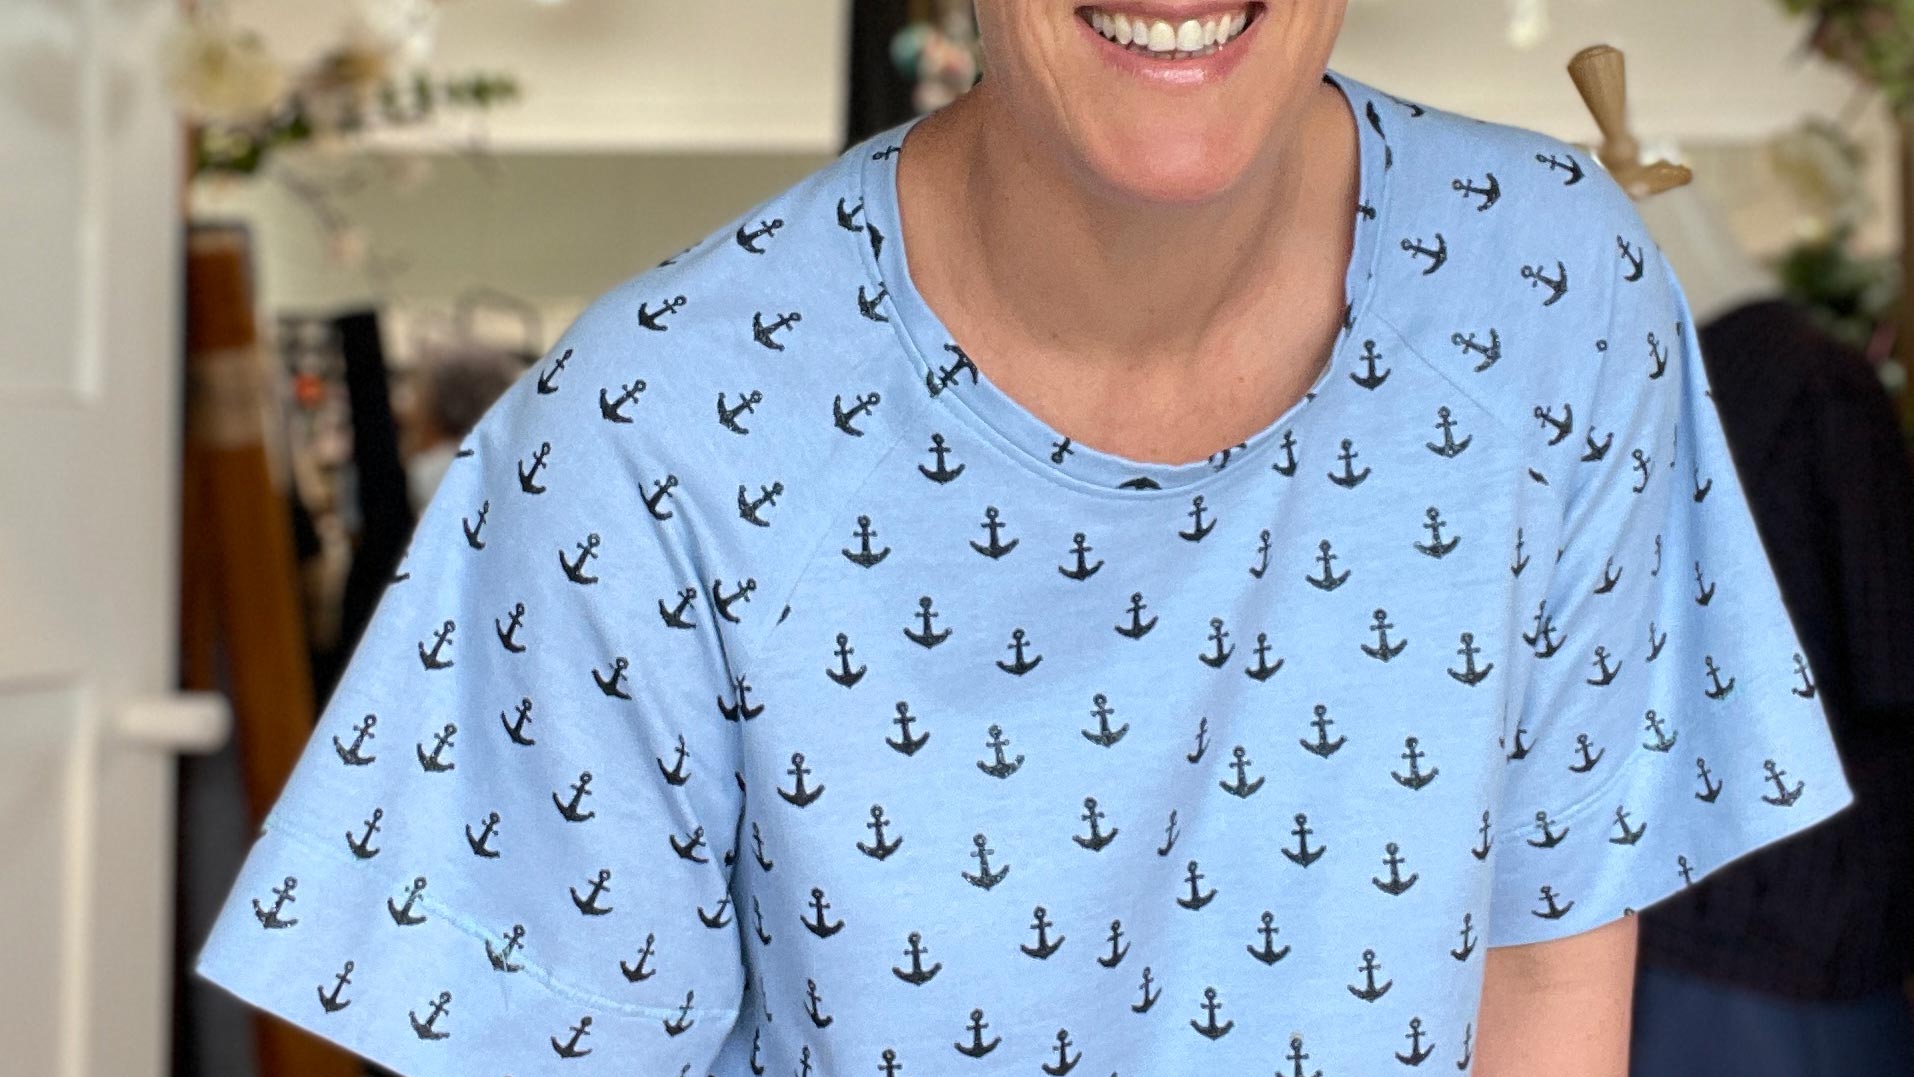
By Caroline van Deventer, formally a customer now an employee.
For full disclosure, this blog post was written about six months ago, before I even thought about working at Miss Maude.
It turns out if you hang about in a fabric shop long enough, fondling fabrics, the owner may eventually decide they may as well make use of you and ask you to make a shop sample and write a blog post about your experience. Six months later they realise that they don't have time to do anything with the blog post and just hire you as their Communications Specialist. Hello! My name is Caroline, I am a fabric hoarder and I now work in a beautiful fabric store. Read on to hear my thoughts about the Sienna Maker Jacket (made and reviewed before I worked here, all thoughts are my own.)
This is the story of how I used materials that I have never sewn with before (WHAT! NOT SEWN WITH LINEN?! Yup that’s me) and used a pattern company that I haven’t tried before (yes, seriously, I’m one of the only people to not have sewn a Closet Core Pattern) and let me tell you folks, it won’t be the last. I now understand the hype behind both the fabric and the pattern company. I loved this experience, it pushed my sewing to the next level. It made me neater and more patient than I normally would be and resulted in a coat that I am really quite proud of. If you want to see it (and treat yourself to some of her gorgeous selection of fabrics) – Just pop in to Miss Maude in Greytown. It’s quite the delightful experience!
Now to deep dive in to the making of the jacket.
Fabric
Sometimes I have a pattern that I want to make and other times I have fabric that I love and I have to wait for inspiration to strike. In this case, it started with the pattern and from there came the fabric.
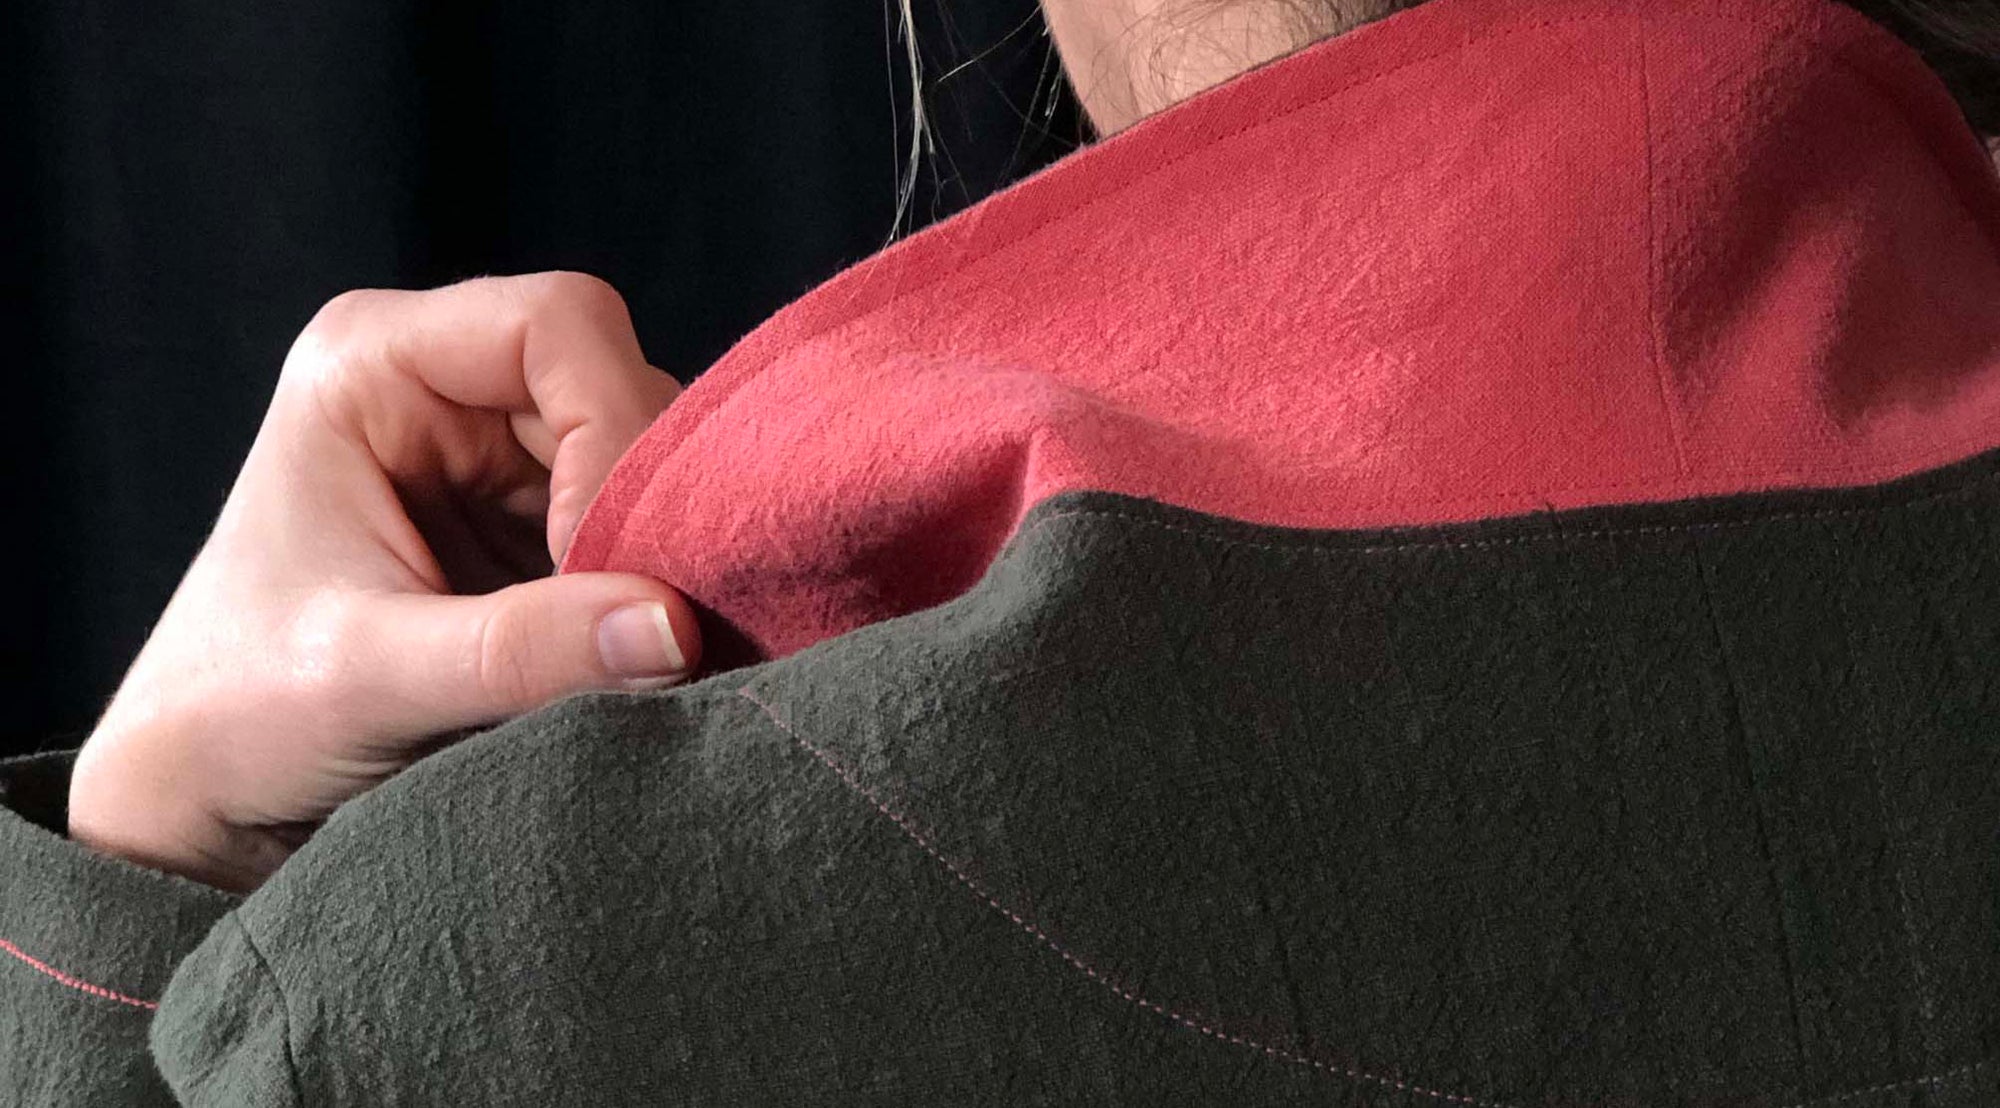
Emma and I walked around the store and she showed me the most gorgeous heavy weight linen in a dark forest green. I really like a contrast and she had a lovely pink linen in the same weight that was a great contrast to the green. Also green and pink combined is a favourite of mine, it wasn’t hard to imagine what a lovely coat it could be. Because I was doing this as a project for Emma it took the indecisiveness out if it for me that I normally encounter when making a project. I could see what I wanted to make and I wanted to make it a reality.
Before committing to making any pattern, I do a pretty intensive deep dive on IG and google for reviews and images. There was one image by the maker @sewlike who had used a similar colours so I knew I was on to a good thing!
I washed it on a cool wool machine wash (separately with other dark fabric because I wasn’t sure if the green would run) and it did shrink by about 5cm. After listening to the Love To Sew podcast on linen I wish I had washed it twice just to be sure, but it’s not an item I think I will wash a lot so will just be careful.
I regularly ignore the suggested pattern placement to try to cut the pattern from as little fabric as possible (I hate waste) and to see if I can do better. Sometimes I can, sometimes I can’t. In this case I couldn’t, I now trust Closet Core Patterns that they know what they are doing! There was very little spare fabric left.
Pattern

I chose to make view B of the coat.
My measurements are Bust - 35.5”, Waist – 32”, Hips 42”, according to the pattern measurements I should have cut an 8 and graded out to a 14 on the hips. But I toiled it as an 8 and the fit was spot on, even across the hips. The only thing that I changed was I lengthened it by 2” as it hit me on the widest part of my hips and wasn’t the most flattering. Otherwise I made no changes and it wasn’t tight on my hips at all. I can comfortably close it. I think I will most likely wear it open as a casual open jacket with the belt looped behind.
The Make
I wanted to check the size before I cut into precious fabric and toiled the coat in a canvas material that I found in an opshop. I’ve had one to many disappointments in the past, so despite the extra time it takes I pretty much toile every time before I cut into the good stuff. It saves so much heartbreak.
The instructions were GOOD and backed up by a comprehensive sew-along on the Closet Core Patterns website. I got that cocky feeling when making the toile (which wasn’t intended to be wearable) where I was thinking that this was going to be such a good piece and I would probably wear it. Then I made the notched collar. STRAIGHT. BACK. TO. EARTH. Turns out you have to be VERY precise on a notched collar, which I wasn’t.

When I made the collar on the final version I took my time, was very precise with the marking and it came together really well. It’s important to fold back the seam allowance when it tells you to (which is where I think I went wrong the first time.

The toile ironed out a few things for me, it made me realised that I needed it longer, I was able to work out my collar issues, could mark out the where I wanted the green and pink and was confident when cutting the final version.

One thing that I didn’t notice was the placement of the interior pocket placement. The pattern requires you to sew the facing down. However, on both versions the facing over lapped the pocket.

I was VERY careful when marking out the placement (and despite that it was still higher than it should have been) and I trimmed the facing so I could bind it. Unfortunately I didn’t notice on the toile as I didn’t do that step. I’m not sure if it was me (probably) or the pattern. To stop the facing flapping about I topstitched down the back facing with contrasting thread and will tack the side facing.

One thing that I will do is to secure the belt D-hoops in place, the D-hoops are a bit flappy at the moment and the belt doesn’t feel secure when done up. I have seen other makers have done this too.

I finished all the seams either with a flat felled seam or a Hong Kong seam. I like this way of finishing a seam, I haven’t done them before but I loved the finish result and it won’t be the last time I use this finish. I don’t know if this is the “correct” way of doing it but to make sure that it was caught down so I flattened out the back bit of the biased binding that was going to be sewn down. I’m not sure if that is what you are meant to do but it felt right to me and also reduced a layer of bulk.

I used contrasting bias binding from Miss Maude that matched the pink linen pretty perfectly and it was really easy to use. Normally I make my own, but I’m probably just going to use this from now on. Is it normal to design an outfit around the bias binding?! Maybe not…

I finished the hem a differently as suggested in the instructions as I liked the way that they did it on the blog, it felt a little neater – if you want to do this then make sure you lengthen your facing and full instructions can be found on the Closet Core Pattern website.
I had a bit of a moment with the sleeves (don’t sew when tired. Nothing good ever happens) and had to do a fair amount of unpicking. The linen stood up very well to it and coped with me being a bit rougher with the sleevehead than in hindsight I should have been.
Something to be aware of is that this eats thread with all the flat felled seam and top stitching. If you don’t live near a fabric store that sells thread then get a little bit extra. I went through 2 reels of the 100m stuff.

Conclusion
The fabric was a dream to use, and I’ve clearly been using rubbish interfacing because the stuff that Emma gave me to use was lovely. It’s a really nice finish and I can only describe it as feeling bouncy, in a good way! It pressed really well and gave stability. Be aware when pressing the linen that it can get a little shiny, especially on thick bits. Don’t be me…use a pressing cloth!
This was a great sewing experience. It really pushed me and made me try new techniques. I also recommend watching the Great British Sewing Bee while sewing. I just kept hearing Patrick and Esme critiquing me or sometimes complimenting me (if my imagination was feeling fancy) the whole thing gave me so much more confidence in my sewing and after a couple of not great projects I needed it.

There are some really great resources out there, here are some that I found useful;
- Sewalong https://www.closetcorepatterns.com/sienna-maker-jacket-sewalong/
- I read this review before I started and interestingly see that her facing came over her interior pocket (Its something that bothers me) https://www.themindfulsewist.com/sienna-maker-jacket-review/
- And this came out after I made it but I have since listened to it and there are heaps of tips when it comes to linen https://lovetosewpodcast.com/episodes/episode-152-linen/

